
Deploy Windows Server 2019 using SCCM Task Sequence
IT Enthusiast, SCCM administrator for a few years now. Former packager. Certification obtained in 2013. I just love playing with SCCM and push what I can do with it to the limit.

Stephane Faubert
Table of Content


Share


Get the latest insights and exclusive content delivered to your inbox
In this post, we will deploy the recently released Windows 2019 with SCCM 1810. We will describe how to create a SCCM Windows 2019 deployment task sequence and deploy it to your servers. If you are already deploying Windows 10 in your environment, or even Windows Server 2016, chances are that you won’t need to change anything in your environment.
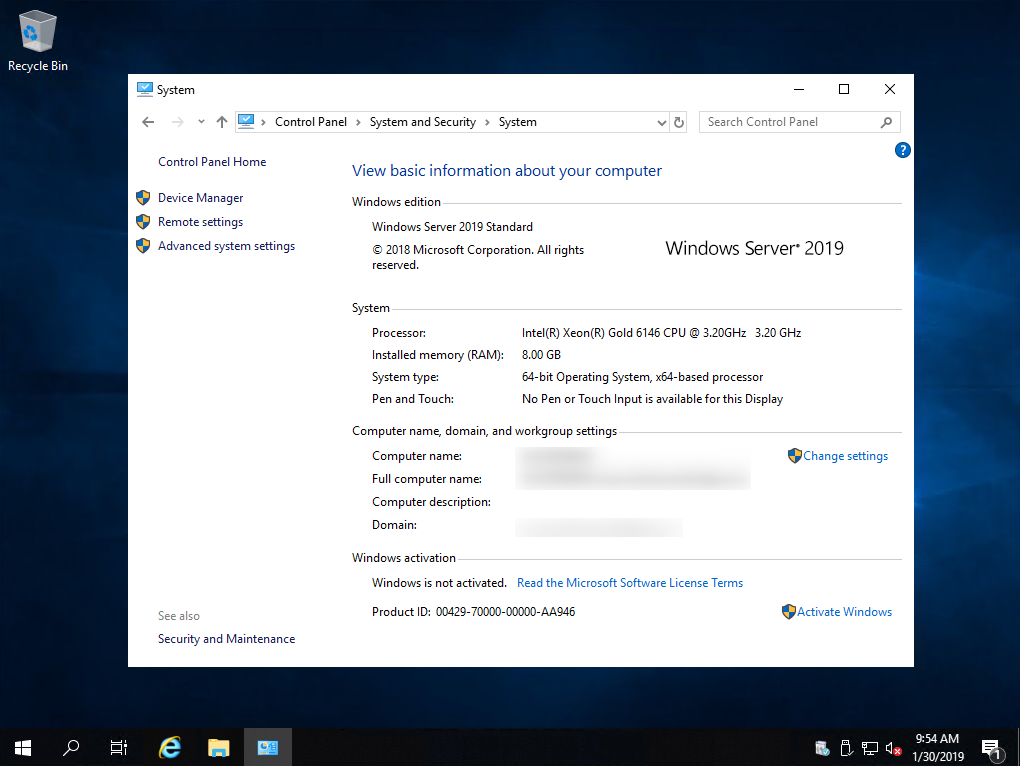
This task sequence will help you deploy a “vanilla” Windows Server 2019 Standard edition using the default Install.wim from the Windows 2019 media. This means that you’ll end up with a basic Windows 2019 with the SCCM client and nothing else.
You will be able to edit this task sequence later to customize it to your environment.
PREPARE YOUR Windows 2019 OPERATING SYSTEMS
We will now import the Windows Server 2019 WIM file before deployment.
You’ll see both Operating System Images and Operating System Upgrade Packages. One is to import .WIM files and the other one is for Full Media.
We will need both for different scenarios.
In the case of a vanilla deployment or after a build and capture, you use Operating System Images to import the WIM files. In an Upgrade task Sequence, you will need to have the Full media imported in Operating System Upgrade Packages.
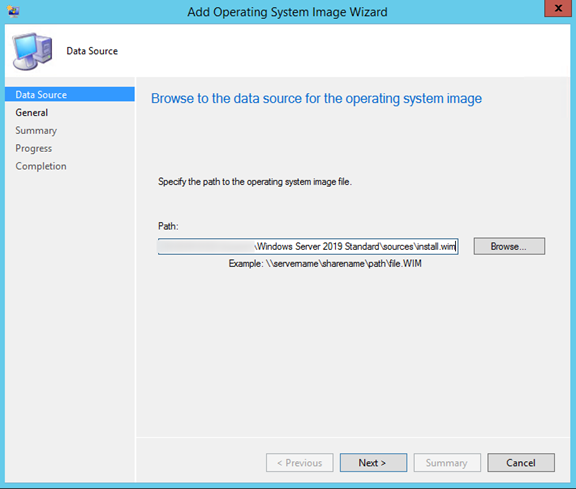
We will start by importing the default Install.Wim from the Windows Server 2019 media. You could also import a WIM file that you’ve created through a build and capture process.
- Mount the Windows 2019 ISO file
- Go to the Sources folder
- Copy the Install.Wim file to your SCCM repository. You can rename the Wim file if needed
- Open the SCCM Console
- Go to Software Library / Operating Systems / Operating System Images
- Right click Operating System Images and select Add Operating System Image
- On the Data Source tab, browse to the WIM file you just imported. The path must be in UNC format
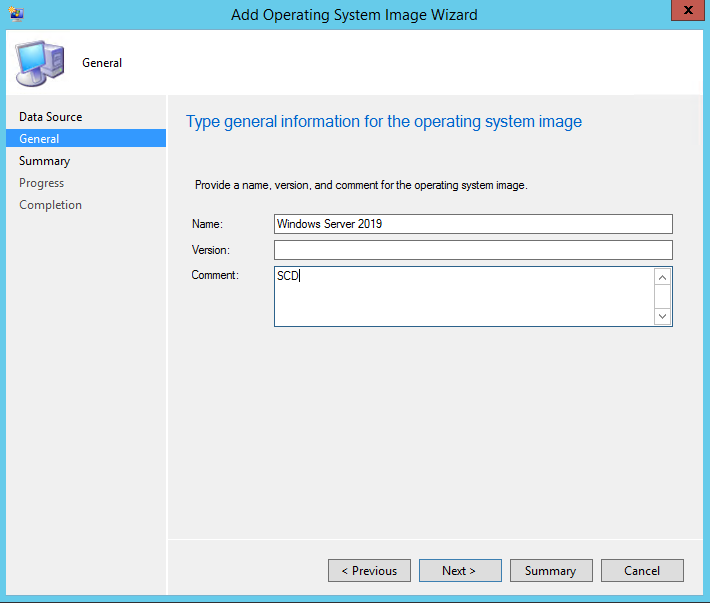
- In the General tab, enter the Name, Version and Comment, click Next
- On the Summary tab, review your information and click Next

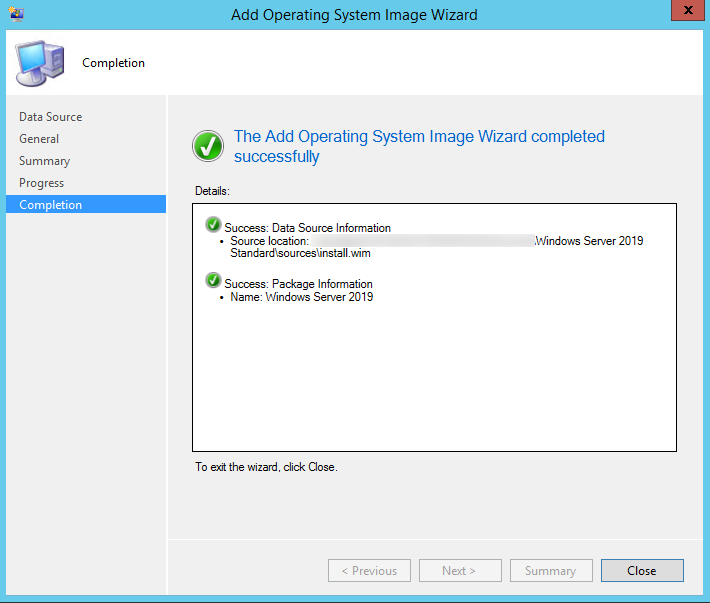
- Complete the wizard and close this window
DISTRIBUTE YOUR OPERATING SYSTEM IMAGE
We now need to send the Operating System Image (WIM file) to our distribution points.
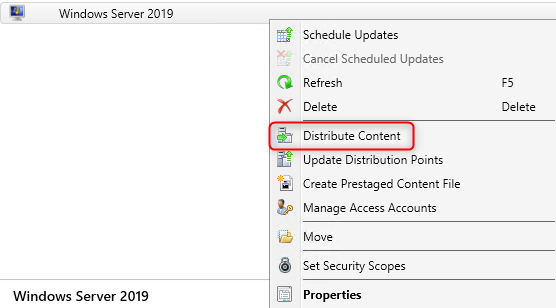
- Right click your Operating System Image, select Distribute Content and complete the Distribute Content wizard
CREATE SCCM WINDOWS SERVER 2019 DEPLOYMENT TASK SEQUENCE
- Open the SCCM Console
- Go to Software Library \ Operating Systems \ Task Sequences
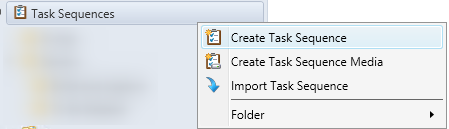
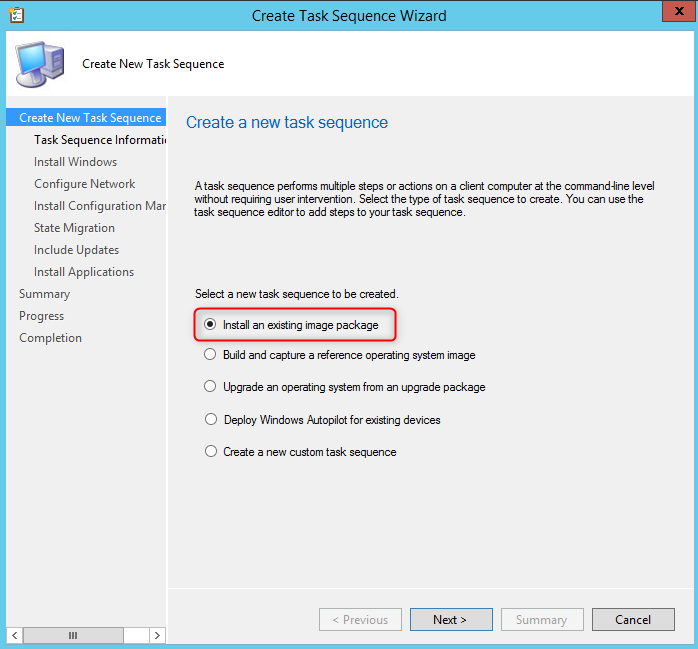
- Right-click Task Sequences and select Create Task Sequence
- On the Task Sequence wizard, select Install an existing image package
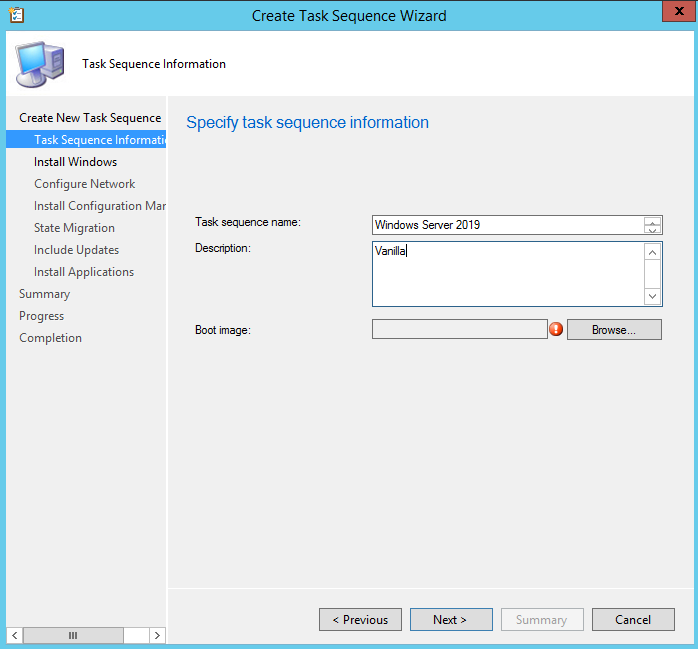
- On the Task Sequence Information pane, enter the desired Name, Description and Boot Image
- On the Install Windows pane, select the Image package and Image index. We will select the second index which is Windows Server 2019 Standard edition.
- Leave the check box beside Partition and Format the target computer before installing the operating system
- Uncheck Configure task sequence for use with Bitlocker
- Leave the Product key blank, if you are using MAK keys, read this post on how to handle that in your Task Sequence. (TL;DR: Even with MAK key, you need to leave the Product key blank)
- Enter an Administrator password if needed

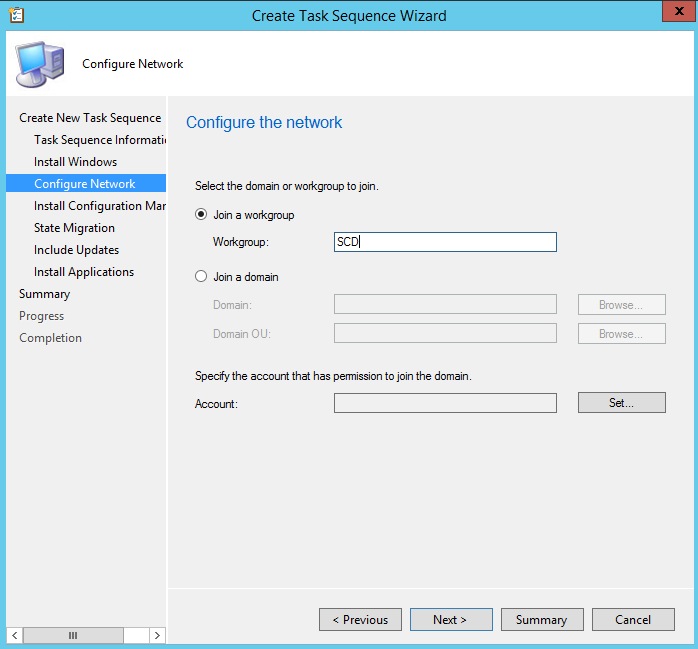
- In the Configure Network pane, you can select to Join a workgroup or domain. If you select Join a domain, enter your domain information, OU and credentials
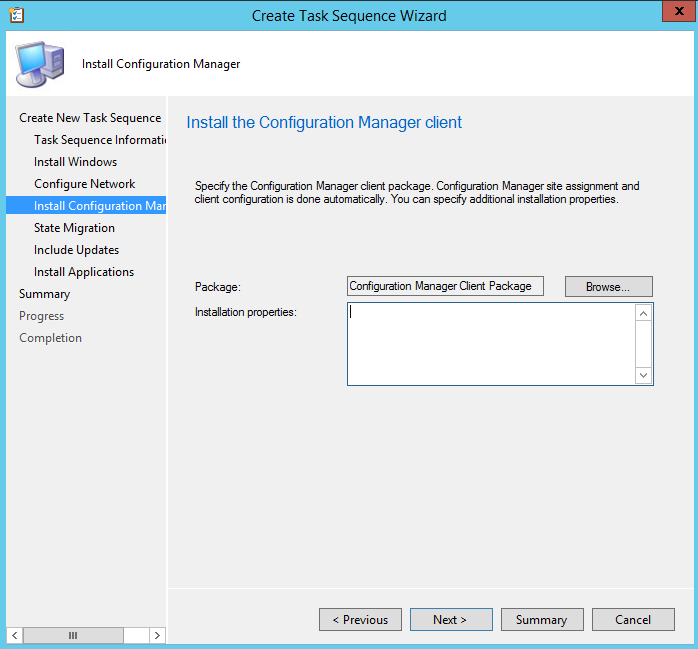
- On the Install Configuration Manager Client pane, select your Configuration Manager Client Package and enter your installation properties
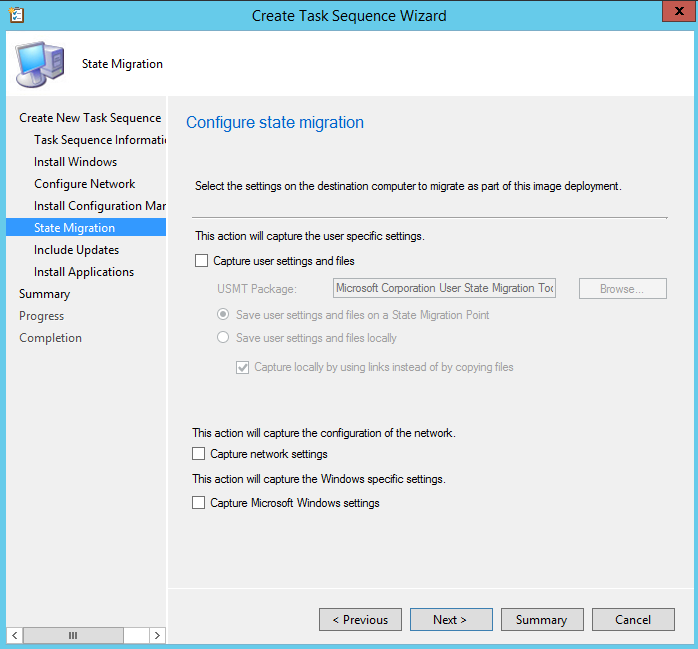
- On the State Migration pane, we will remove all checkbox as we don’t want to use User State Migration at this time
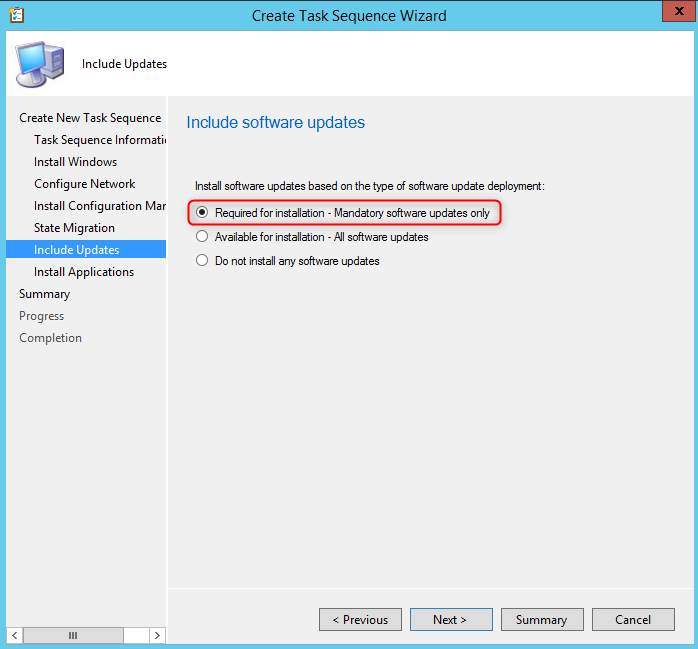
On the Include Updates pane, select the desired Software Update task
- Required for installation will install the updates regardless of whether there is a deadline set on the deployment (on your OSD collection)
- Available for installation will only install updates from deployments that have a scheduled deadline (on your OSD collection)
- Do not install any software updates will not install any software update during the Task Sequence
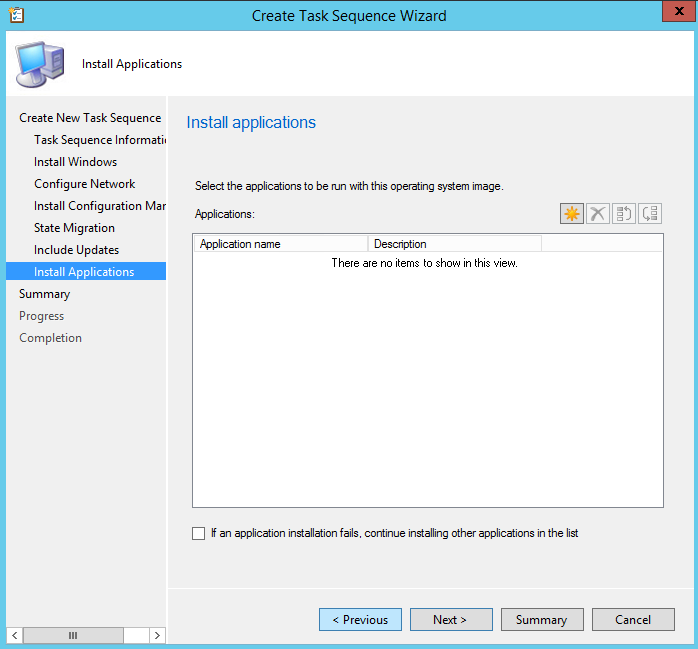
- On the Install Applications tab, click on the Star Icon to add any application that you want to be installed during your deployment. Only applications will be listed. If you need to add packages, you can add it by editing the task sequence later. Theses applications will be deployed each time the task sequence is executed.
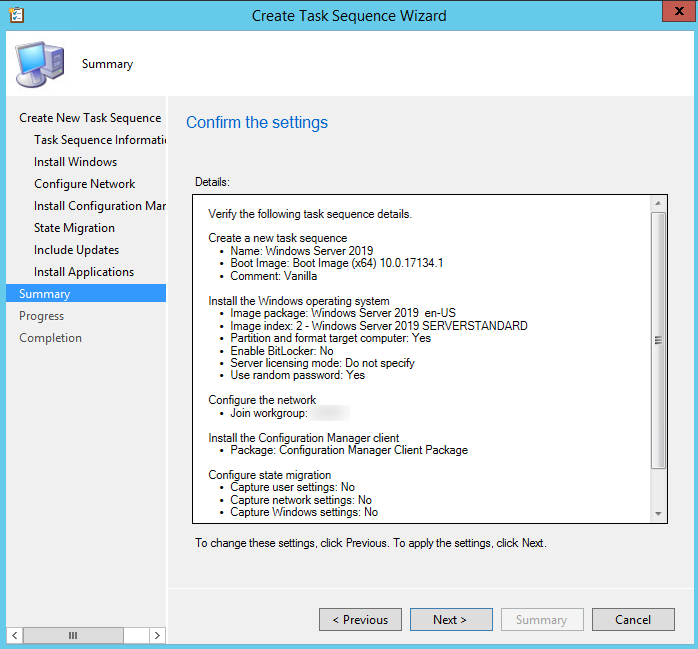
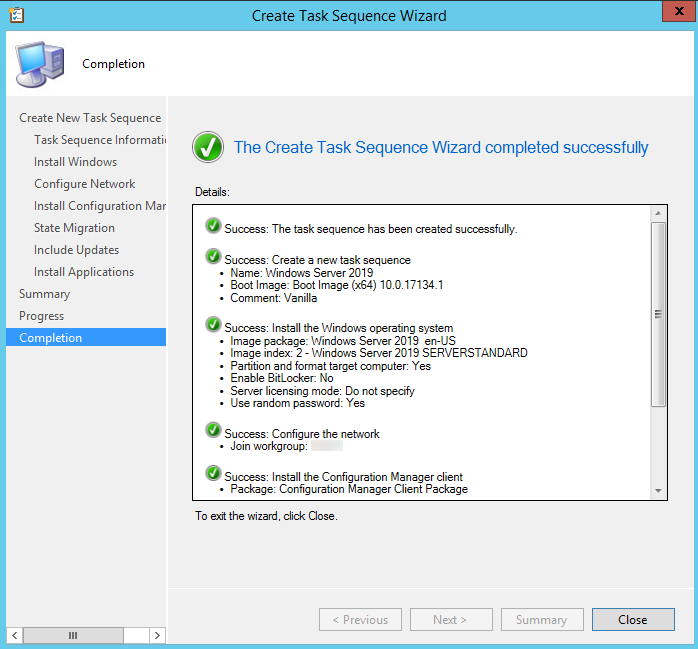
- On the Summary tab, review your settings and click Next
- On the Completion tab, click Close
DEPLOY WINDOWS SERVER 2019 TASK SEQUENCE
Now that your Task Sequence is created, we will deploy it to a collection and start a Windows Server 2019 deployment.
Be carefulBe careful when targeting the deployment. This task sequence will format and install a new OS to targeted devices. You don't want to be *that* admin that wipes and formats all devices in your company!
- Open the SCCM Console
- Go to Software Library \ Operating Systems \ Task Sequences
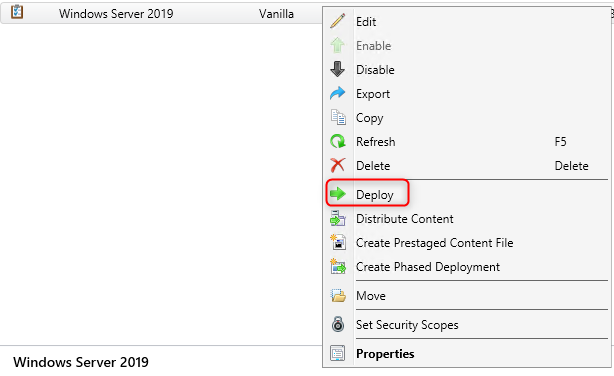
- Right-click your Windows Server 2019 Task Sequence and select Deploy
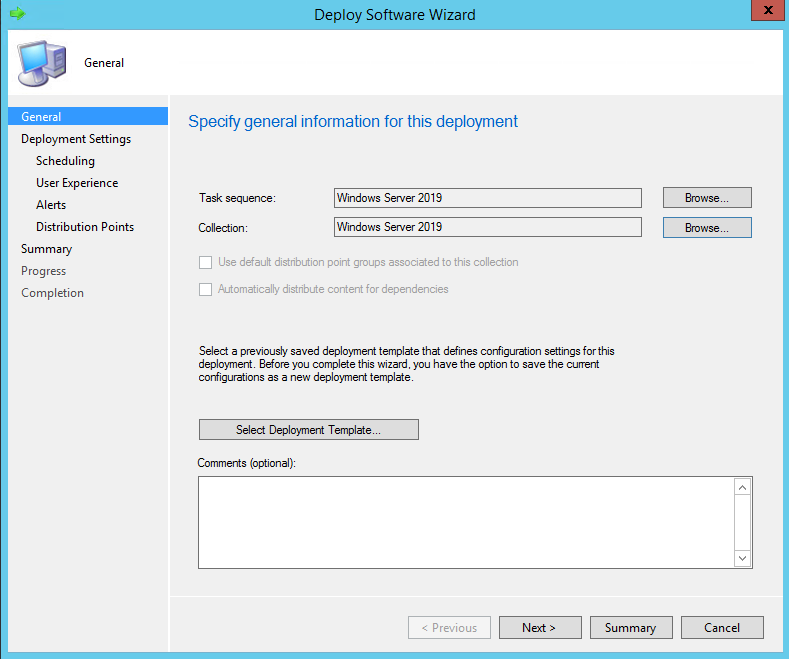
- On the General pane, select your collection. This is the collection that will receive the Windows Server 2019 installation. For testing purposes, we recommend putting only 1 computer to start
- Select the Purpose of the
deployment
- Available will prompt the user to install at the desired time
- Required will force the deployment at the deadline (see Scheduling)
- In the Make available to the following drop down, select the Only media and PXE. This will ensure that you do not send the deployment on clients. This is also useful to avoid errors, using this options you *could* send the deployment to All Systems and no clients would be able to run the deployment from Windows

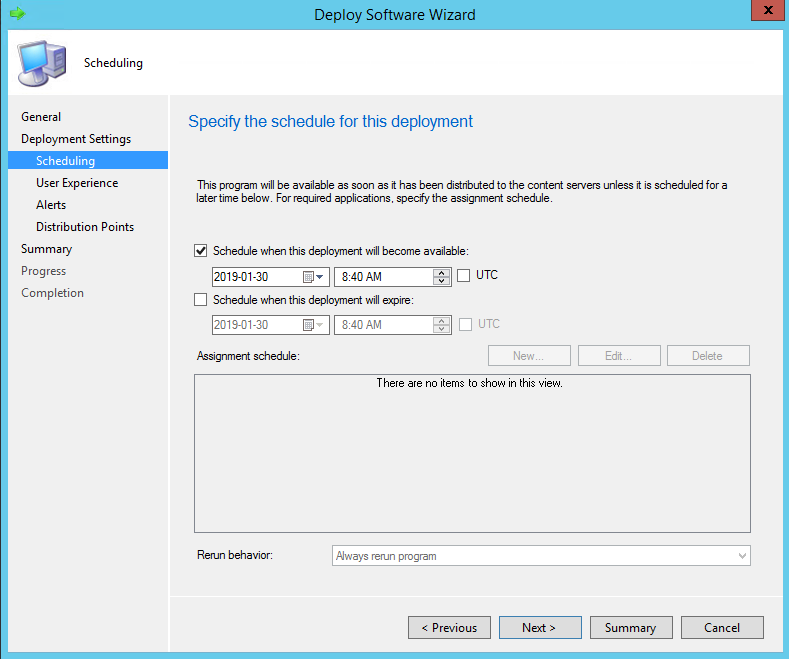
- On the Scheduling tab, enter the desired available date and time. On the screenshot, we can’t create an Assignment schedule because we select Available in the previous screen
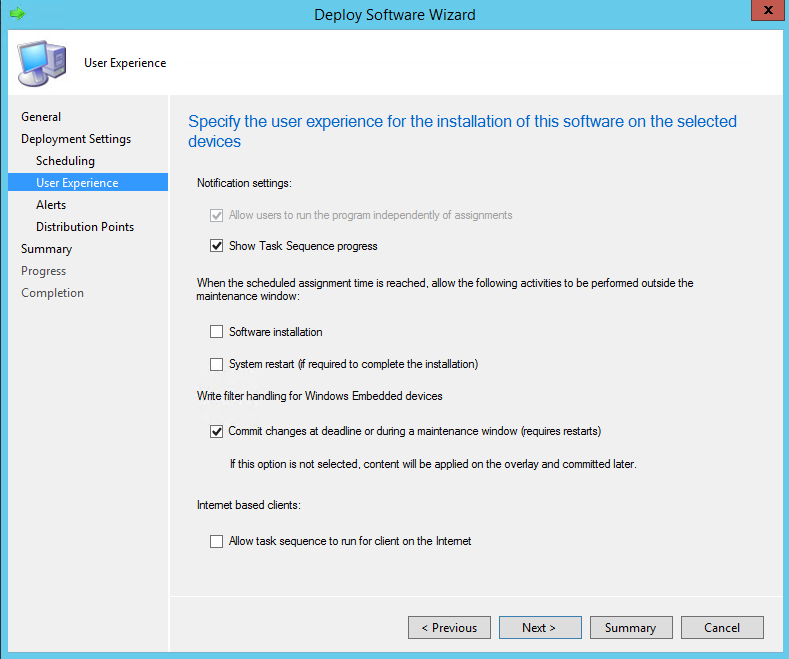
- In the User Experience pane, select the desired options
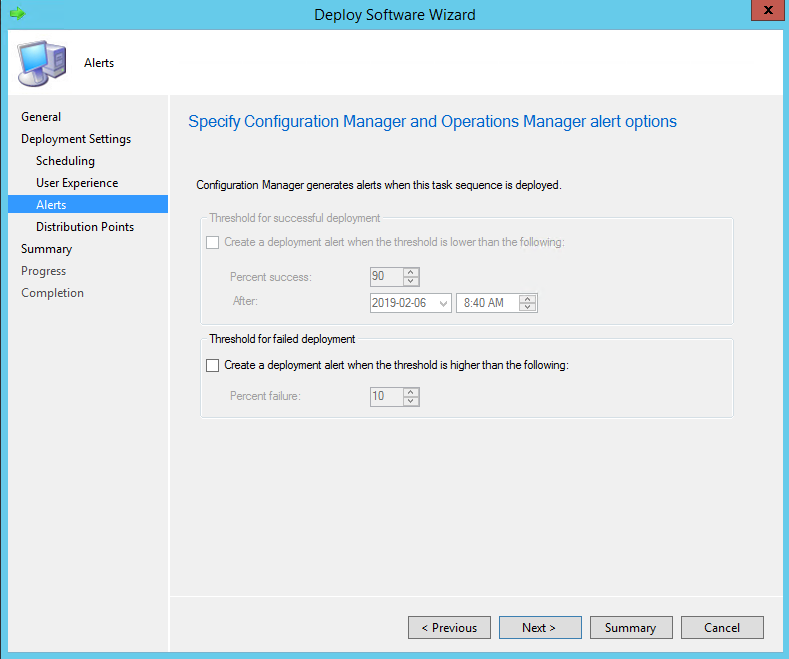
- In the Alerts tab, check Create a deployment alert when the threshold is higher than the following checkbox if you want to create an alert on the failures
- On the Distribution Point pane, select the desired Deployment options. We will leave the default options

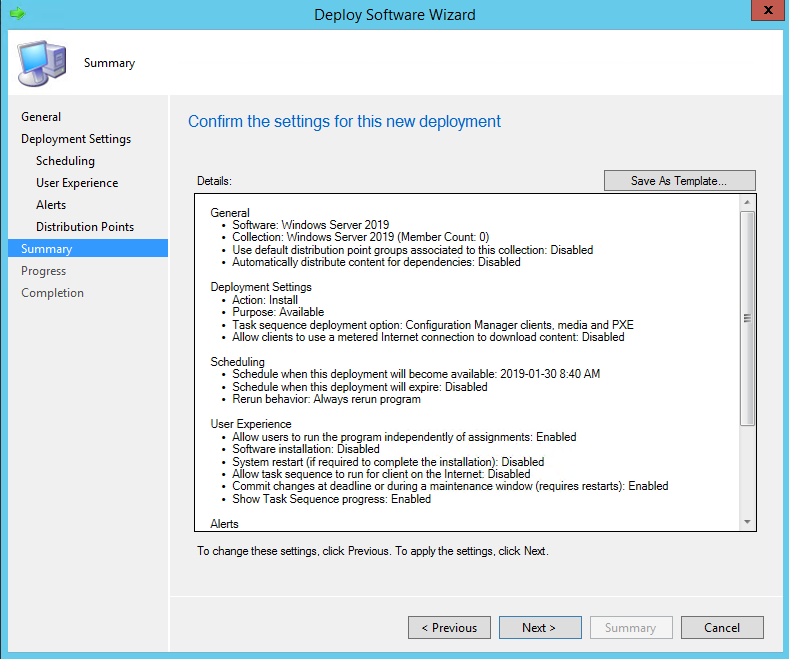
- Review the selected options and complete the wizard

PXE BOOT
Now that we’ve created our task sequence and that it’s deployed. We can start the deployment on the machine. Make sure that your system is a member of your deployment collection and start the device.
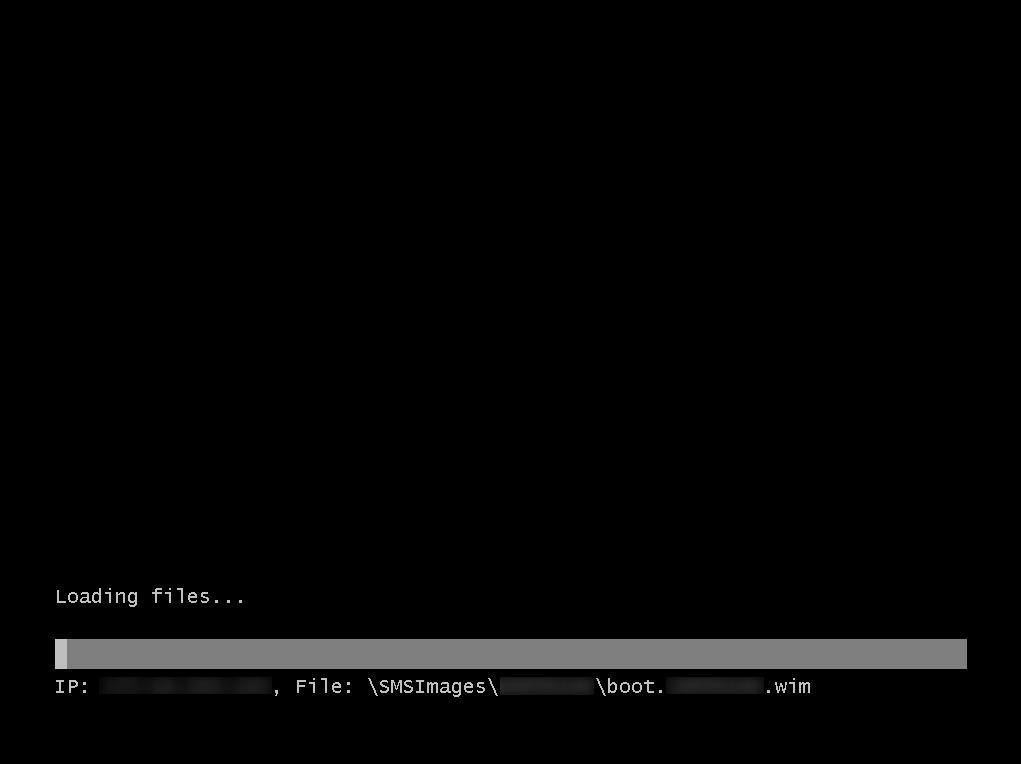
- The machine is booting and waiting for the PXE to respond
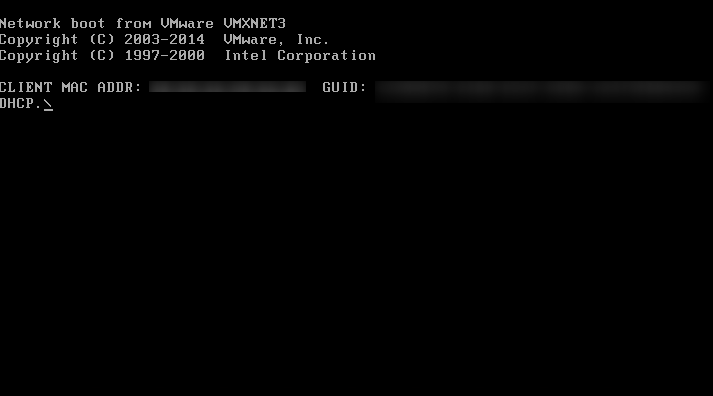
- Our SCCM distribution point is sending the boot image to our VM
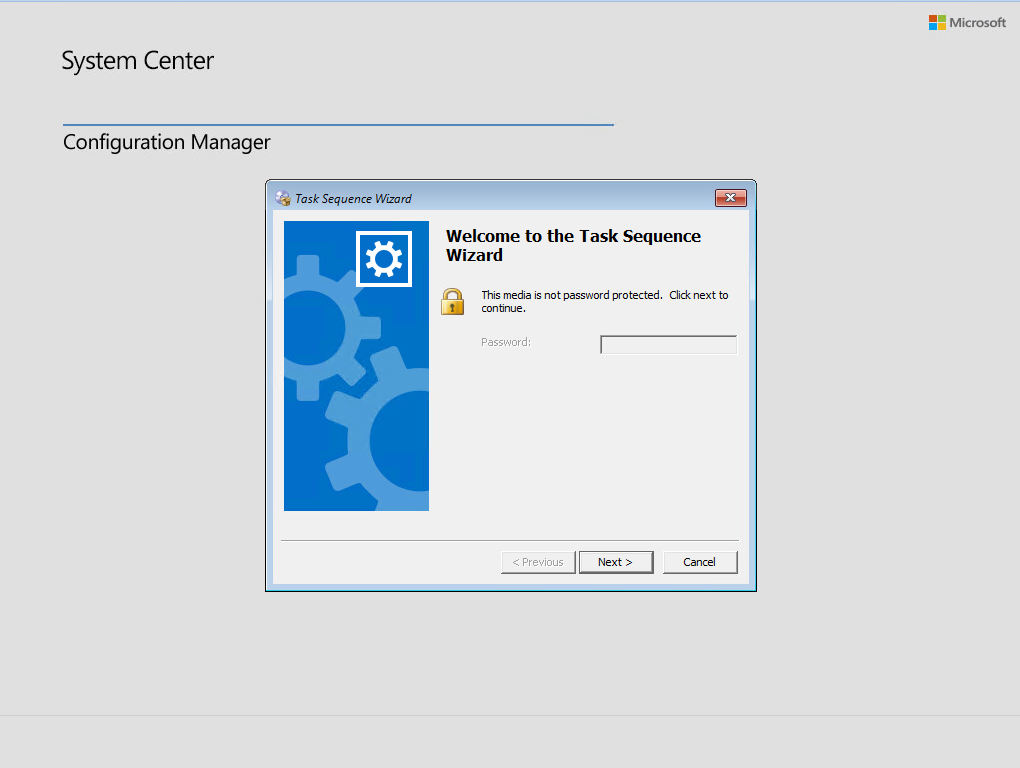
- The Welcome to the Task Sequence Wizard pops-up. This is because of the Available purpose in the Deployment Settings. If we had a Requireddeployment, the task sequence would start right away. Click Next
- All the available task sequence are listed. In our example we have only 1 deployment on our collection so only 1 task sequence is available. Select the task sequence and click Next

- The Task Sequence starts
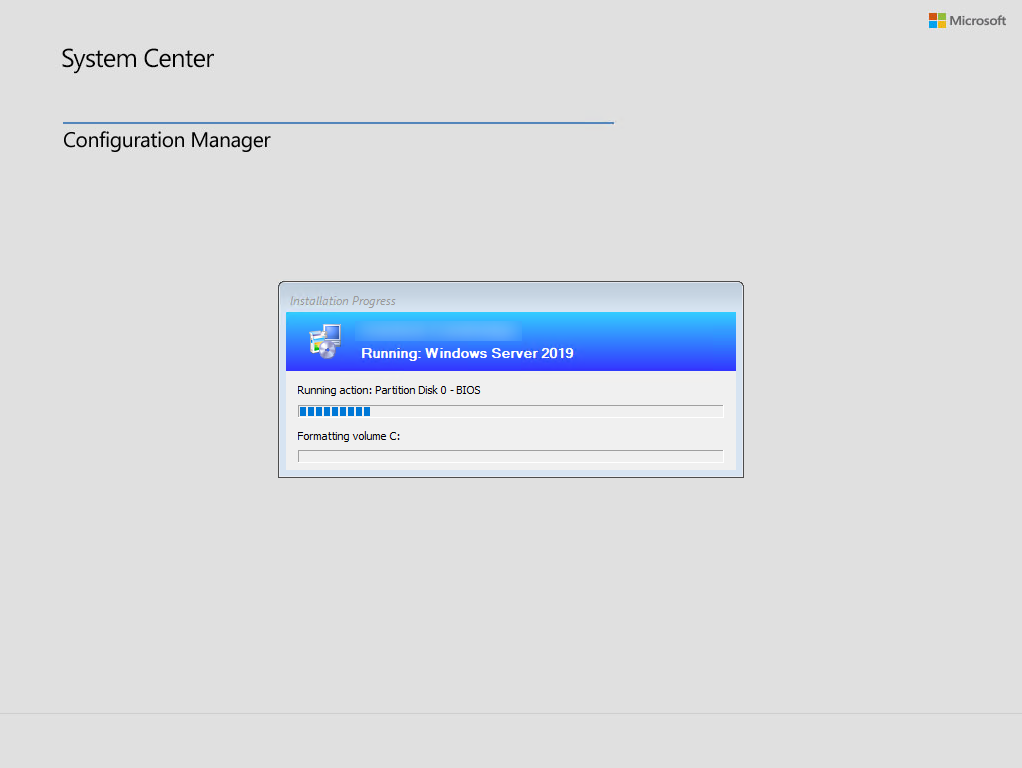
Completed ! Welcome to Windows Server 2019.

SCCM Windows server 2019 task sequence MONITORING
See our blog post on this topic which covers the various ways to monitor your Task Sequence progress.
Bonus things to do…
You will also need to cover a few things that we didn’t document on this article. Such as:
- Add “Windows Server 2019” to your product classifications in Administration / Site Configuration / Sites / Configure Site Components / Software Update Point
- Update your KMS if you use one to enable activations for Server 2019
- Adjust your GPO filters if you use them to enable Server 2019
- Validate if all your drivers are still 2019 compatible if you deploy on physical machines
Share
Get the latest insights and exclusive content delivered to your inbox


Fiya
03.10.2020 AT 01:40 PMSAI KRISHNA
01.23.2020 AT 04:51 AMSinita Singh-Nelson
07.16.2019 AT 02:34 PMGeorge Anjorin
03.08.2019 AT 04:35 AMSkylar
02.13.2019 AT 12:32 PMBrandon
10.02.2019 AT 02:10 AMLassaad2k
02.07.2019 AT 02:54 PMmsdhoni
02.02.2019 AT 04:44 AM