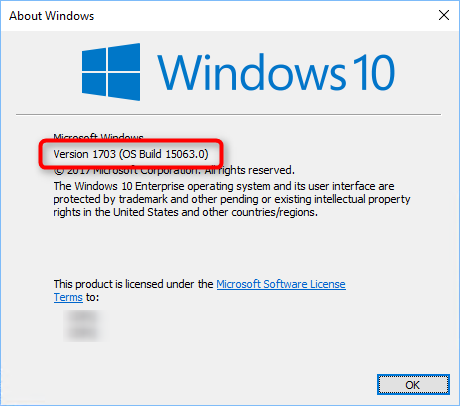

Microsoft published the next 1703 feature update (aka Creator Update), as Current Branch Update on 11th April 2017. Four months after the Current Branch for Business will be published (planned for August 2017) and you may need to deploy it to your Windows 10 computer to stay supported or to benefits from the new features.
Before deploying a new Windows 10 feature upgrade, you need to have a good plan. Test it in a lab environment, deploy it to a limited group and test all your business applications before broad deployment. Do not treat a feature upgrade as normal monthly software updates. Treat it as a new operating system as if you were upgrading Windows 7 to Windows 10.
SCCM Windows 10 1703 Servicing Plans Requirements
If it’s the first time you are using Windows 10 servicing plans, follow our previous post that explains the requirements to setup your Software Update Point. This post also explains the difference between Features Updates and Upgrades in update classifications. Be sure to read that to understand the difference between both.
We’ll start by making sure that the latest Feature Upgrade is synchronized on our server:
- Go to Software Library \ Windows 10 Servicing
- Right-click Windows 10 Servicing, select Synchronize Software Updates
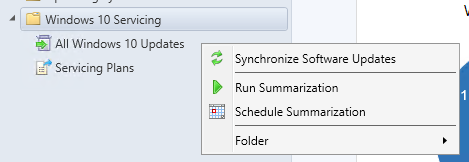
- As for any Software Update synchronization process, follow the progress in Wsyncmgr.log in your SCCM installation directory
- Once completed, go to Software Library \ Windows 10 Servicing \ All Windows 10 Updates
- You should have your Windows 10 1703 Upgrade packages listed

Once again, if you are seeing Feature Upgrade and Upgrades read this post to understand the difference. TL;DR : Feature Upgrade = CB, Upgrades = CBB
Create Windows 10 1703 Servicing Plans
Now that we have Windows 10 1703 upgrade packages synchronized in SCCM, we can create a servicing plan for our Windows 10 devices. Servicing Plan and Automatic Deployment Rules shares the same engine so you won’t be disoriented by servicing plans.
Servicing plans are designed to upgrade Windows 10 from one build to another build only. You can’t use that to upgrade Windows 7 to Windows 10. If you need to upgrade your Windows 7 to Windows 10 use an Upgrade Task Sequence instead.
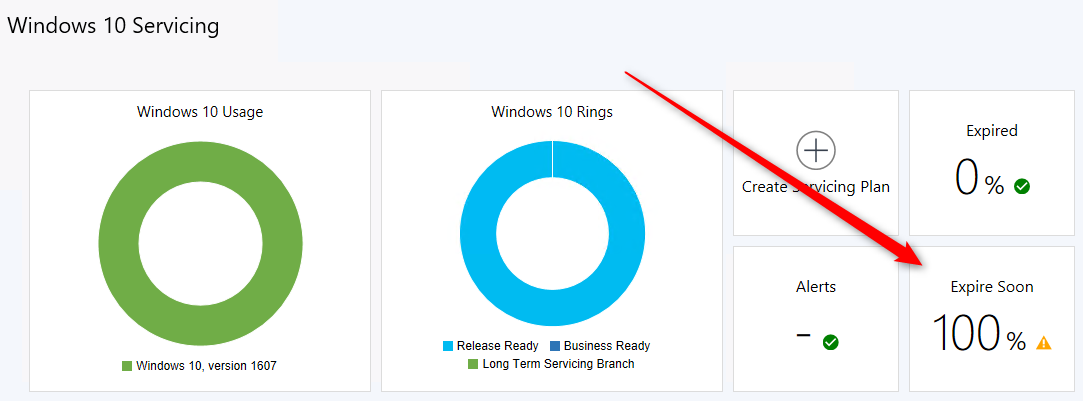
Looking at the Windows 10 Servicing dashboard ( Software Library \ Windows 10 Servicing), you can see your Windows 10 expiration statistics :
- Go to Software Library \ Windows 10 Servicing \ Servicing Plan
- Right-click Servicing Plan and select Create Servicing Plan

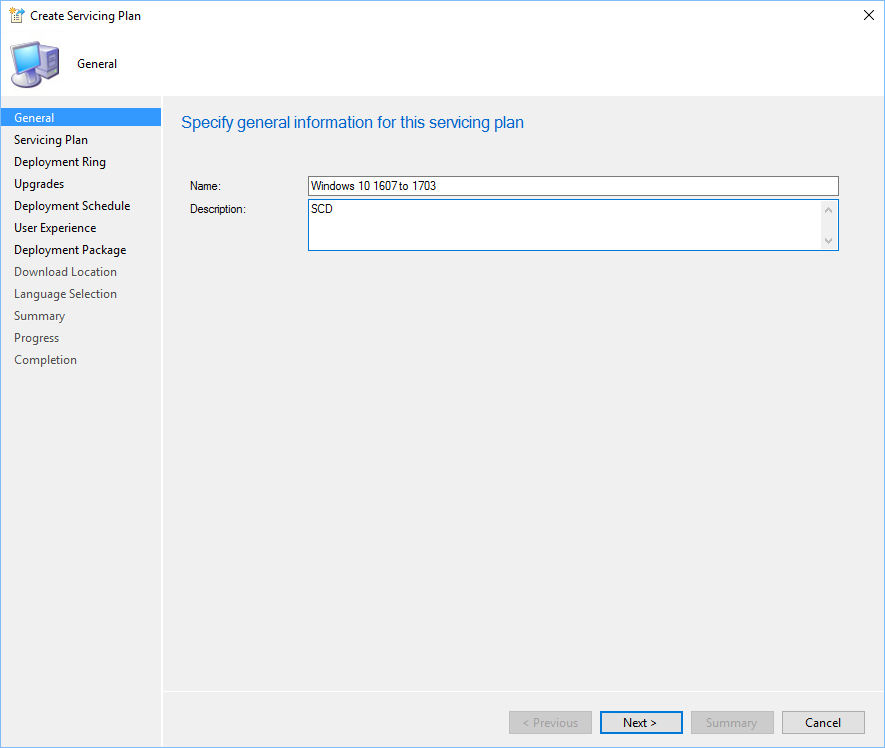
- In the General pane, give a Name and Description, click Next
- On the Servicing Plan tab, click Browse and select your Target Collection
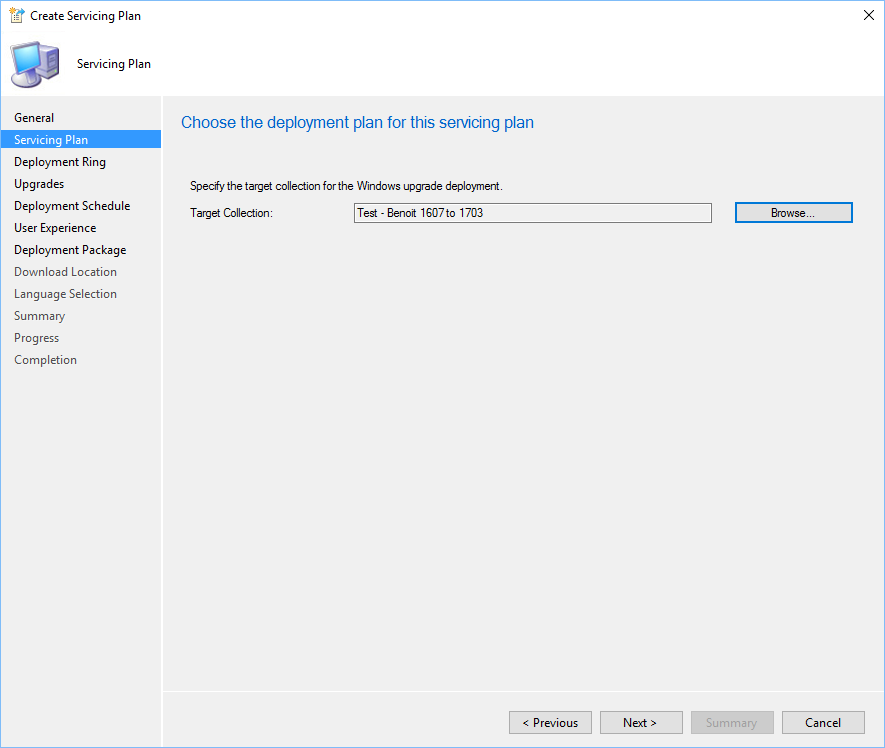
- In the Deployment Ring tab:
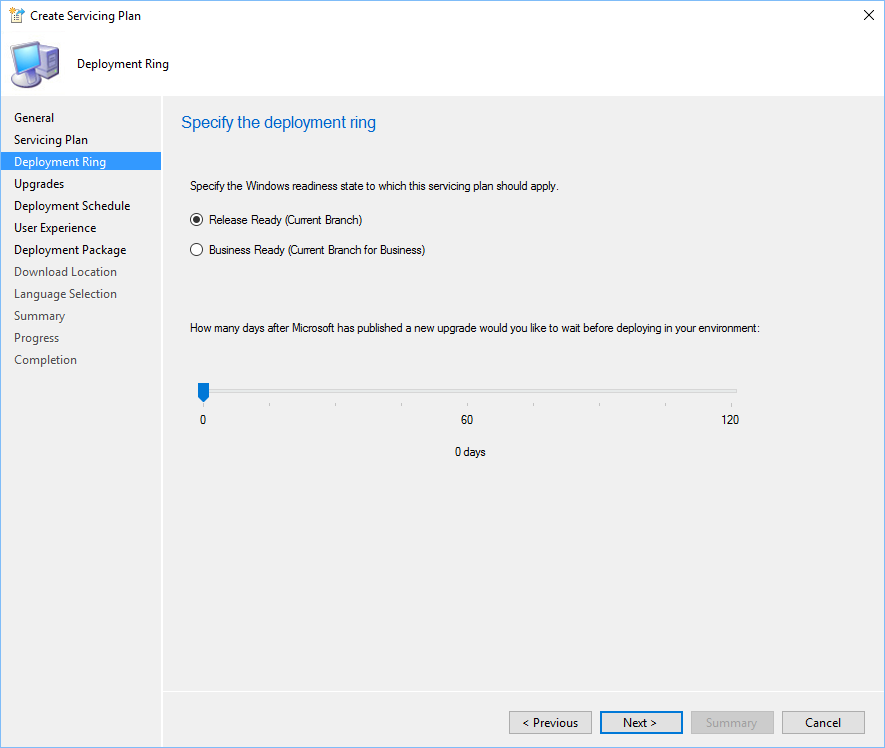
- Specify the Windows readiness state to which your servicing plan should apply
- Specify how many days you want to wait before deploying
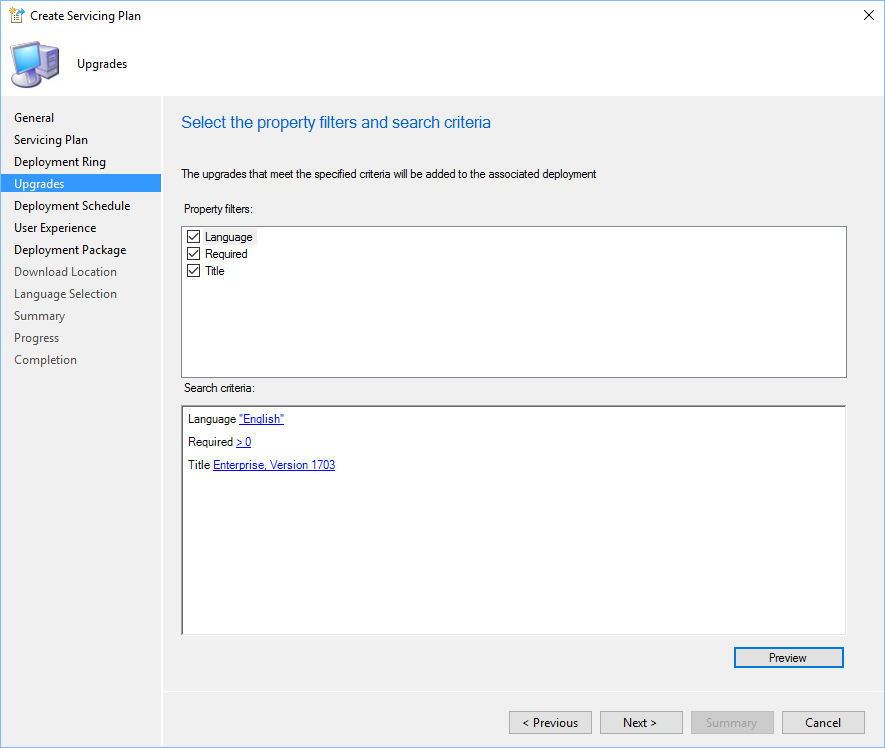
- In the Upgrade tab, specify the Language, Required and Title of the upgrade packages you want to deploy. The language feature is available in SCCM 1602+.
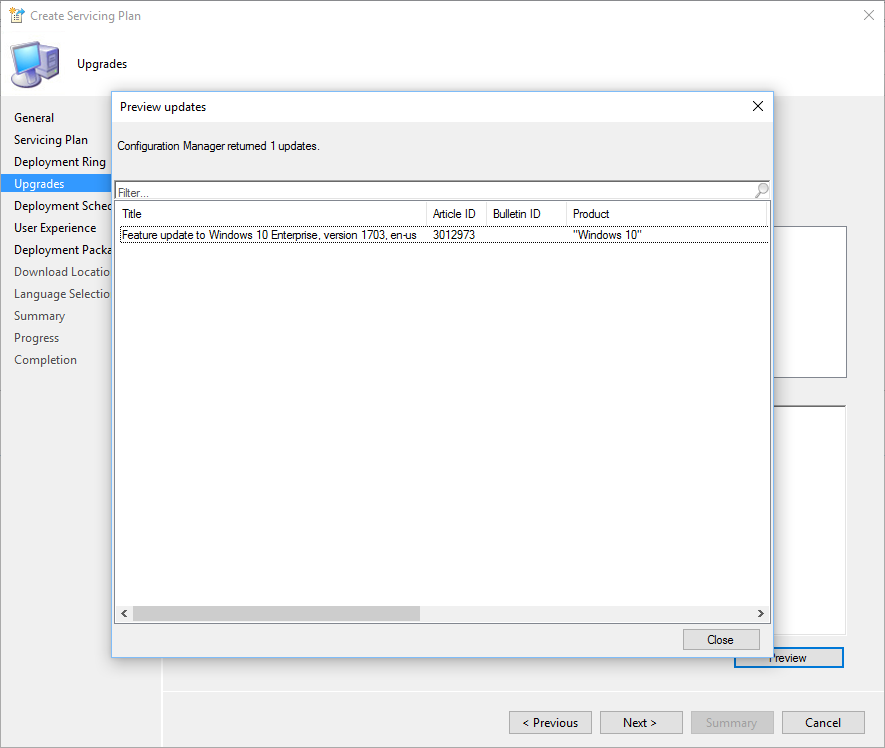
- Use the Preview button to ensure that you are targeting the right version (We are targeting Windows 10 1703 Enterprise en-us devices that are Required)
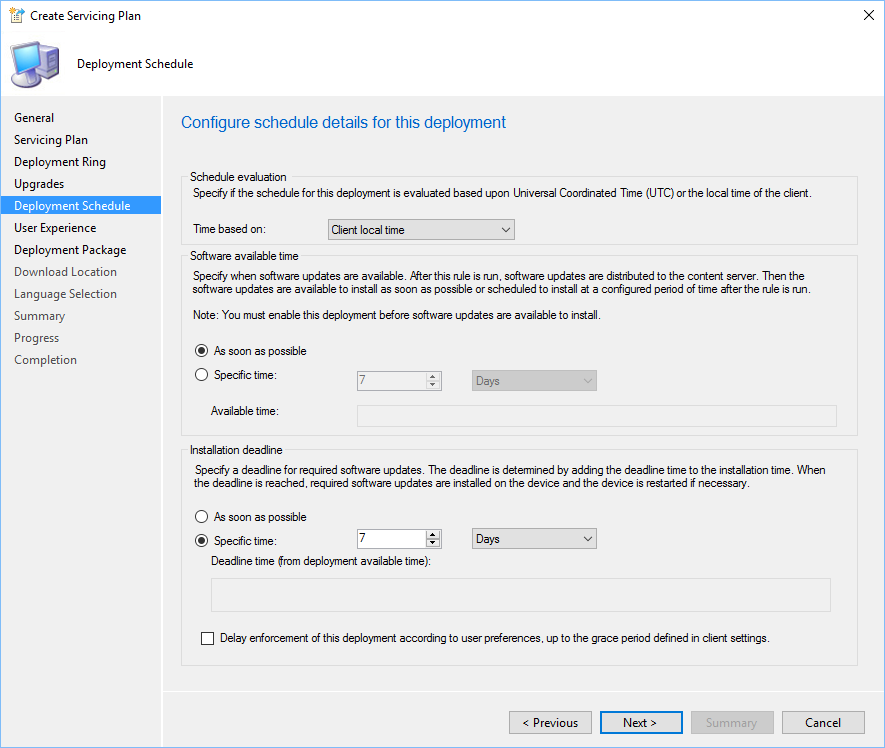
- In the Deployment Schedule tab, select the desired behavior
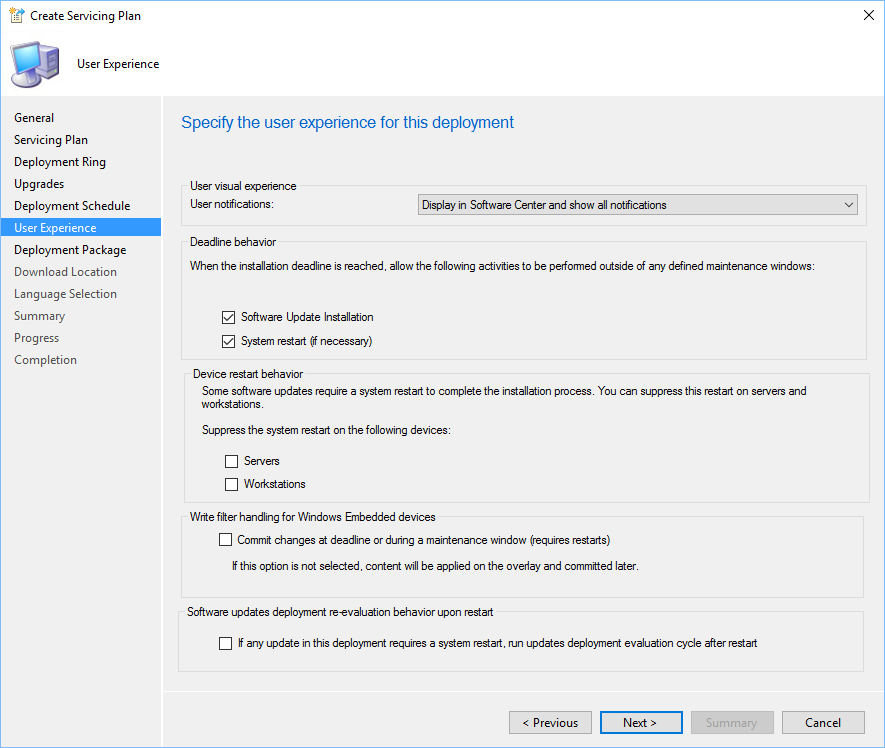
- In the User Experience tab, select the desired options
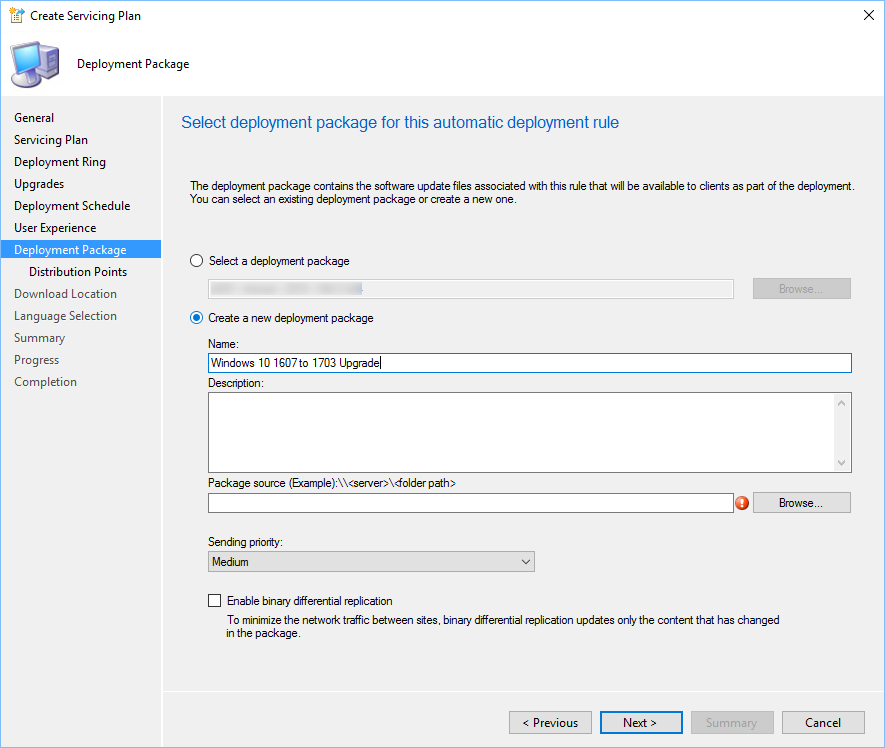
- In the Deployment Package tab, select Create a new deployment package and enter your Package Source path
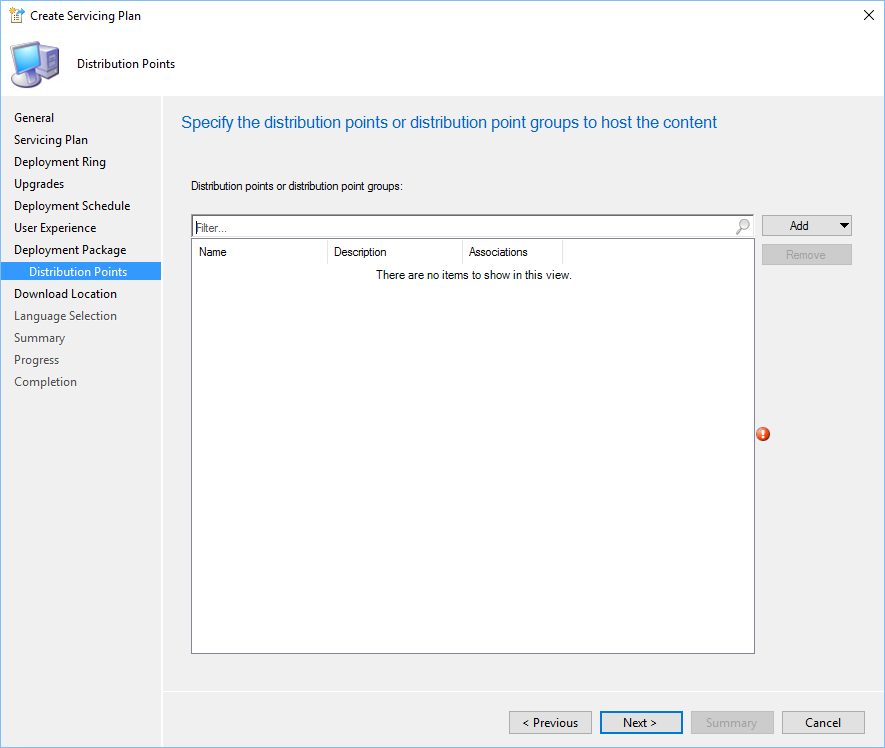
- In the Distribution Points tab, select your distribution point
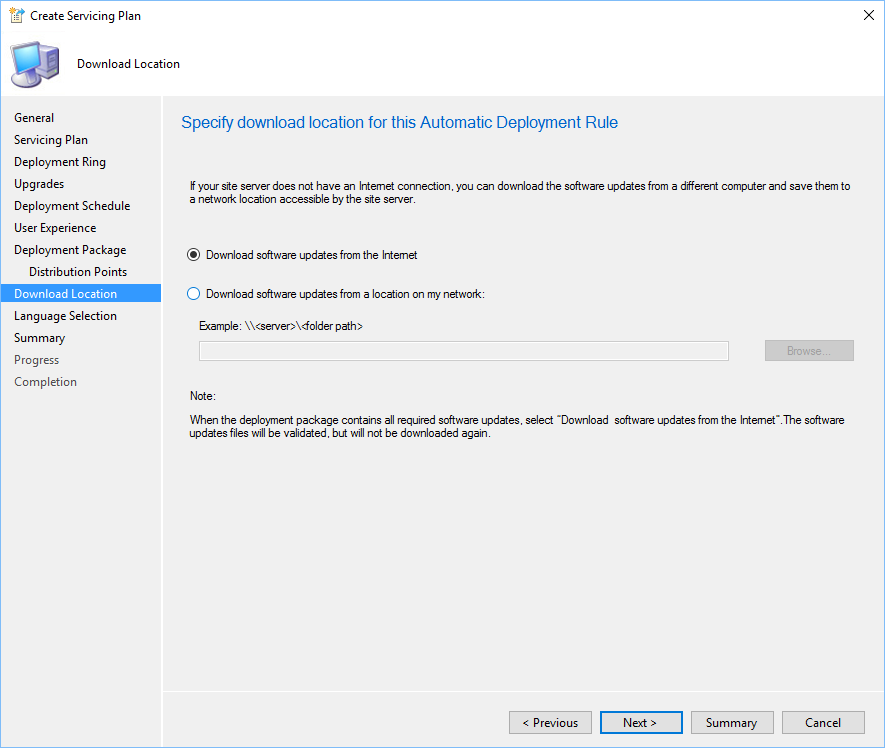
- In the Download Location tab, select Download software updates from the Internet
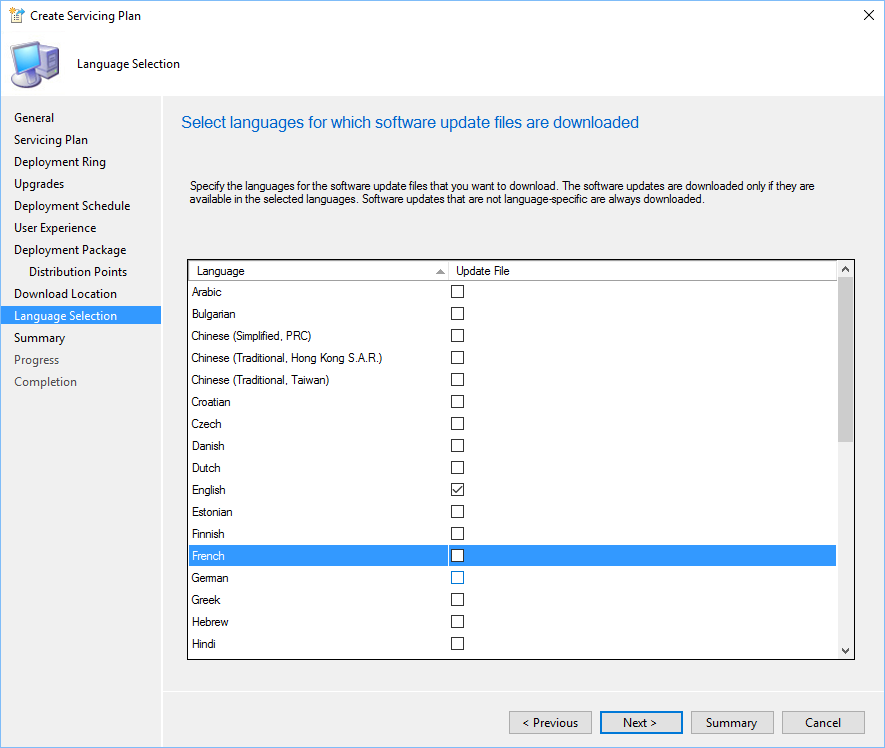
- In the Language Selection tab, select your language
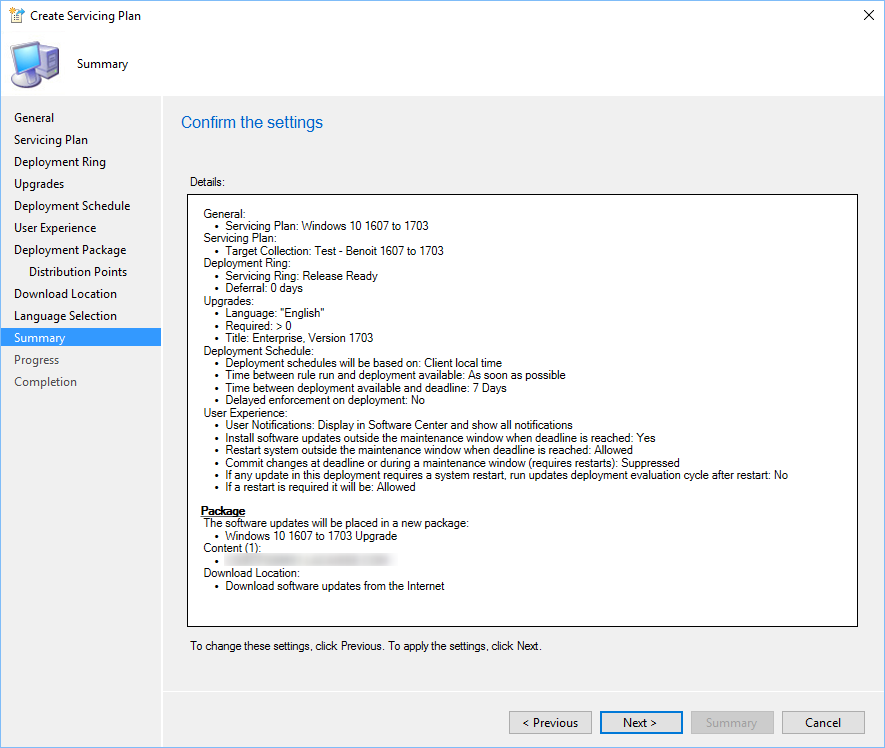
- In the Summary tab, review your settings and close the Create Servicing Plan wizard
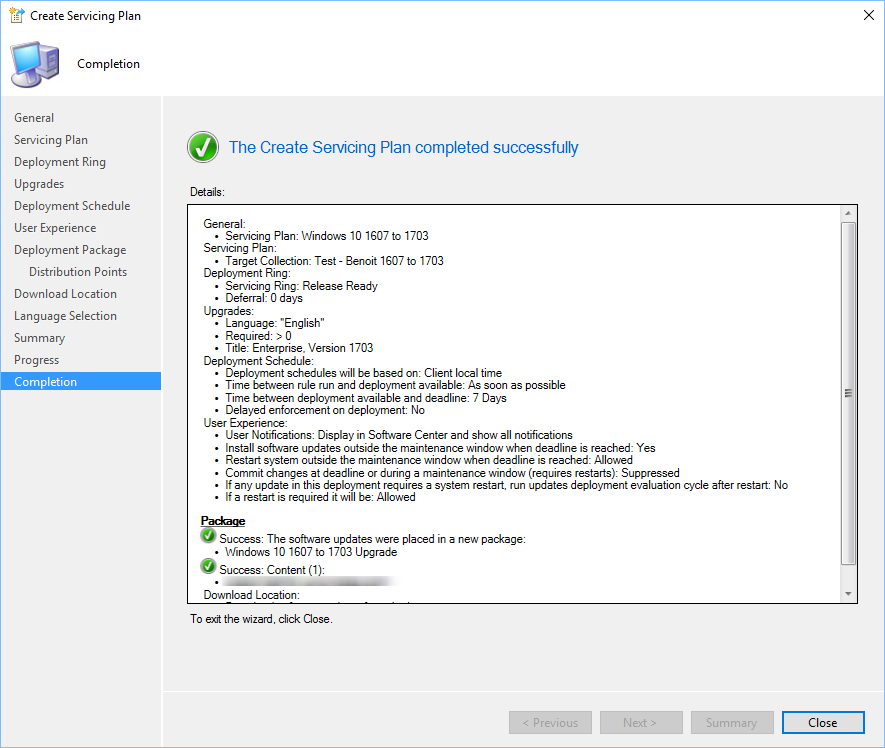
- Right-click your newly created Servicing Plan and select Run Now
- Check the RuleEngine.log file to see the progress. This process takes a while.

- A Software Update Group and Deployment Package will be created. The size of the package will be around 2-3gb per language

- You can also see that the deployment gets created in the Monitoring / Deployments section
Windows 10 1703 Servicing Plan Deployment
Now that the deployment is triggered for clients, we will launch the installation manually using software center.
- Log on your Windows 10 computer
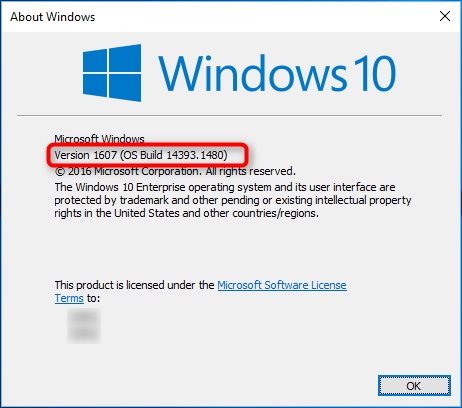
- We verify that we are running Windows 10 Enterprise version 1607 (Build 14393.1480)
- Initiate a Software Update Deployment Evaluation Schedule using the Configuration Manager icon in Control Panel
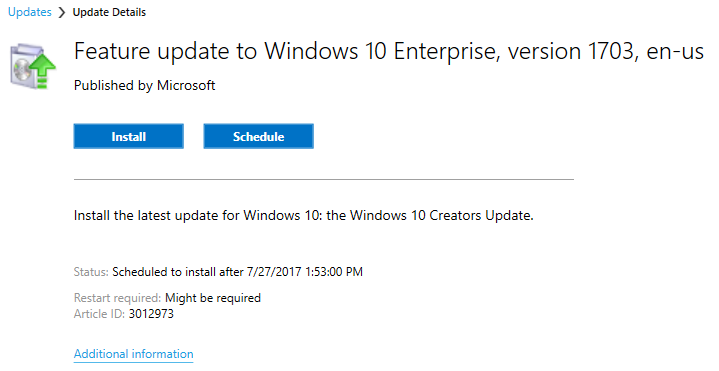
- Open the Software Center, under Updates, Feature Update to Windows 10 Enterprise 1703 is listed

- Select it and select Install
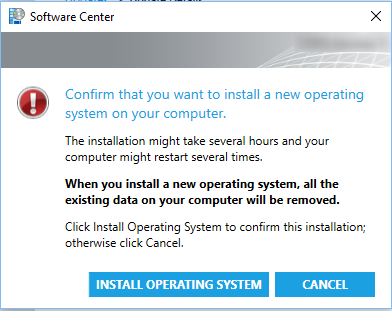
- Accept the warning by clicking Install Operating System. (Your data won’t be lost)
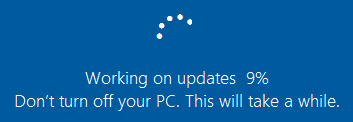
- The computer will restart after about 5 minutes
- The whole upgrade process takes about 30 to 45 minutes and your device will be rebooted multiple time
- Once completed, log on the computer using your account. Windows is happy to tell you that it’s updated

- We are now running Windows 10 Enterprise version 1703(Build 15063.483)

- Back in the Software Library \ Windows 10 Servicing \ Servicing Plan node
- Our machine is now listed as Windows 10 version 1703 and is no longer listed as Expire Soon in the Windows 10 Servicing node
- The Service Plan Monitoring section can be used to monitor compliance and you can use the Deploy Now button to deploy the same service plan to a new collection

Use the comment section to tell how you’re planning to upgrade your outdated Windows 10 versions.


Aaron
07.27.2017 AT 08:58 PMBenoit Lecours
07.28.2017 AT 07:44 AM