
Repair Application from Software Center using SCCM 1810+
Founder of System Center Dudes. Based in Montreal, Canada, Senior Microsoft SCCM Consultant, 8 times Enterprise Mobility MVP. Working in the industry since 1999. His specialization is designing, deploying and configuring SCCM, mass deployment of Windows operating systems, Office 365 and Intune deployments.

Benoit Lecours
PresidentTable of Content


Share


Get the latest insights and exclusive content delivered to your inbox
Beginning with SCCM 1810, you can now repair an application directly from
Now, you can directly initiate a Repair action in Software Center. The good
- Upgrade to SCCM 1810
- Add a repair command line to your application
- Check the Repair option in your application deployments
If you haven’t
Add SCCM repair command line
The first thing you need to do to have the SCCM application repair option is to add your repair command line in your application.
- In the SCCM Console
- Select the desired application, select the deployment type and go to the Properties
- In the Program tab, specify the command to repair the application in the new box
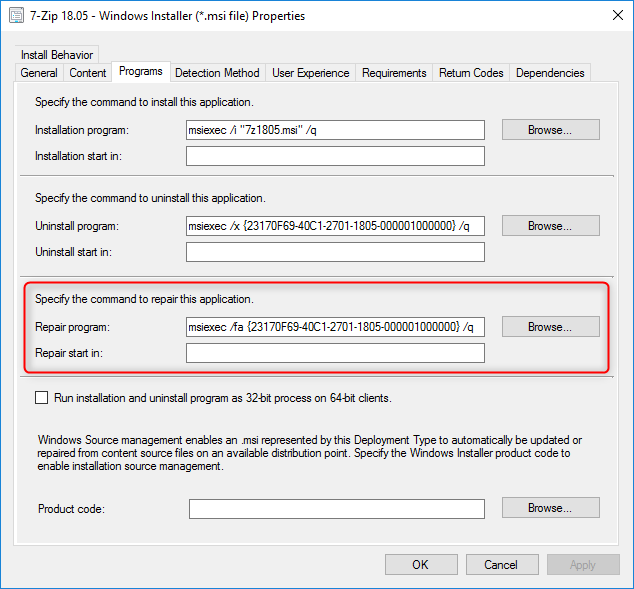
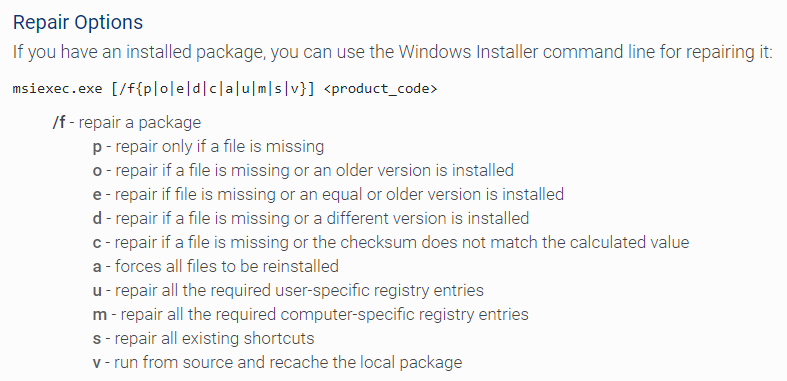
You’ll have to find the silent switch for repairing your application as for the installation switches.
If you have an MSI, it will look like this :
https://www.advancedinstaller.com/user-guide/msiexec.html
Add the repair option in the SCCM Deployment
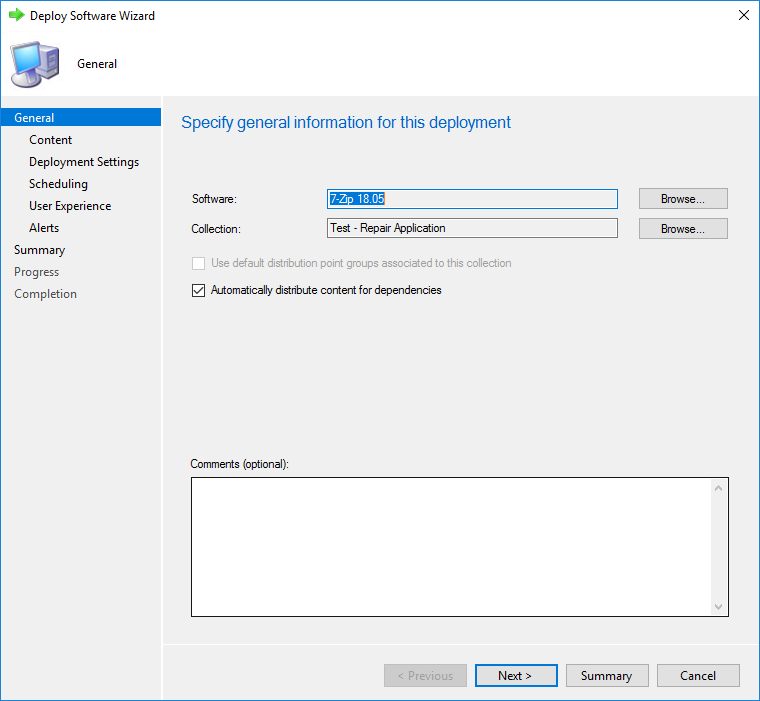
Once the application has a repair command line, we can add the option in the deployment
- In the SCCM Console
- Create a new deployment for your application
- In the General tab, select your software and collection
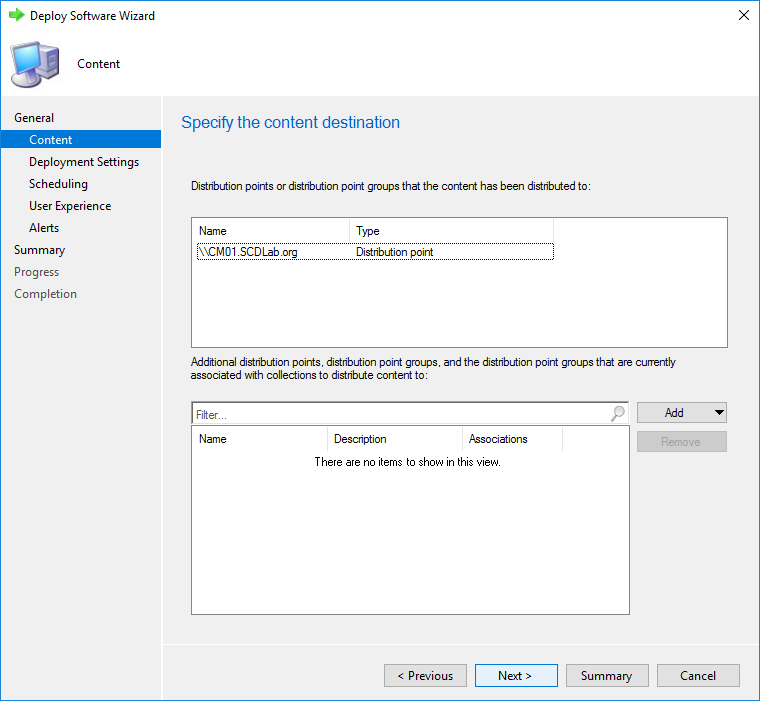
- In the content tab, ensure that your application is distributed, click Next
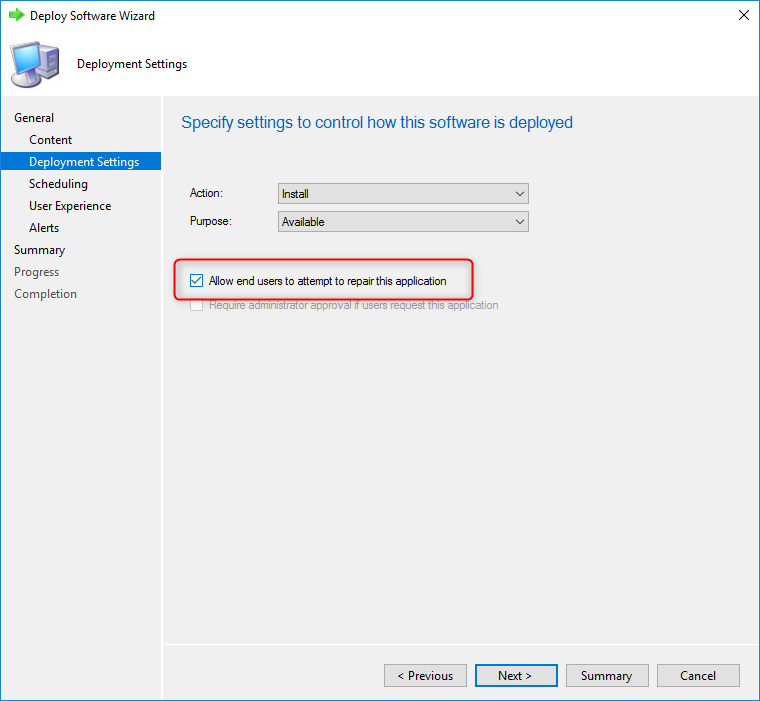
- In the Deployment S
ettings tab, select Allow end users to attempt to repair this application
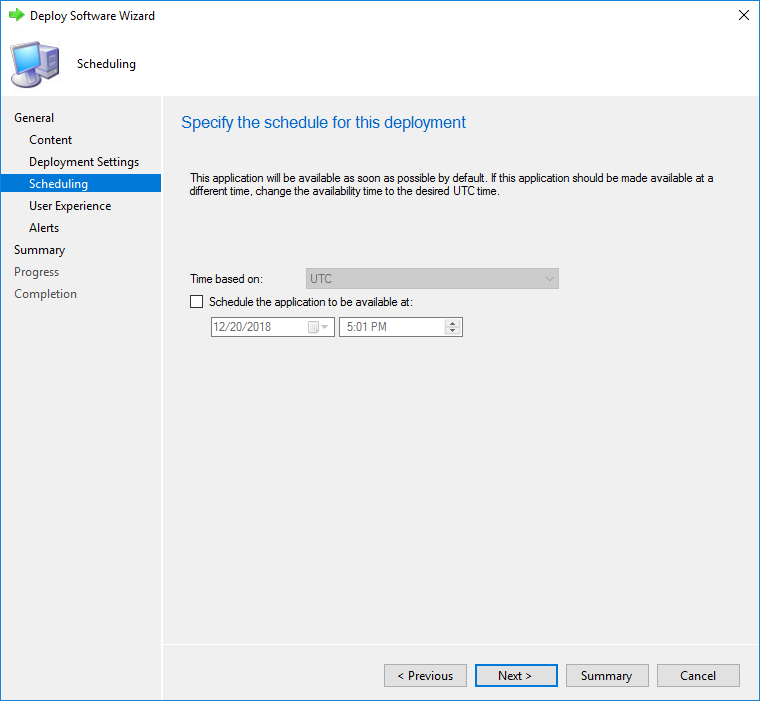
- In the Scheduling tab, select the desired schedule
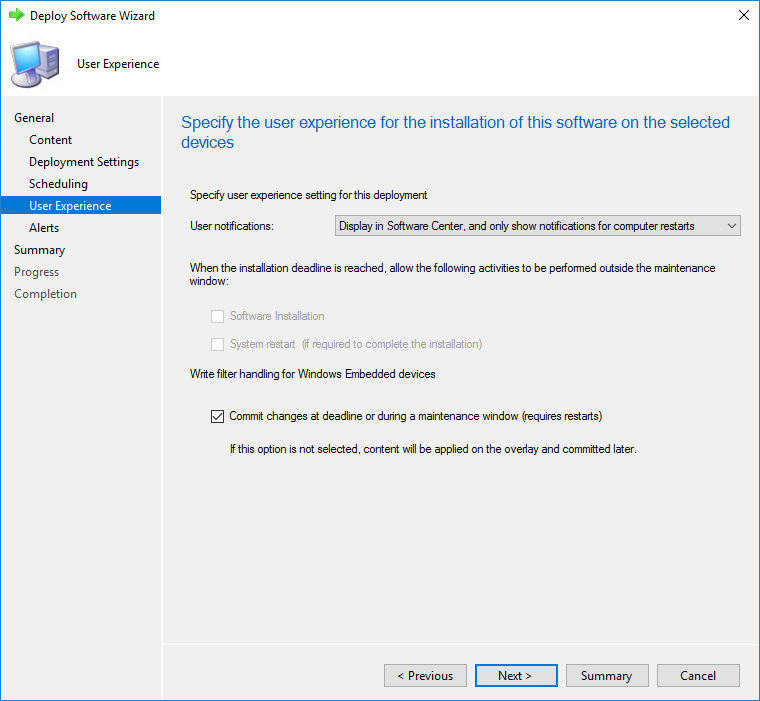
- In the User Experience tab, select the desired options
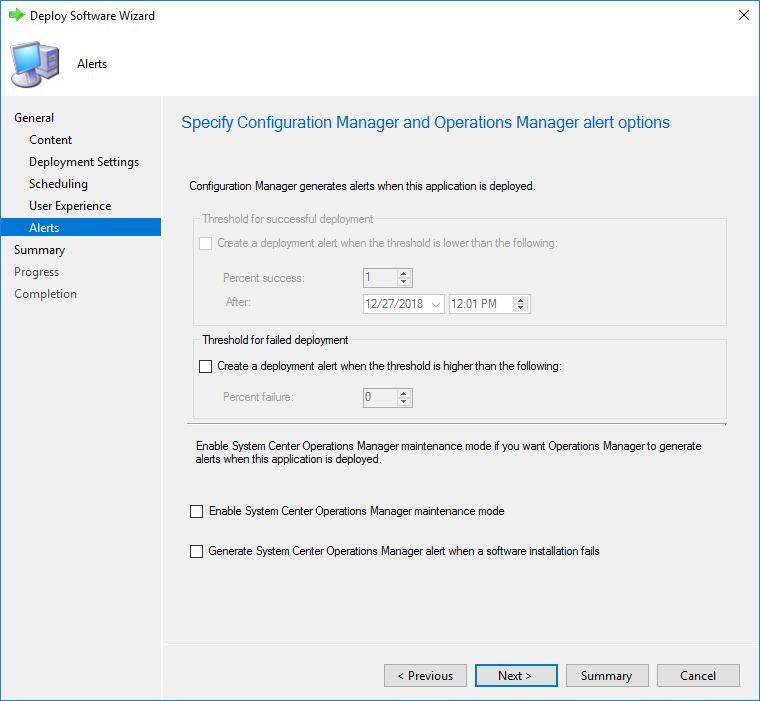
- In the Alerts tab, select the Alerts options
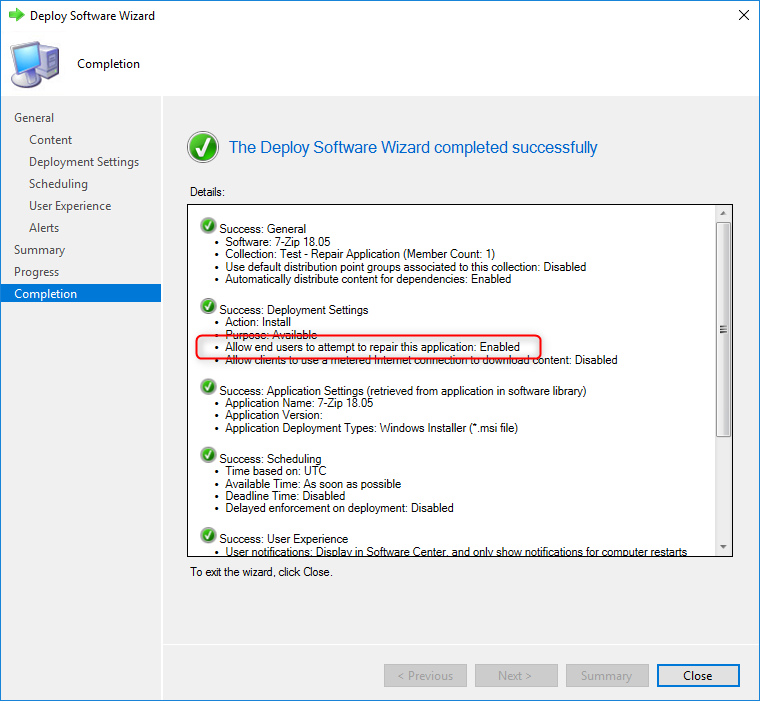
In the Completion tab, you can see the repair option has been enabled
Test SCCM Repair Application on Client
Let’s see the results on an SCCM client
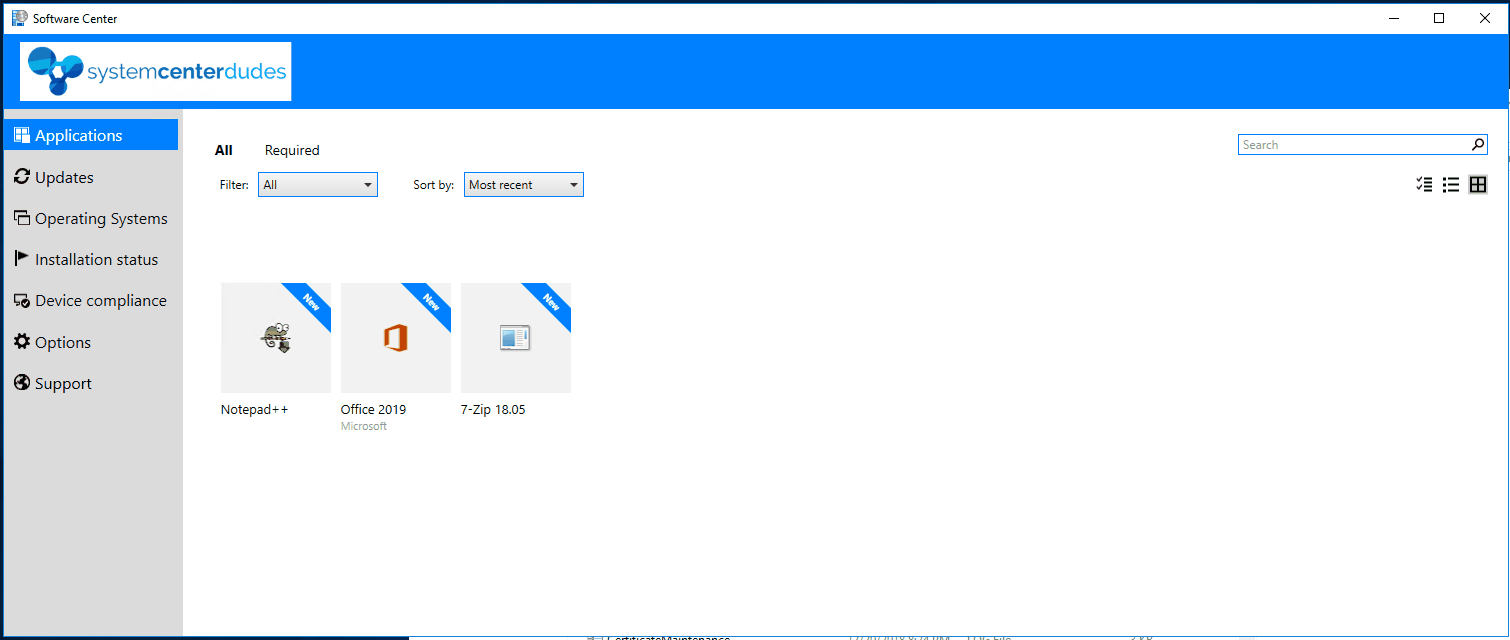
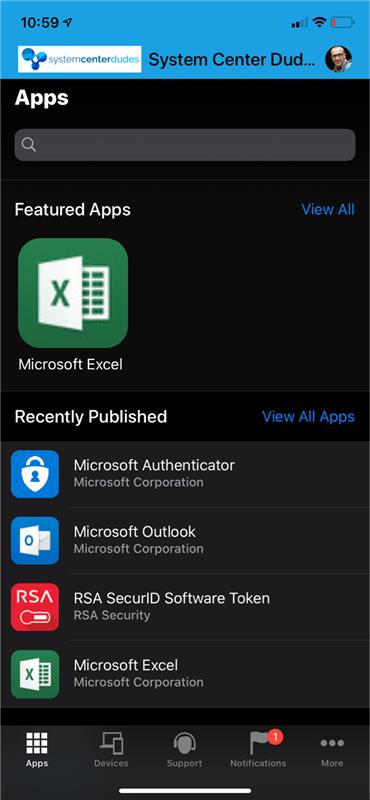
- Launch the Software Center
- On our test client, 7zip has already been installed
- Click on the application, a new Repair button is available
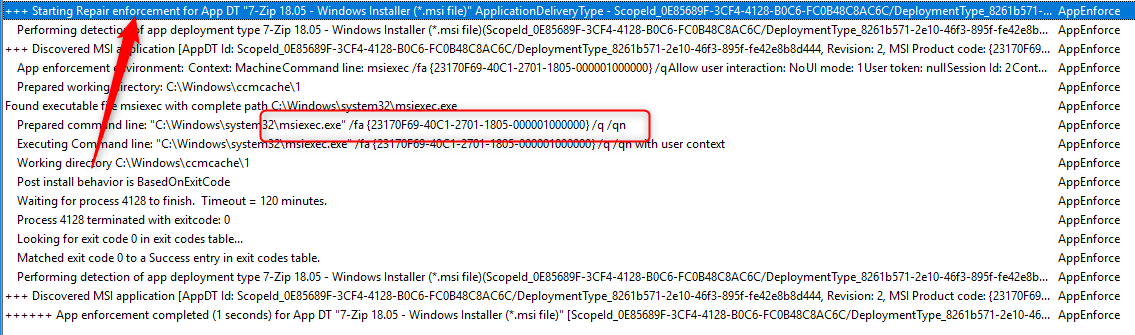
- Once initiated, the repair command line is launched.

- You can see the repair results in the AppEnforce log file.
A small but awesome new feature !
Share
Get the latest insights and exclusive content delivered to your inbox


Yale.Rebecca
04.15.2020 AT 04:02 PMsunroof tamiri
09.07.2019 AT 08:40 AMmini onarım
09.07.2019 AT 08:39 AMDamo
07.08.2019 AT 02:10 AMJonny M
06.03.2019 AT 10:36 AMJakub
05.13.2019 AT 05:11 AMBen Allsup
04.11.2019 AT 03:59 AMRalf Bergamin
03.19.2019 AT 07:01 AMMark Rogalski
01.02.2019 AT 01:45 PMMark Rogalski
01.03.2019 AT 03:40 PM