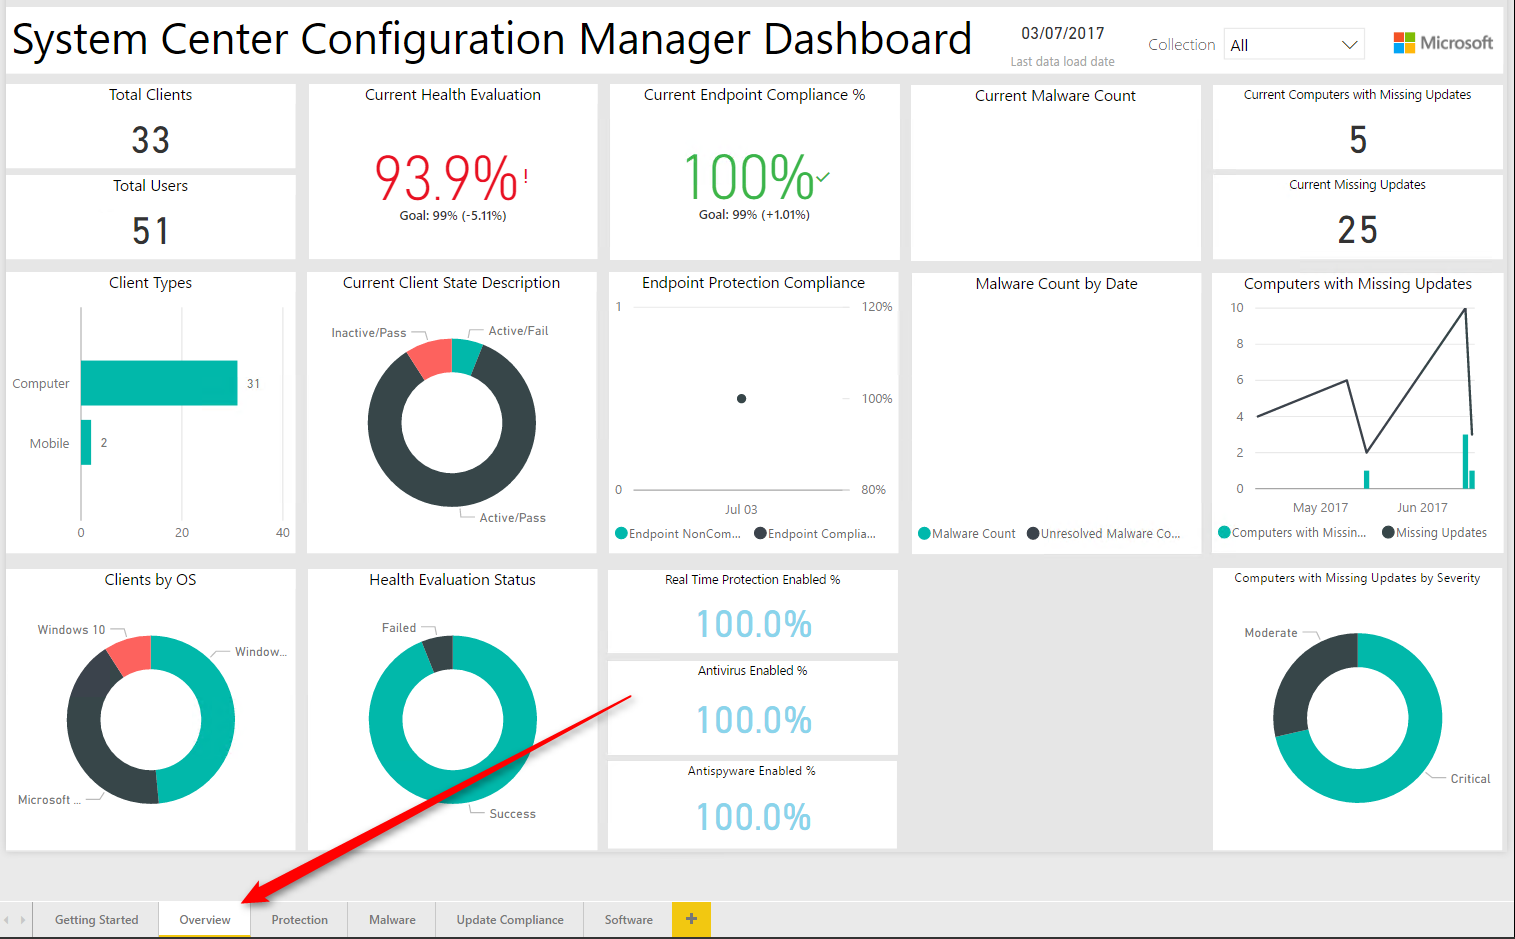

Last September, the Power BI solution template for System Center Configuration Manager was released. The SCCM Power BI Dashboard provides detailed information of your SCCM hierarchy including client and server health, malware protection, software updates, and software inventory. Better late than never, we decided to do a blog post on how to link your SCCM server to Power BI and install the SCCM Power BI Dashboard. The SCCM Dashboard will show data as soon as you finish this wizard. You’ll also be able to build your own Power BI reports and publish it if you have a valid Power BI license.
If you are not familiar with Power BI, you can read the FAQ which has answers to the most common questions.
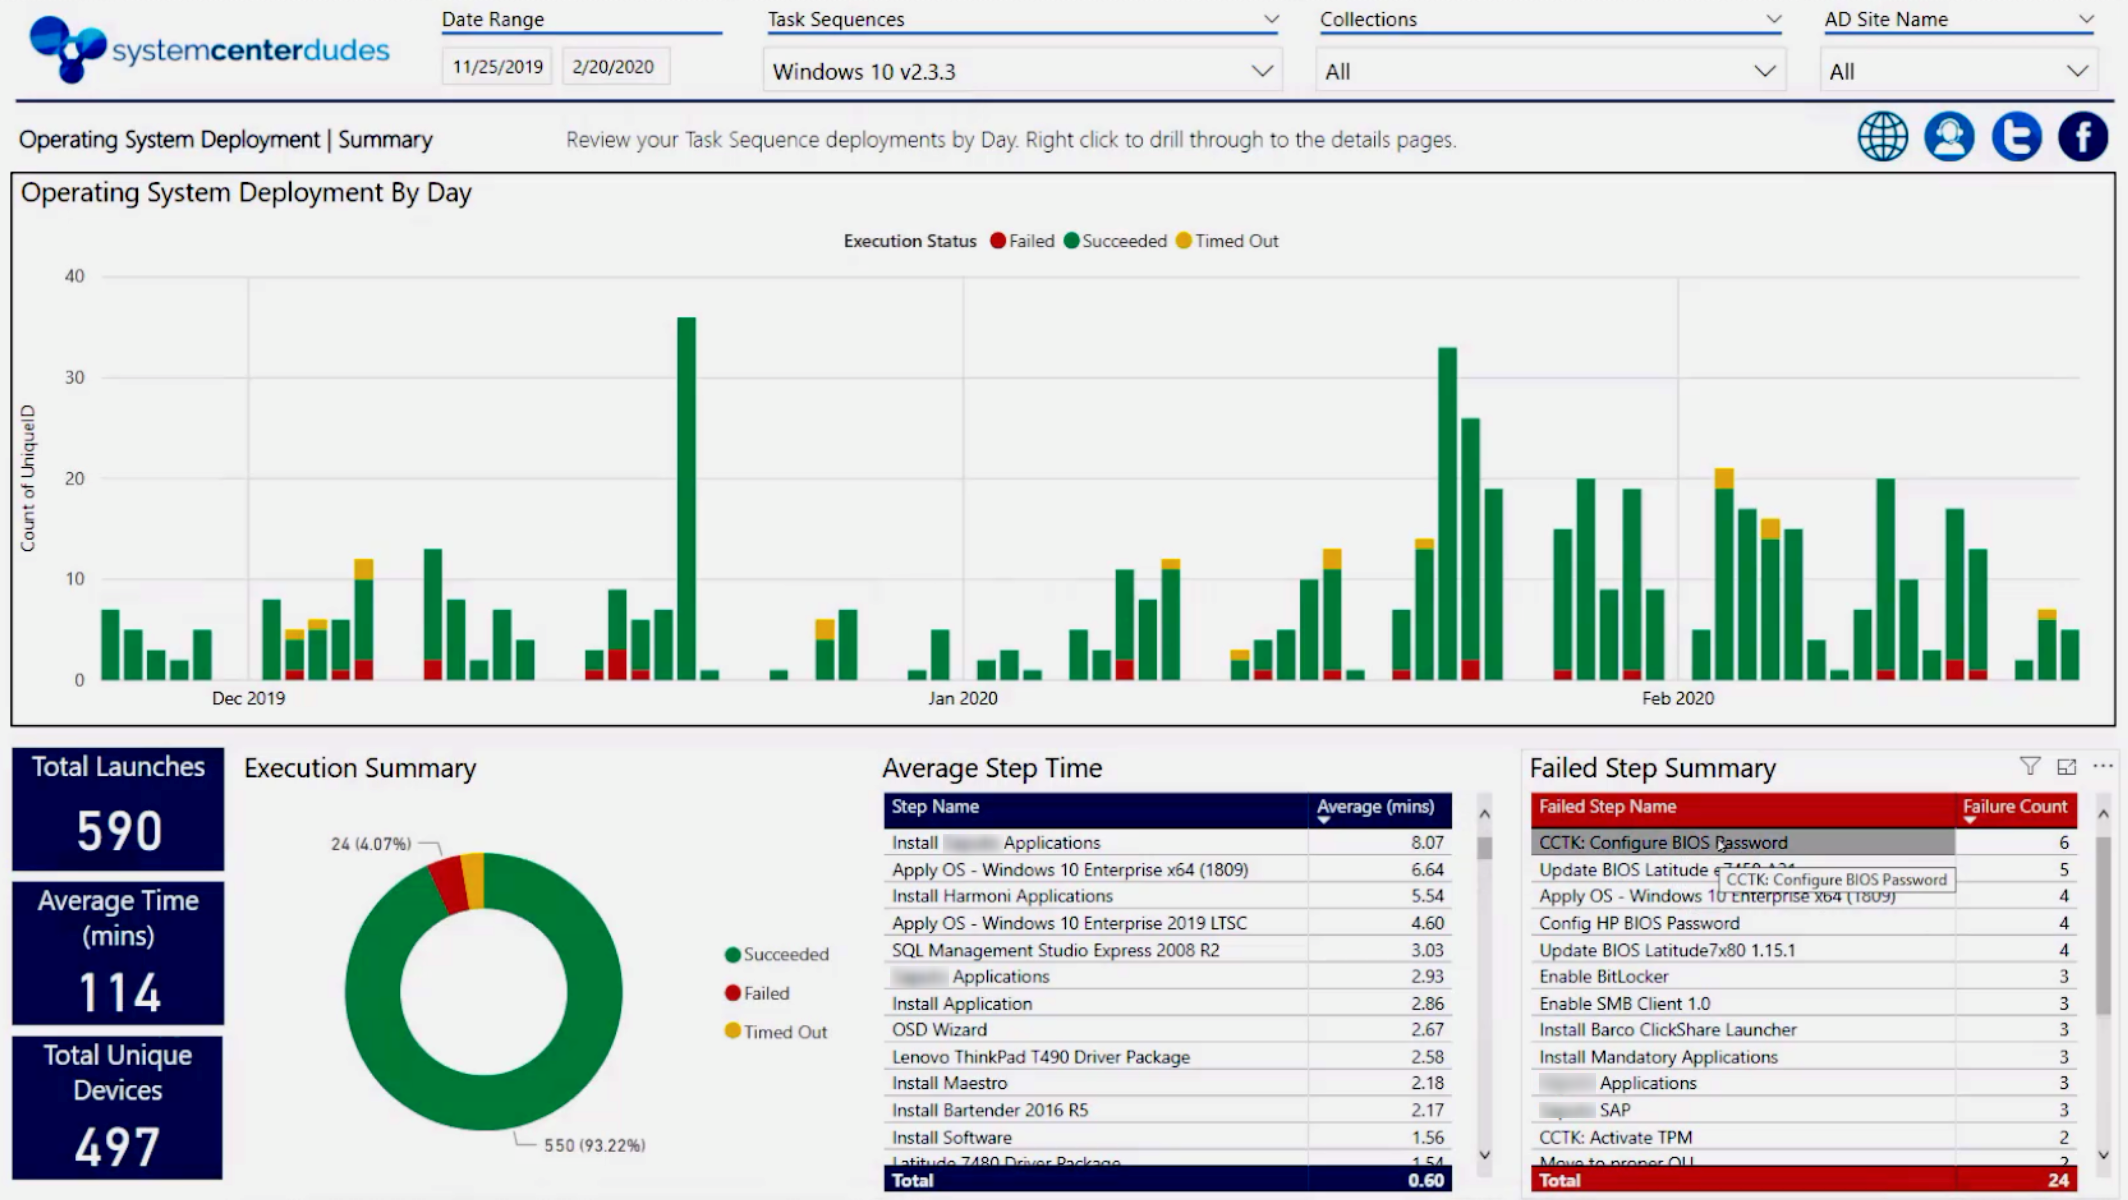
We have developed some Power BI Dashboard to help you manage your SCCM/MEMCM infrastructure. See our product page or our Power BI page to buy and install.
SCCM Power BI Dashboard System Requirements
- SCCM 2012 R2 SP1 (5.00.8239.1000) or later
- An account with Read access to SCCM database is required
- Destination database: Azure SQL database or SQL Server database (SQL Server 2008 R2 SP3 or later)
- Valid Work email address
- On the machine where the installation is run:
- Microsoft .NET Framework 4.5 or later.
- PowerShell version 5.0 or later.
- For Operating System: Windows Server 2008 R2 SP1, or later. Windows 7 Professional, Enterprise, or later
- Power BI Desktop (free) to open SCCM PoweerBI Dashboard and edit further reports
- Power BI Pro license (if you want to share your reports only)
- 60 days free trial version is available here
Power BI Desktop Installation
The installation wizard will get us through the process of entering the information about our SCCM, SQL Server and/or Azure environment in order to establish a connection for Power BI. At the end of the process, the Template file (Dashboard) will be available to download and use.
We will start by installing Power BI Desktop:
- Download Power BI Desktop from the Microsoft download center
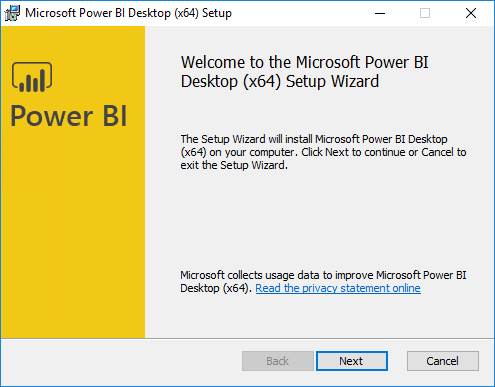
- Execute PBIDesktop_x64.msi, click Next
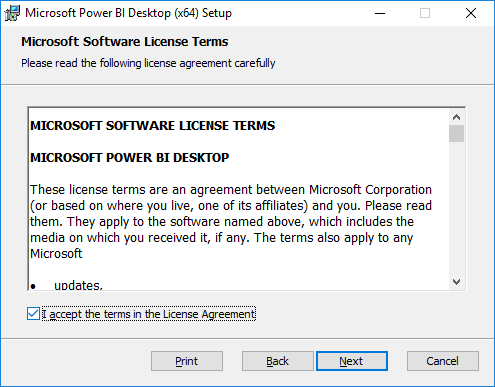
- Accept the license terms and click Next
- Select the Installation Directory and click Next
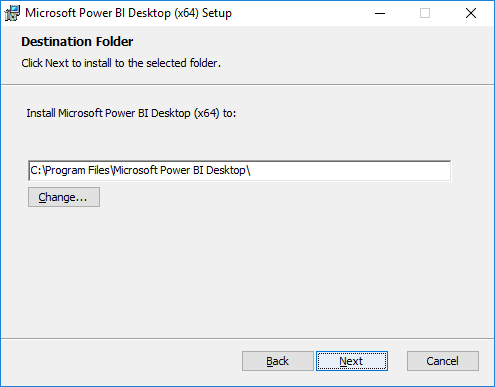
- Click Install
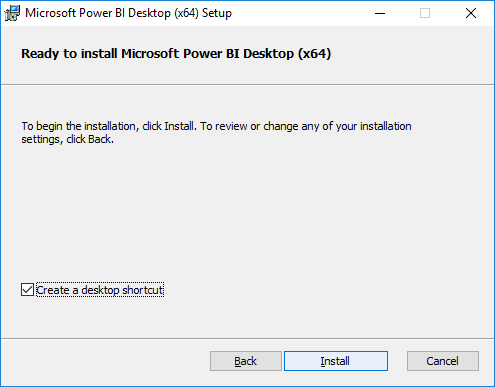
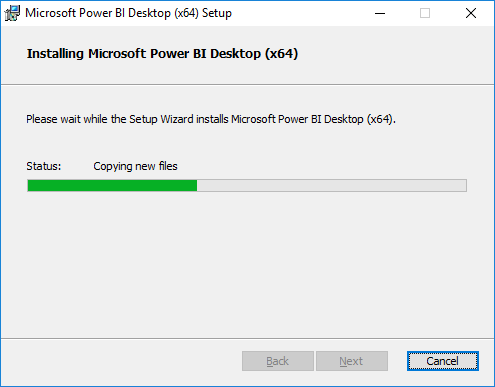
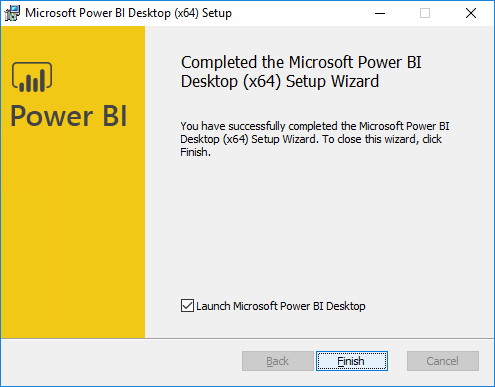
- Wait for the process to finish and close the installation wizard
Power BI Integration
We will now download and configure the Power BI integration
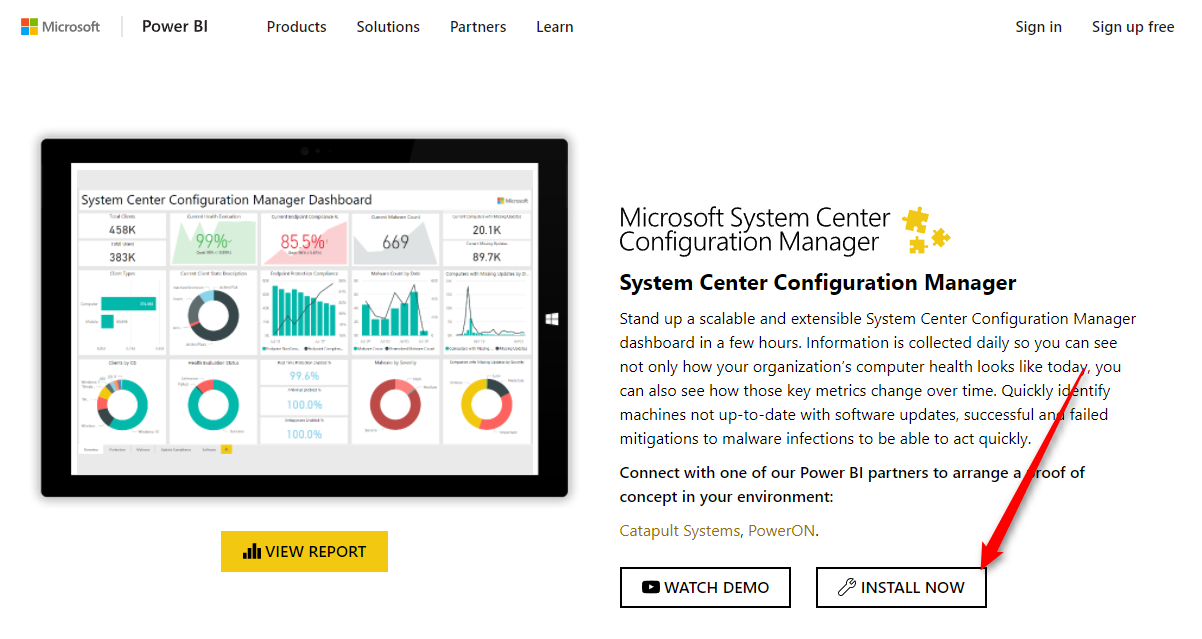
- Browse to the Github Power BI repo
- Click on the Install Now button
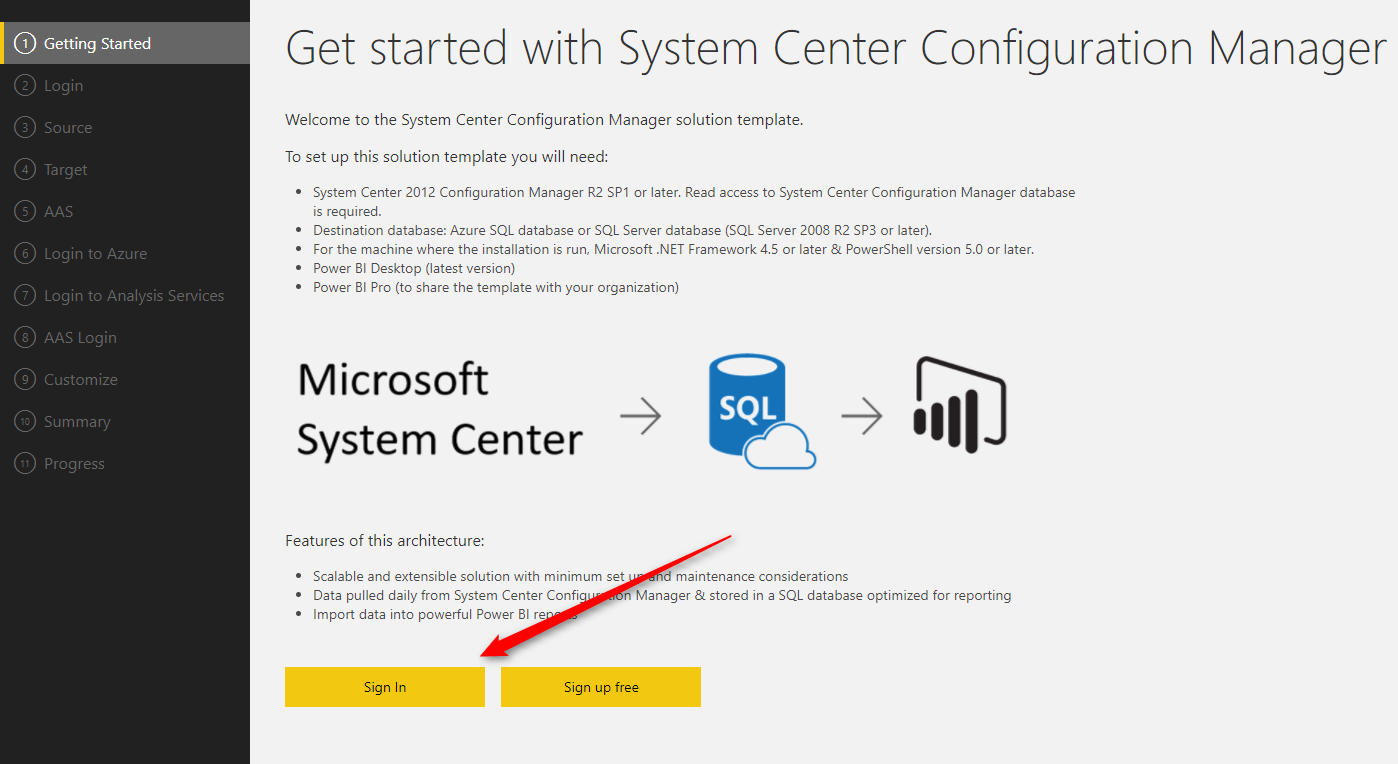
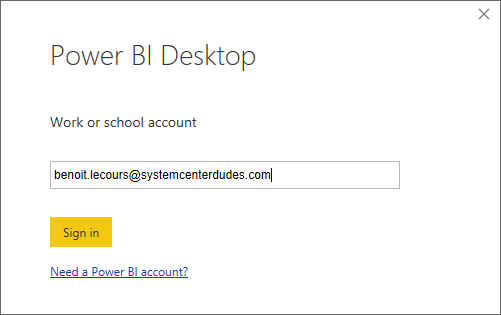
- On the Getting Started pane, click Sign In
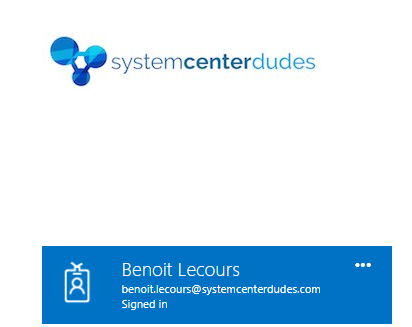
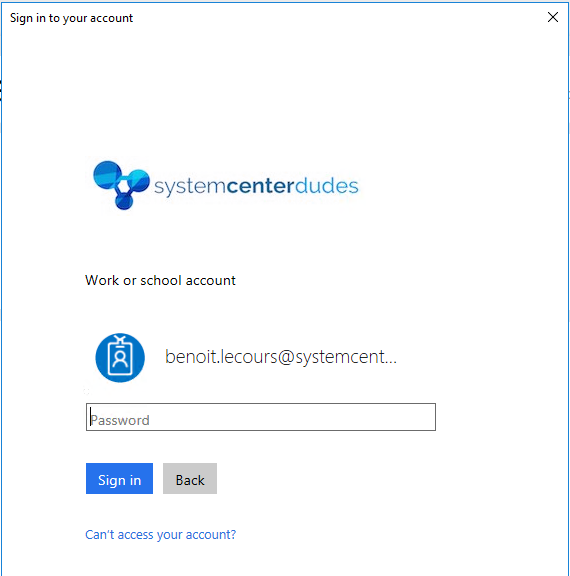
- The Office 365 portal pops-up, select your work email account and enter your credential if you’re not already logged-in
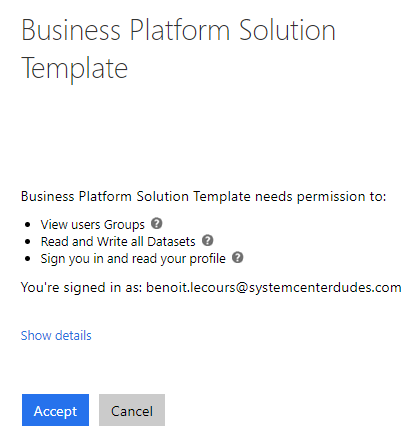
- On the Business Platform Solution Template screen, click Accept
- Once back on the Getting Started pane, click on the Download button
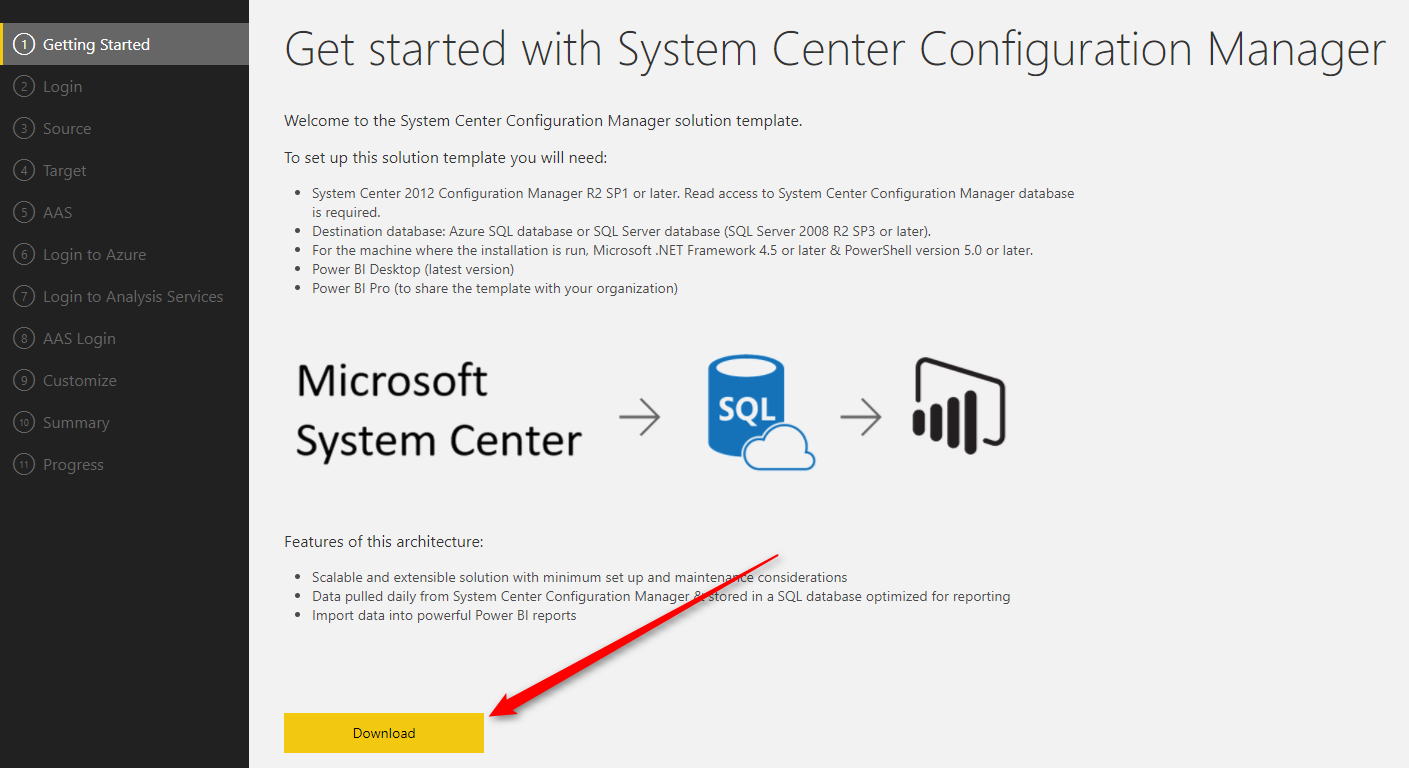
- This will download the SCCM-Template.exe file. Once downloaded, launch the executable
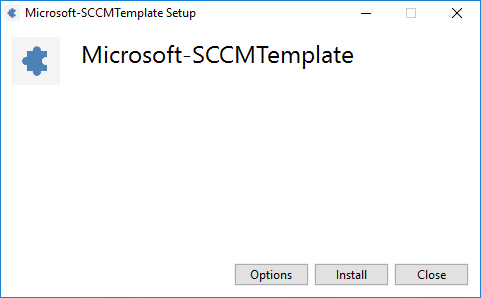
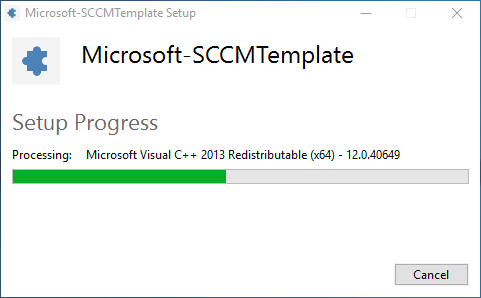
- Wait for the process to complete
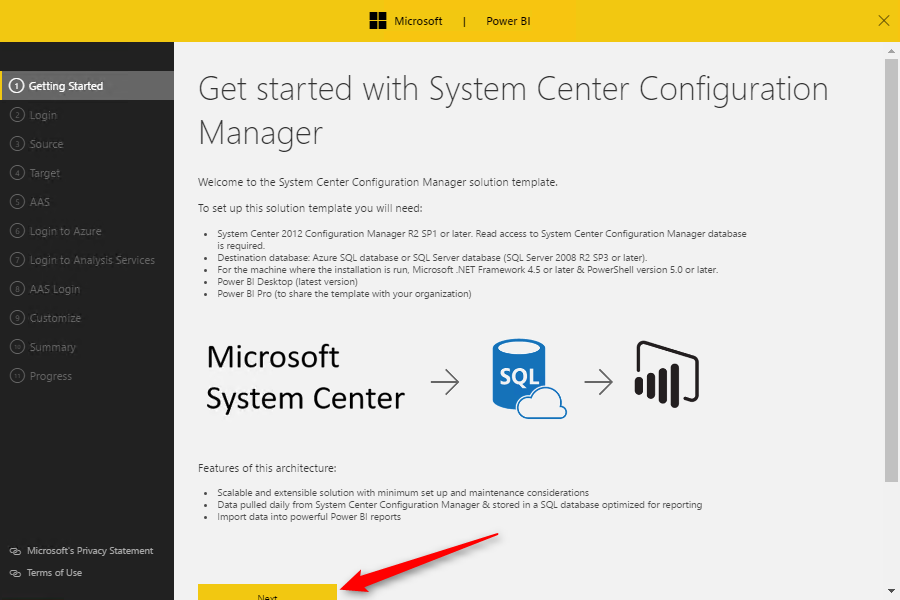
- The installation wizard will launch in new window, click Next
- On the Login pane, Enter your credentials to connect to the SCCM database. These credentials will also be used to run a Powershell script on a recurring schedule. Click on Validate, then Next
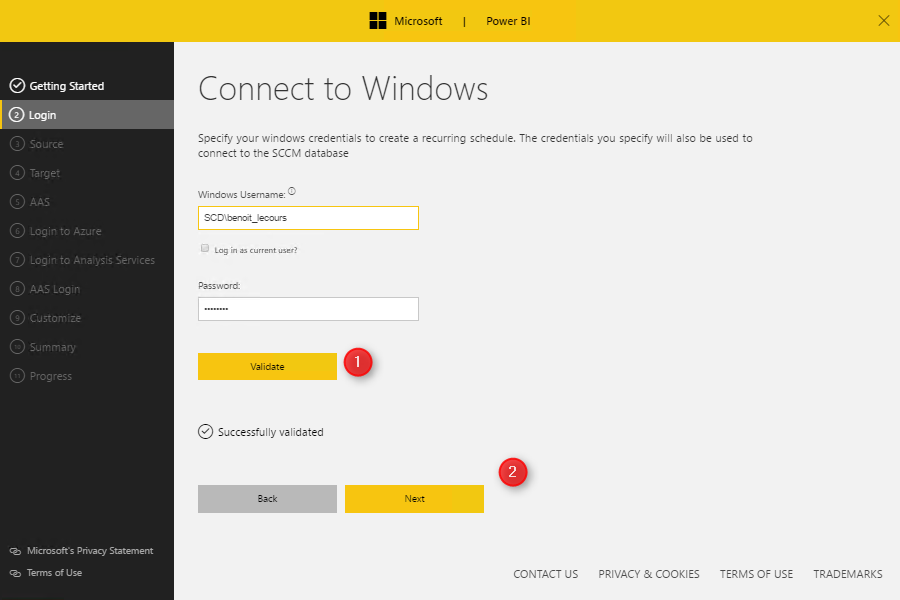
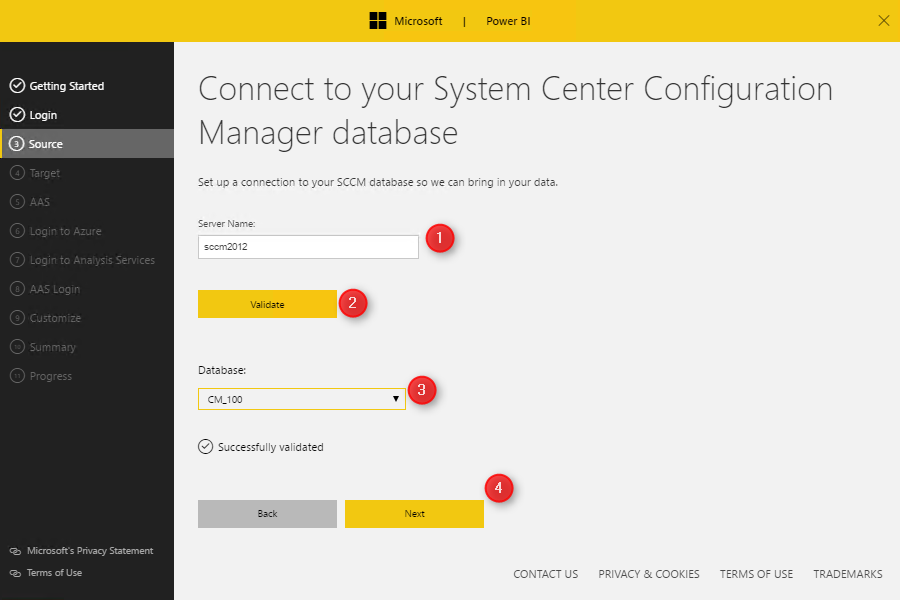
- In the Source pane, enter your SCCM server name, click on Validate, select your Database from the drop-down then Next
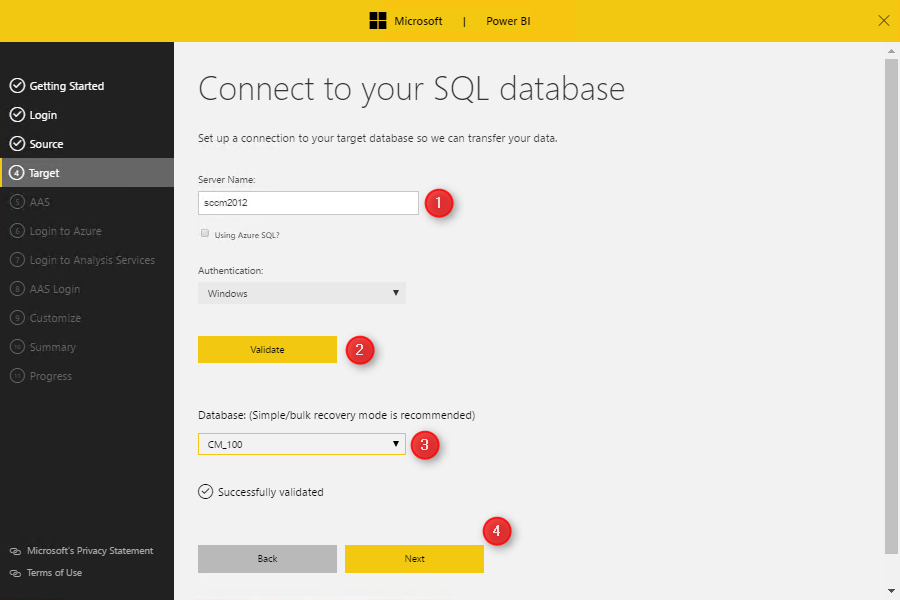
- On the Target pane, select your SQL Server, click on Validate, select your Database from the drop-down then Next
- If you are using Azure SQL (which is unlikely for an SCCM installation), check the Using Azure SQL box
- The 5,6,7 and 8 steps will be automatically skipped
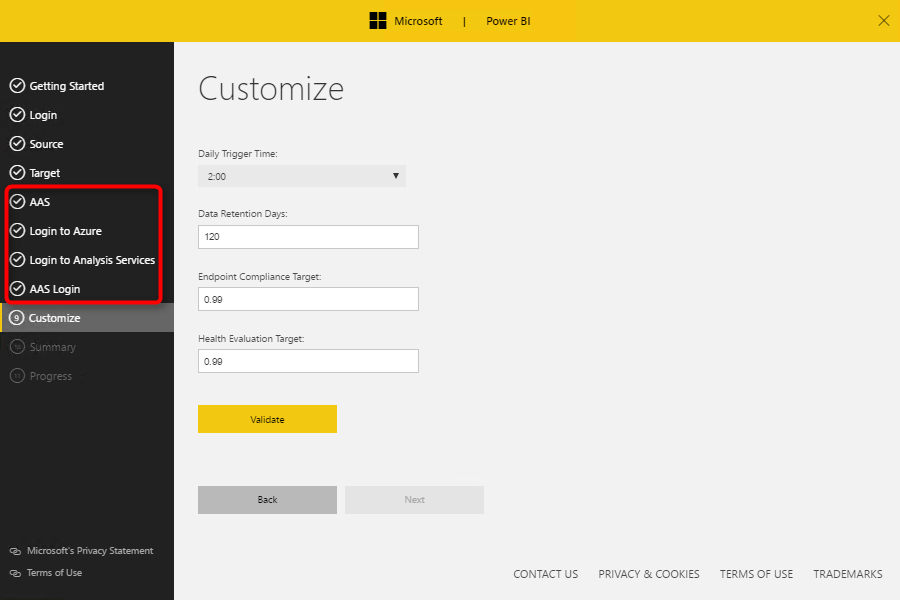
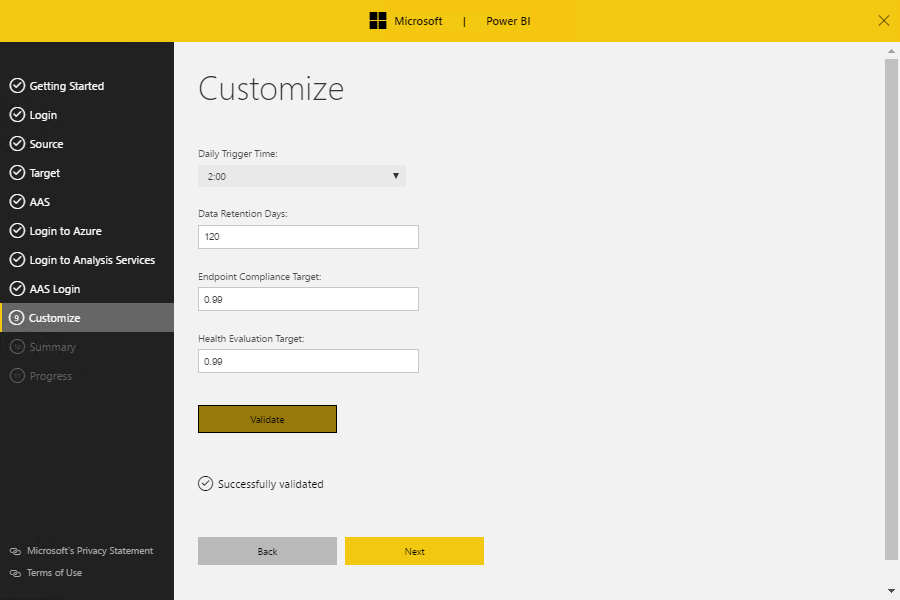
- On the Customize pane, select the time you wish to have your scheduled task to be run and the desired Compliance Target number, click on Validate and Next
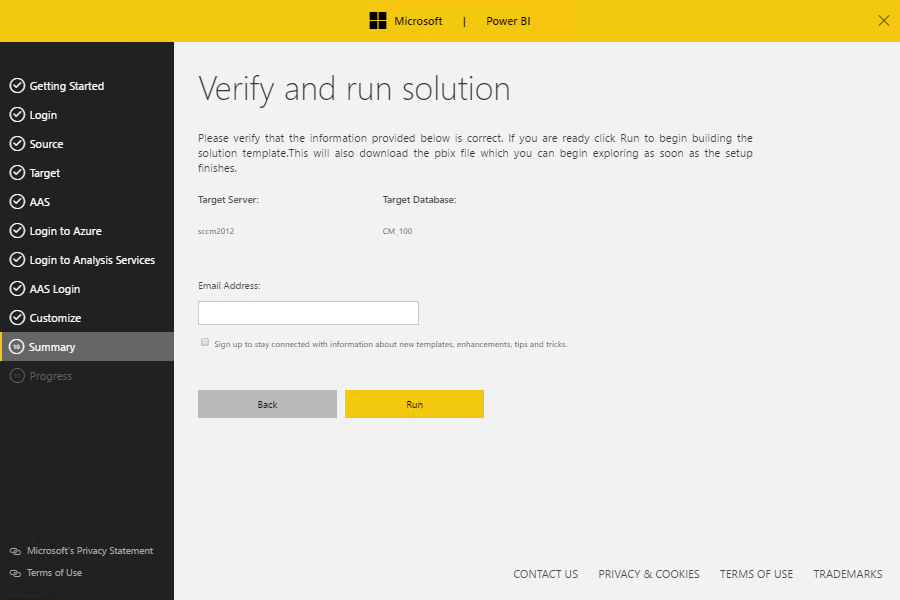
- Review your choices, enter your email address if desired to receive information about Power BI and click Run
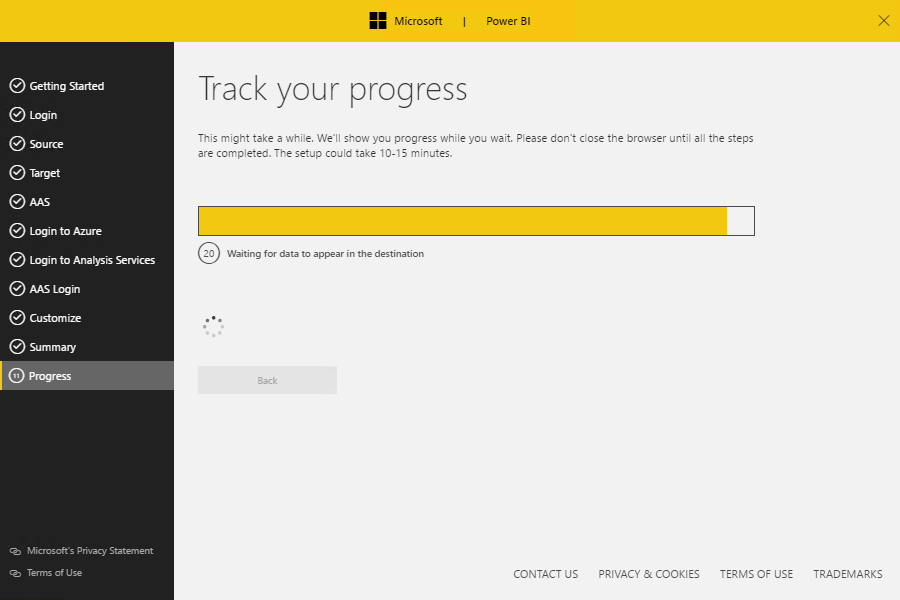
- The installation starts. The initial synchronization pulls data out of Configuration Manager database and pushes the data into the specified SQL Database
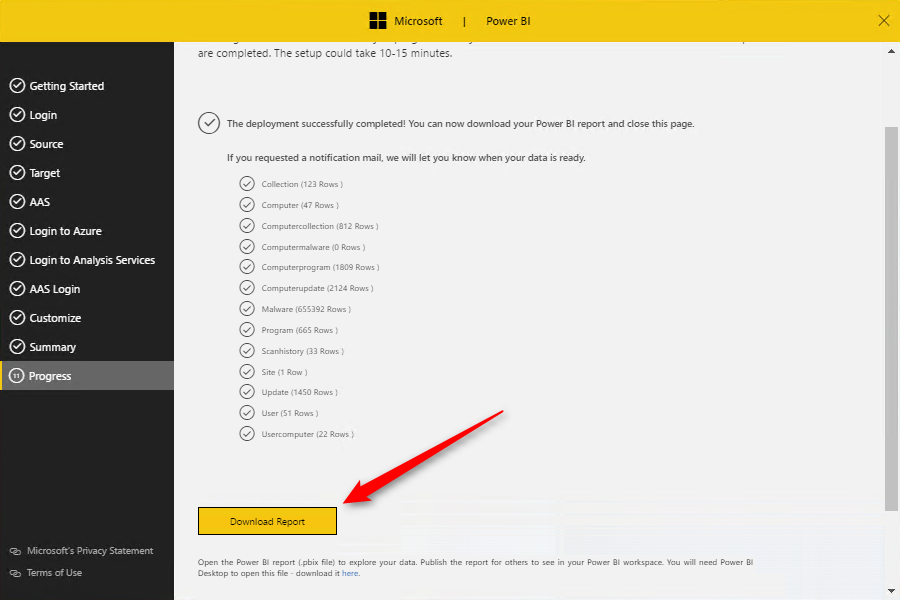
- Once the process is completed, you can download the Power BI SCCM Dashboard by clicking on Download Report
- Once downloaded, open the SolutionTemplate.pbix file, it will open in Power BI Desktop
- One last step needs to be done in order for the data to populate. On the top ribbon, click on Edit Query and select Data Source Settings
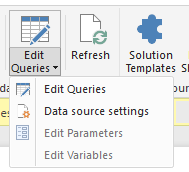
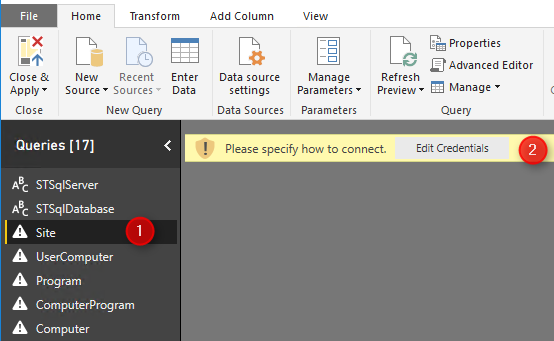
- Click on any query on the left pane and select Edit Credentials
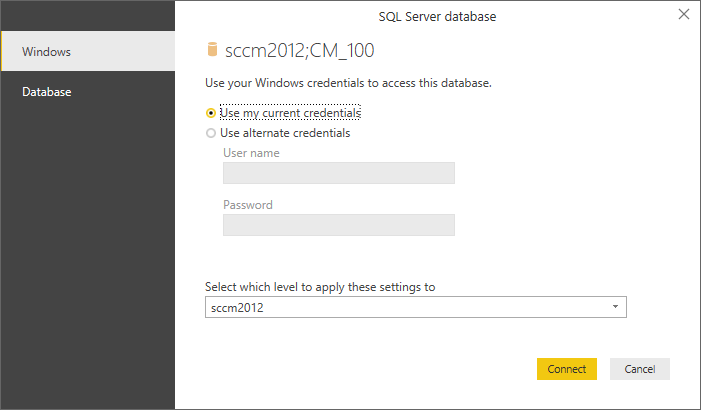
- Select your preferred credential method and click Connect
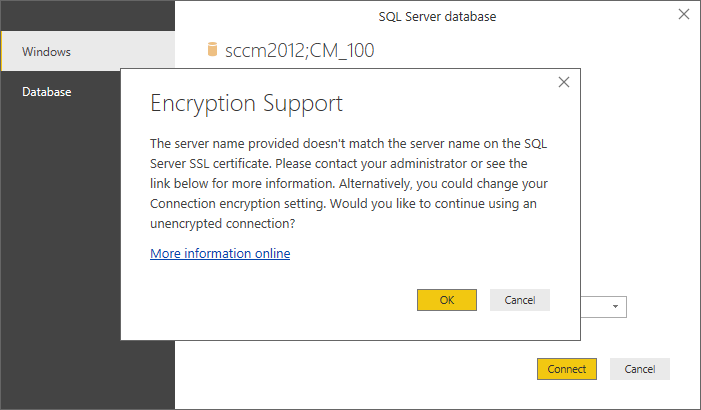
- If you have an Encryption Support warning, click OK to accept the unencrypted connection
- If your credential has the Read right on the SCCM database, all the “!” icons will turn to tables icons. This means that the data can be read.
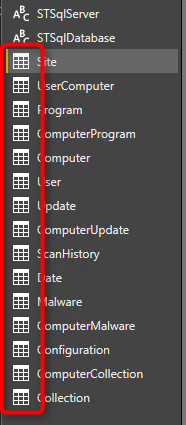
- Click the Apply Changes button on the warning on the top

- The magic happens! Click the Overview pane to validates that the data is shown

Power BI Pro
Optional – If you have a Power BI Pro subscription, you can click the Publish button at the top to save your report in your Power BI portal
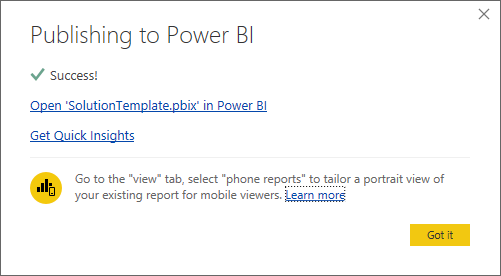
That’s it! You are now ready to create reports and dashboard using Power BI. Refer to the product documentation if you need help to start creating.


MarlVyvanse
04.15.2020 AT 01:53 PMLinoVyvanse
04.15.2020 AT 11:57 AMMax
04.13.2020 AT 12:07 PMMax
04.13.2020 AT 11:29 AMAbdulrehman Altaf
10.17.2019 AT 03:43 AMCody Weiland
03.28.2019 AT 12:09 PMCody Weiland
03.28.2019 AT 12:12 PMMike
03.06.2019 AT 07:22 AMMike
01.14.2019 AT 07:22 AMMike
01.14.2019 AT 07:23 AMSteven
01.18.2019 AT 01:25 PMPeter
01.22.2019 AT 09:27 AMKelly
02.05.2019 AT 01:56 PMDelano
11.22.2018 AT 05:52 PMDan Wheeler
11.05.2018 AT 08:20 PMDaren
10.04.2018 AT 03:59 PMOdi
10.01.2018 AT 07:04 AMDebi
09.20.2018 AT 12:52 PMsahil
08.09.2018 AT 04:06 AMGarrett
04.18.2018 AT 10:39 AMGary Farmer
02.01.2018 AT 04:33 AMBryan
01.05.2018 AT 02:51 PMHackmuss
12.22.2017 AT 07:09 AMAndre Tonelli
11.24.2017 AT 09:43 AMAndre Tonelli
11.24.2017 AT 09:44 AMTomas
09.28.2017 AT 06:38 AM