

Recently, at a client site, I was asked to install the SCCM client to manage workgroup servers in the DMZ with SCCM.
Following our a recent post on how to install a DP/MP/SUP in untrusted domain, I thought that documenting the process could be helpful.
In this post, we will detail how to install the SCCM client on workgroup computers.
Prerequisites
- The client must be able to resolve the FQDN of the management point.
- Depending on network security, it might not actually ping. The important is that it can associate the FQDN to the IP of the management point.
- Adding an entry to the Host file might be required.
- Port
- Client -> Management point : TCP 80 or 443
- Client -> Software Update Point : TCP 8530 or 8531
- More details on SCCM ports requirement, here
- Manual installation of the SCCM client
- There is no way to use the Client Push Installation for workgroup computers
- Management Point must be provided in the install command line, as the client will not be able to find it in Active Directory
- Site code must be provided in the install command line
SCCM Client Install Workgroup Computers
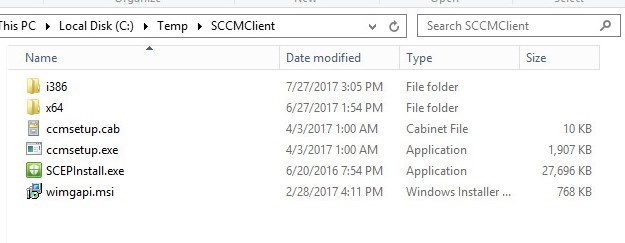
- Copy the source of SCCM client locally on the computer
- Open a command prompt as Administrator
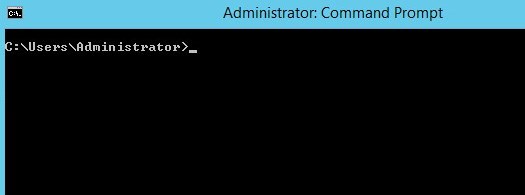
- Set the working directory and run the CCMsetup command line
- ccmsetup.exe /mp:<Management Point FQDN> SMSSITECODE=001 SMSMP=<Management Point FQDN> DNSSUFFIX=<domain suffix>

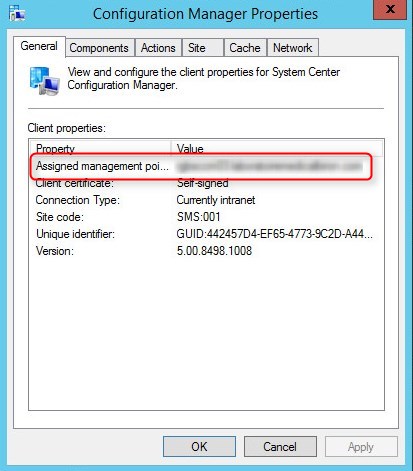
- Validate Management Point configuration and communication
- When a client can’t resolve the FQDN of the management point, it might show up empty
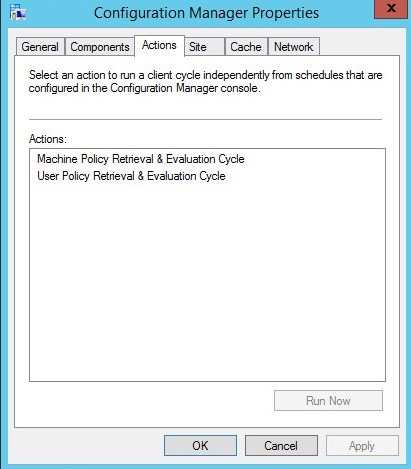
- Action are limited as the client is not yet approved to connect to the SCCM server.
- Important logs at this point are
- C:\Windows\CCM\Logs\ClientLocation.log
- C:\Windows\CCM\Logs\LocationServices.log
- Those logs provide details to the connection to the management point
- If you see any error at this point, you are missing connection prerequisites of some sort.
- Client show up in the SCCM console

Approve Workgroup Computer Client in SCCM
In most environment, SCCM client approval method is set to Automatically approve computers in trusted domains.
This settings can be found under Administration / Site Configuration / Sites / Hierarchy Settings
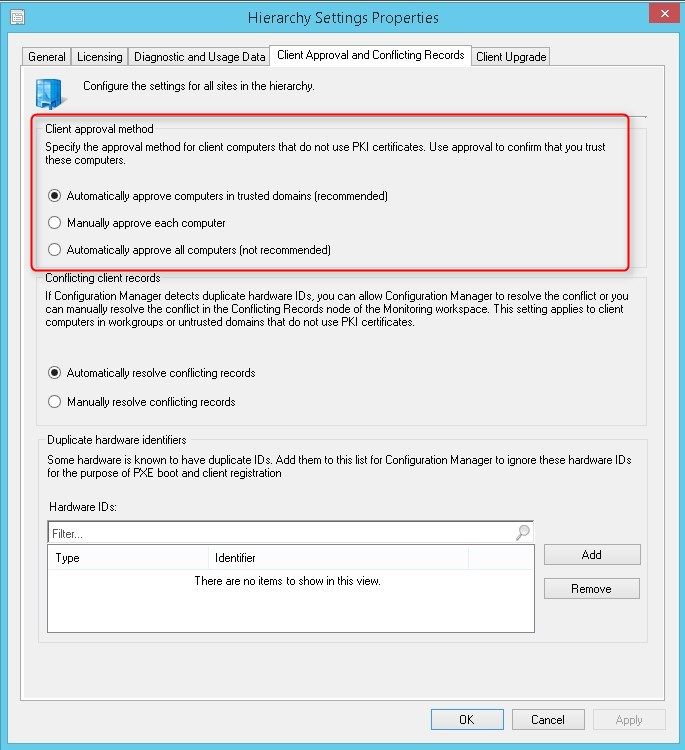
When using this settings, workgroup computers will not be automatically approved for this SCCM site.
With this said, we need to approve clients once they show up in the SCCM console.
- The ease management, we first create a Collection for Not Approved clients.
- Be sure to set the limiting collection to All System, as the not approved clients don’t have much information to based query on.
[su_box title=”Collection Unapproved clients” style=”glass” title_color=”#F0F0F0″]
select SMS_R_SYSTEM.ResourceID,SMS_R_SYSTEM.ResourceType,SMS_R_SYSTEM.Name,SMS_R_SYSTEM.
SMSUniqueIdentifier,SMS_R_SYSTEM.ResourceDomainORWorkgroup,SMS_R_SYSTEM.Client from SMS_R_System inner join SMS_CM_RES_COLL_SMS00001 on SMS_CM_RES_COLL_SMS00001.ResourceId = SMS_R_System.ResourceId where SMS_CM_RES_COLL_SMS00001.IsApproved= ‘0’
[/su_box]
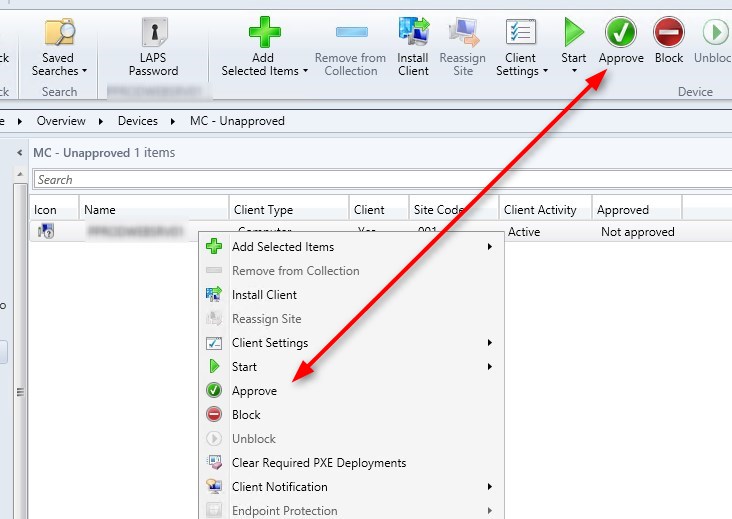
- To validate the Not Approved status, simply add the column Approved

- To approve a client, right-click on the client and select Approve
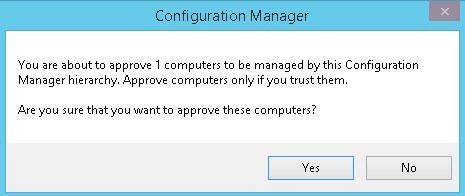
- Confirmation of approval
- The approved column will change to Approved

- After a couple minutes, SCCM agent will have all is action available
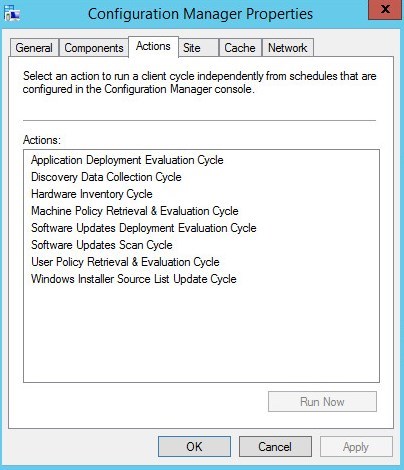
- Client will show online and will eventually start reporting inventory

For more details about the approval methods, click here


svariell
12.30.2019 AT 02:54 PMKevin downward
11.01.2019 AT 05:38 AMRoss
07.17.2019 AT 04:31 AMRobert Ferguson
08.03.2018 AT 01:33 PMFrancisco
05.08.2018 AT 02:06 PMmatthew moore
08.18.2017 AT 10:53 AMjakob jensen
07.27.2018 AT 02:03 AMBogdanR
08.03.2017 AT 05:57 AM