
For this post, we will be looking into how to use SCCM to add Microsoft Update Catalog into WSUS Server. Have you ever ran into a software update that wasn’t available in WSUS, but lo and behold, a quick internet search and you are able to manually download it via the Microsoft Update Catalog? I have. Way too often for my own liking. I published a post last week entitled How to add Latest Windows 7 Convenience Update in a SCCM Image. One reader, Dave, had a very good proposition that inspired the idea of doing this post and show you an easy way to add such updates in your WSUS database. The whole process is quite easy and pretty straightforward.
Importing the update in WSUS
So, for my last article, I was using KB3125574. In the spirit of continuity, let’s keep the ball rolling with that update. I will inject it in WSUS.
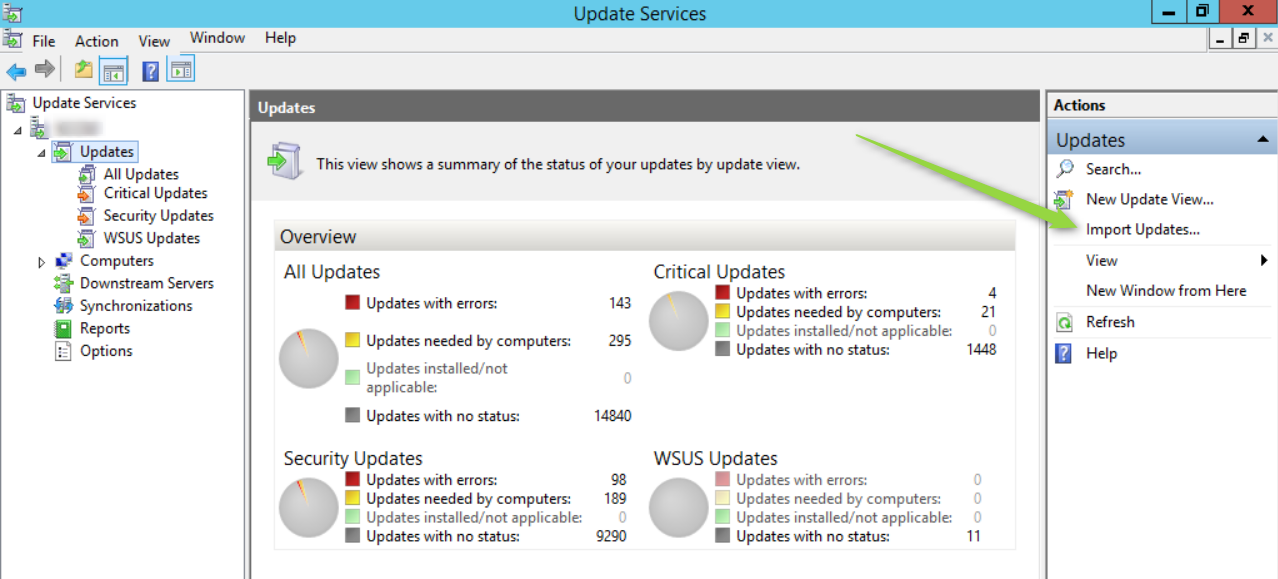
- First step, you should open your WSUS console
- From there, on the right hand side of the console, click Import Updates

- This should open up your web browser and load up the Microsoft Update Catalog.
- Type in the hotfix number in the search field and click on Search

- This should hopefully give you the required search results for the hotfix number you searched for
- Click on Add for every patch you wish to add to WSUS. In my example, I only needed it for Windows 7 x64, so that’s the one I added. When you are done, press View Basket

- Confirm your choice in your basket and finally, click on Import

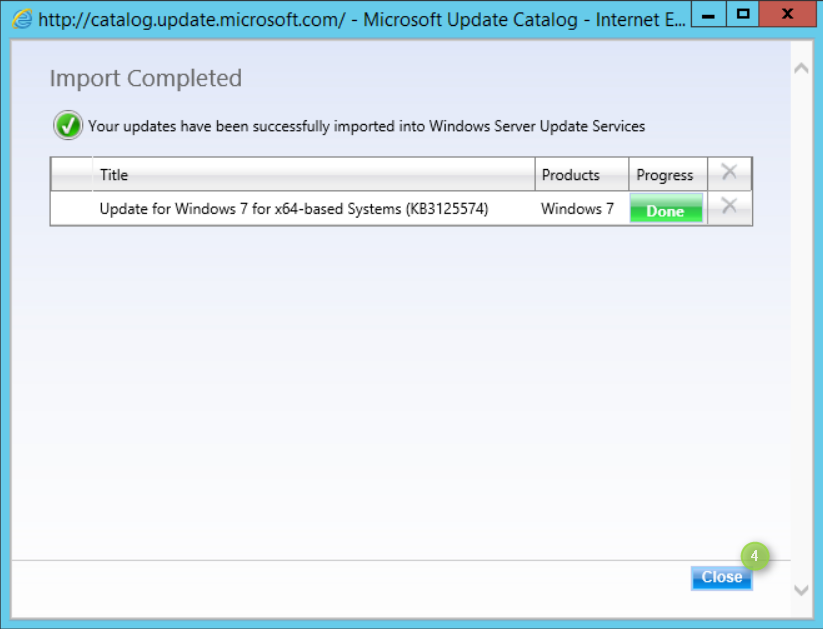
- Wait for the import to be completed and press Close
Synchronize your WSUS Catalog in SCCM
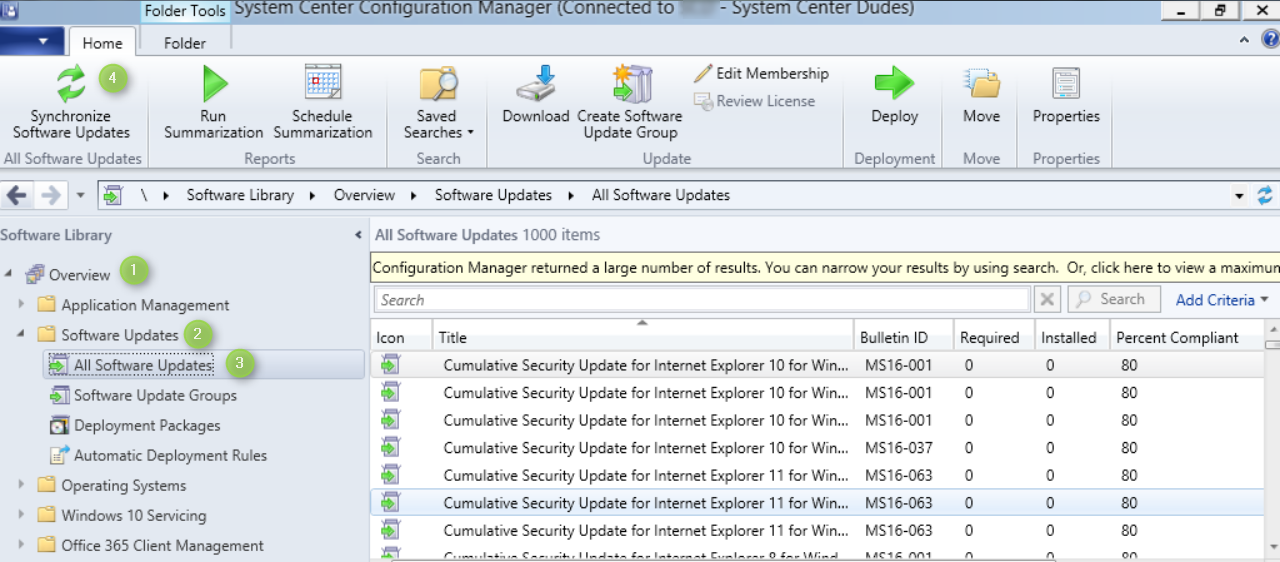
- Back in your SCCM console
- Make sure you are in Software Library and click on Overview > Software Updates > All Software Updates and finally click on Synchronize Software Updates in the ribbon atop your console
- On the Run Synchronization window, click Yes
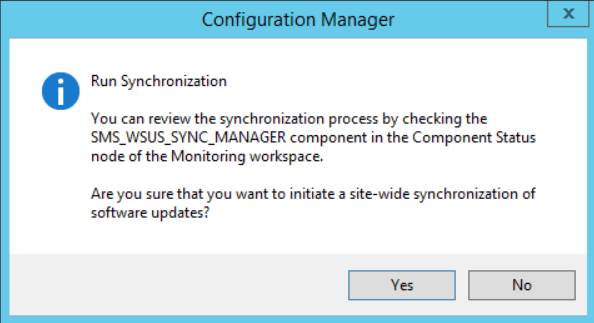
- You can wait a few minutes for the synchronization to complete, or browse to your log folders [SCCMInstallDir]Program Files\Microsoft Configuration Manager\Logs and open wsyncmgr.log. You are looking for a message saying Done synchronizing SMS with WSUS Server.

- When completed, simply refresh your view of All Software Updates. Use the search bar to type in the KB number. Voilà! Your update is now available in the console.<
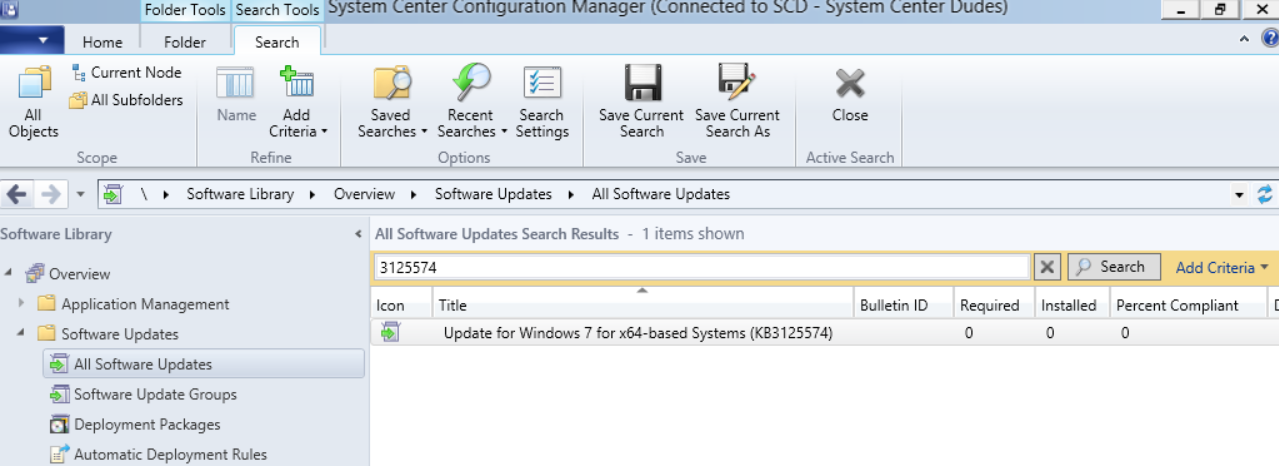
Recapping how to add in to your package and deployment
I will not be going over the whole detailed patch process because it is covered in our SCCM Software Update Management Guide. However, a quick high level recap for our use case.
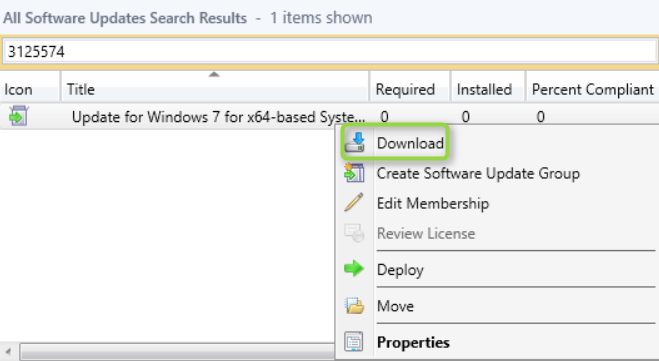
- Right click your update in question and click Download
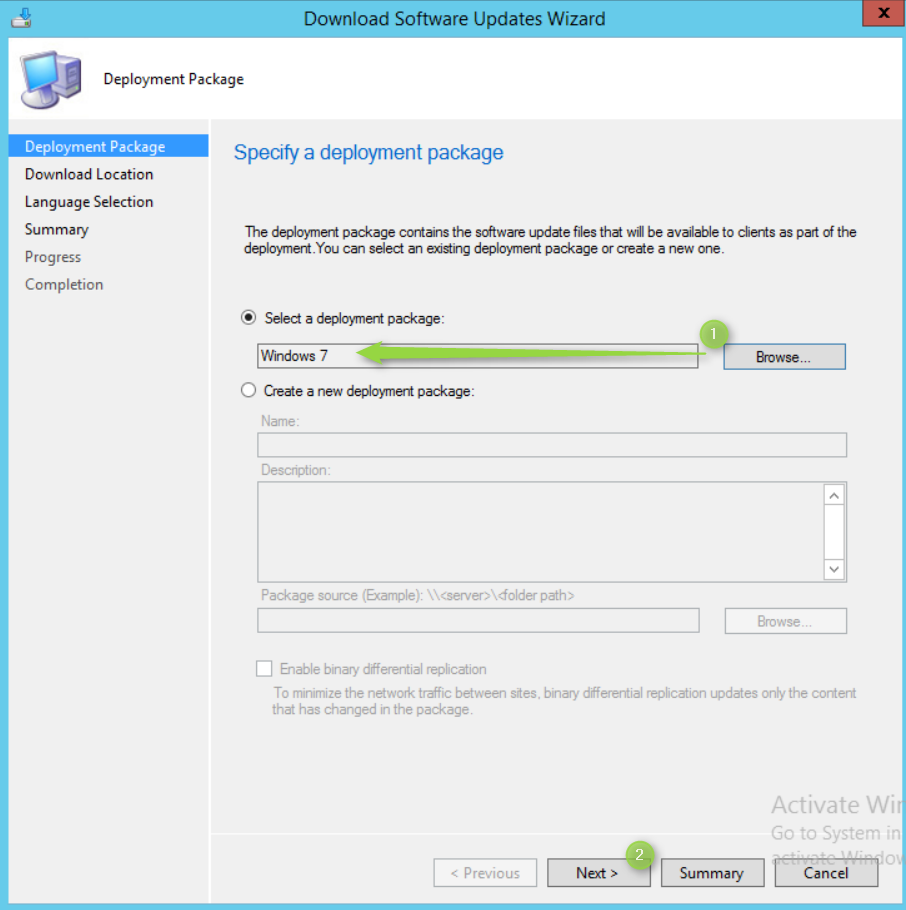
- Browse to choose your Deployment Package, click Next
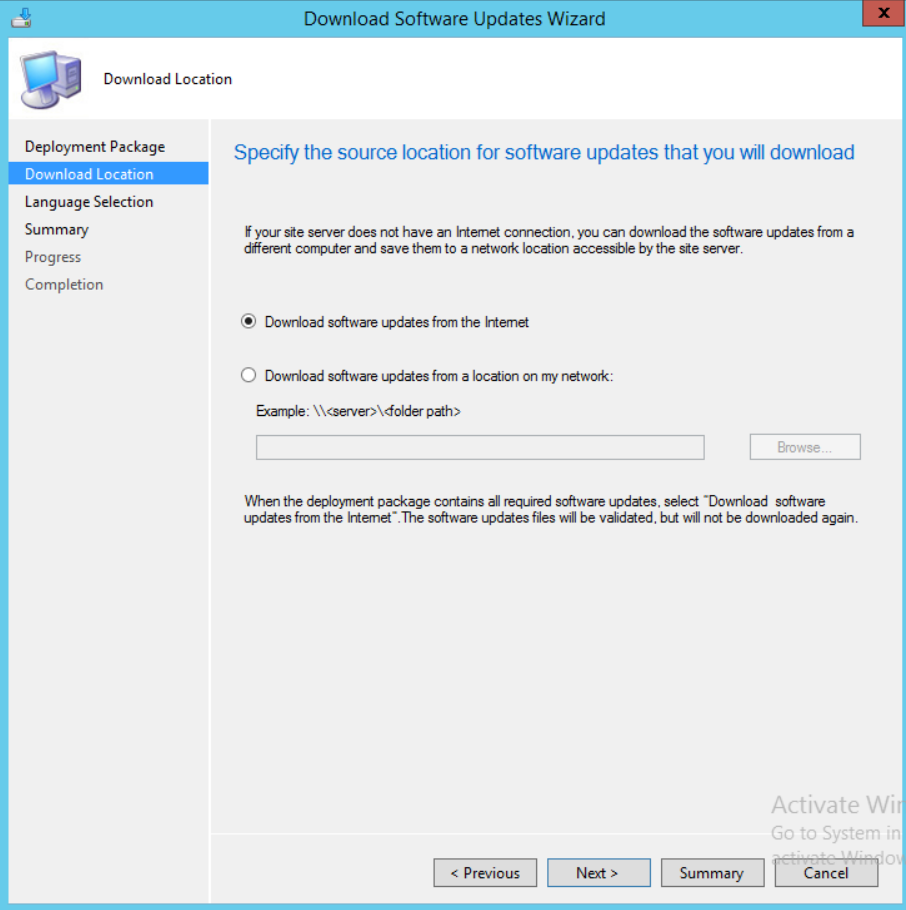
- On the Download Location, choose your source and press Next
- On the Language Selection tab, choose all Languages that apply to your environment, click Next
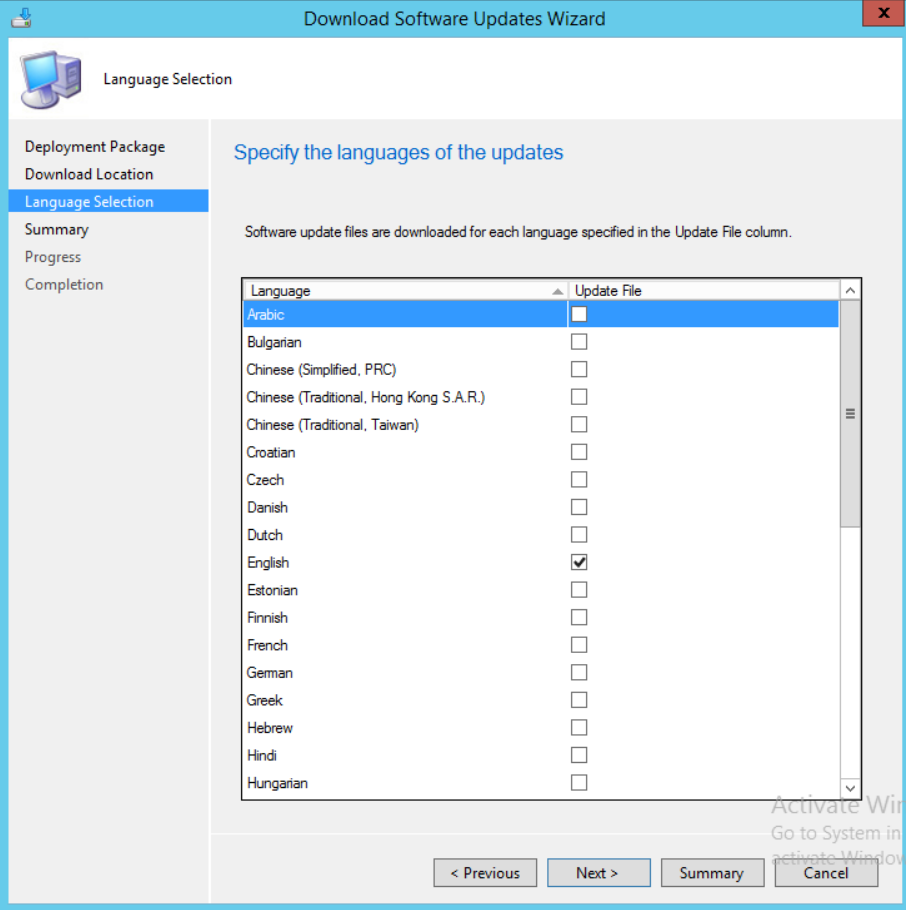
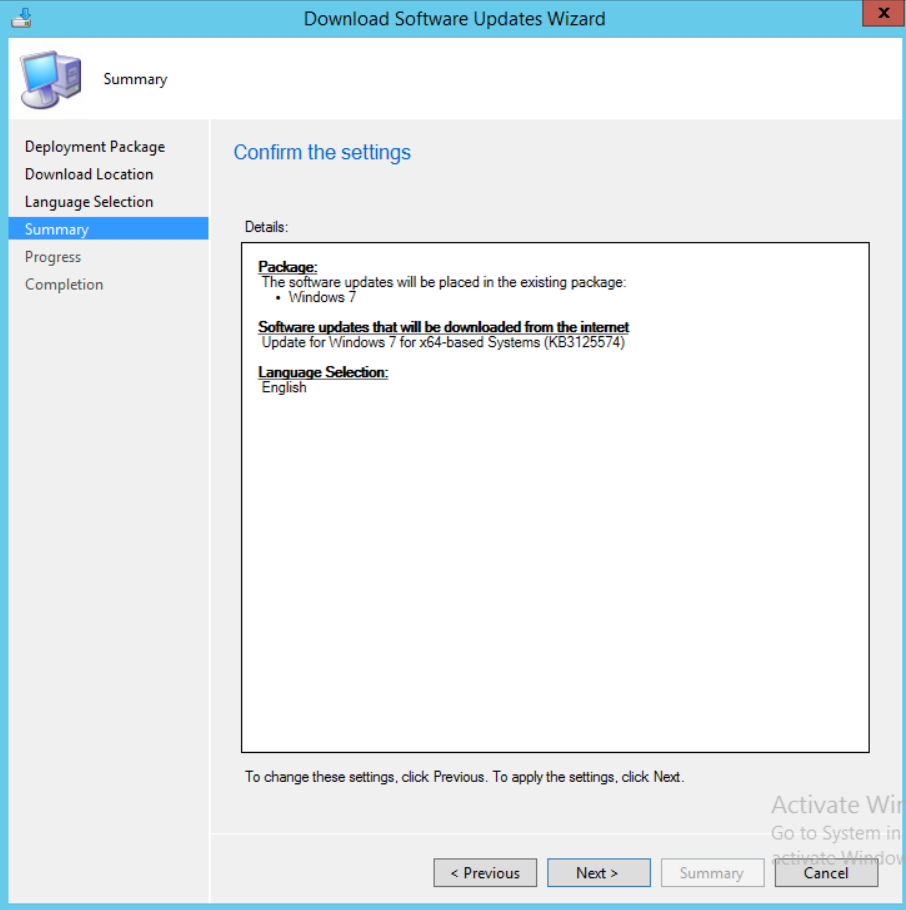
- On the Summary tab, validate all information and press Next
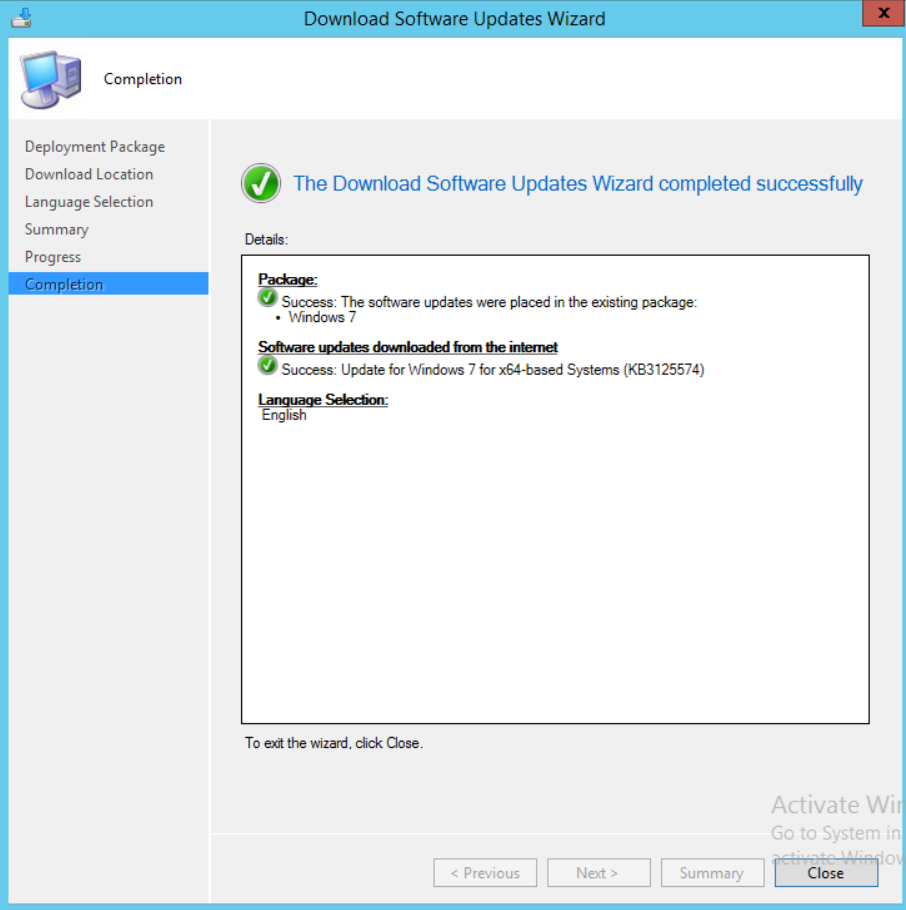
- Finally, on the Completion tab, press Close
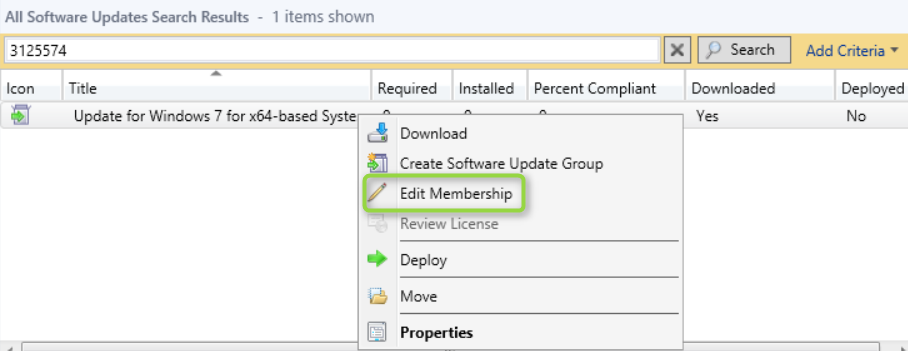
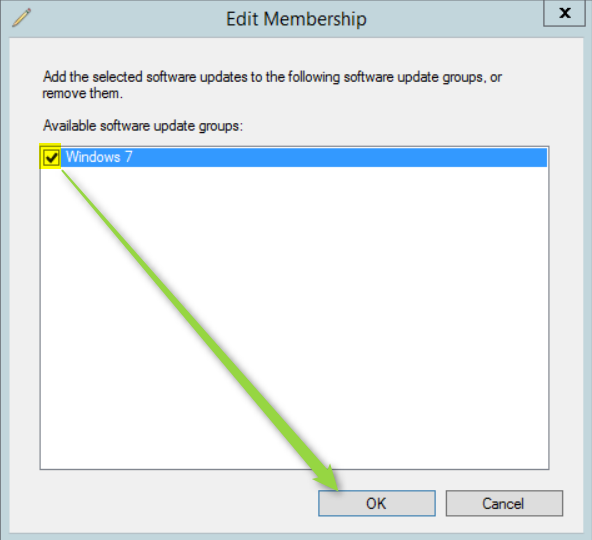
- Right click your update once more, click on Edit Membership. For the purpose of this post, I am assuming you already have a Software Update Group. If not, I invite you to read up on our SCCM Software Update Management Guide
- Click on your appropriate update group and click OK
- If you have done everything as planned, you should now see the columns Downloaded/Deployed set to Yes

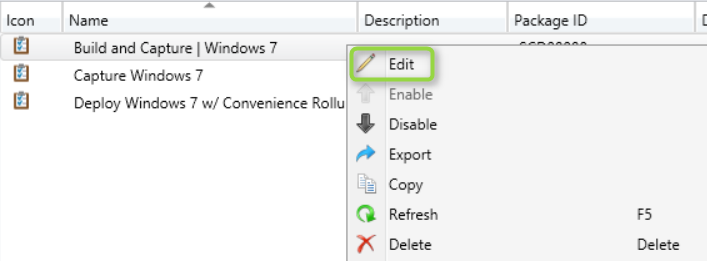
- Now, a quick edit on my previous How to add Latest Windows 7 Convenience Update in a SCCM Image post. You can now simply edit your Build and Capture Task Sequence.
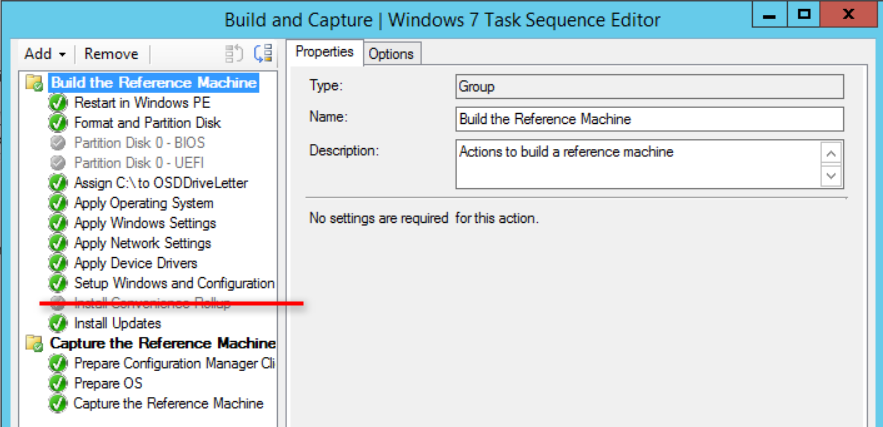
- Disable the Convenience Rollup step or delete it
You are now all set. All your KBs should get installed via WSUS. Once more, a big thank you to reader Dave for the idea.


Nestea
02.20.2020 AT 03:58 AMSonja Sharifi
02.15.2020 AT 04:13 PMWyatt Wong
08.27.2018 AT 11:33 PMSameer
06.13.2018 AT 02:17 AMChris Neatly
01.23.2018 AT 09:25 AMRolf Lidvall
03.07.2018 AT 08:27 AMJeff
08.31.2017 AT 07:20 PMGraham
06.29.2017 AT 01:21 PMjack
05.03.2017 AT 02:55 PMStephane Faubert
05.03.2017 AT 02:59 PMjack
05.03.2017 AT 02:52 PM