
Step-by-Step SCCM 2012 R2 CU2 Installation guide
As promised in my previous blog entry, here’s a step-by-step SCCM 2012 R2 CU2 installation guide.
Installing SCCM cumulative updates is very important to your infrastructure. It fix lots of issues, which some of them are important. To see a full list of Issues that are fixed: http://support.microsoft.com/kb/2970177/en-us
You no longer have download lots of separate hotfix, everything is bundled in a Cumulative Update package. If you haven’t installed CU1, skip it and install only CU2. If you have already installed CU1, go ahead and install CU2.
Installing this update is very similar to CU1. I’ll guide you through the upgrade process step-by-step in a standalone primary scenario.
Download the Update SCCM 2012 R2 CU2 is available for downloaded here: http://support.microsoft.com/kb/2970177/en-us
This update can be applied directly to the following Systems/Roles:
- The Central Administration Site (CAS)
- Primary Site
- Secondary Site
- SMS Provider
- Configuration Manager Console
In this guide, I’ll be updating a Primary Site Server, console and clients.
Update the Primary Site
To start the installation, rdp to your Primary Site Server, and run “CM12-R2CU2-KB2970177-X64-ENU”
A log file will be created in C:\Windows\Temp\CM12-R2CU2-KB2970177-X64-ENU.log. You can follow the installation process there.
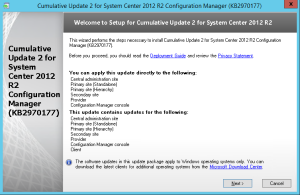
On the Welcome Screen, click NEXT
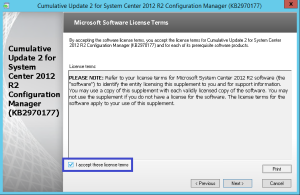
Accept the license agreement, and click Next.
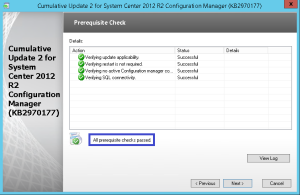
Review that everything is green, and click Next
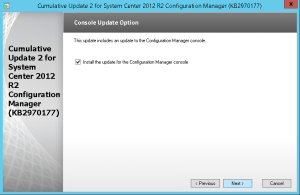
Check the box to update the Console and Click Next.
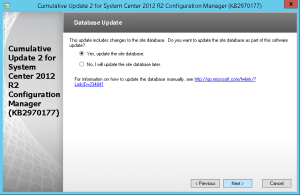
Select “Yes, update the site database“, click Next
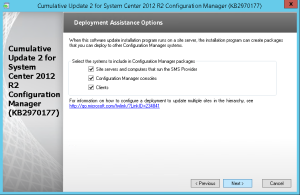
Check all 3 checkbox (Server, Console and client), click Next
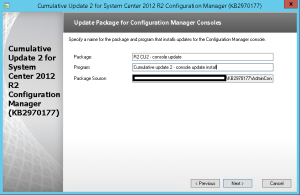
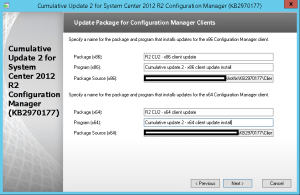
Edit the package name and program to your need and click Next
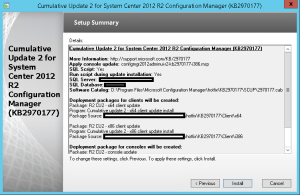
Review the summary page, and click Install.
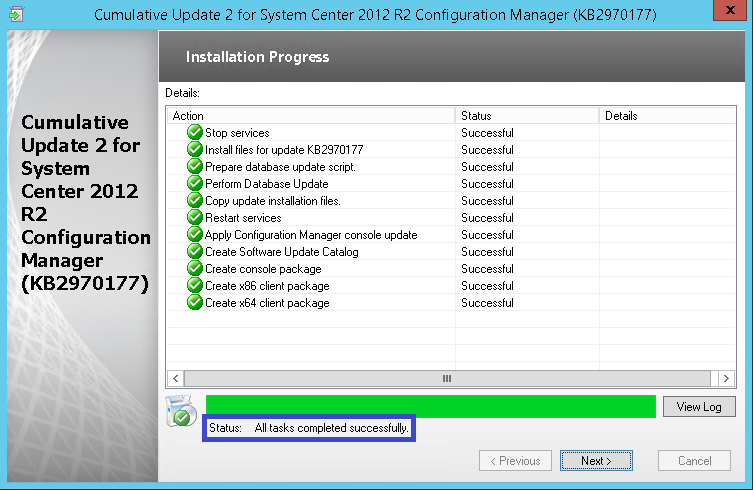
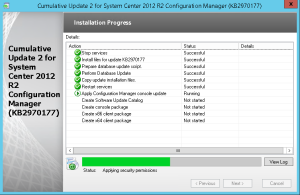
Installation is in progress.
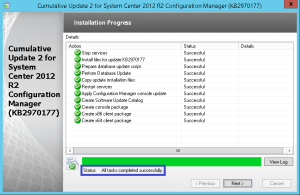
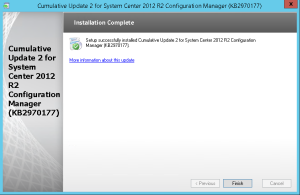
When setup is complete, click Next, and Finish.
Verification
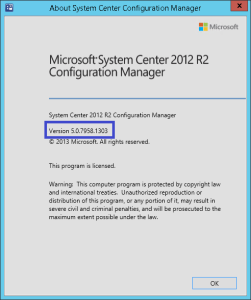
After setup is completed, Launch the System Center 2012 Configuration Manager Console, and verify the build number of the console. If the upgrade was successful, the build number will be 5.00.7958.1303.
Open registry editor and check the HKLM\Software\Microsoft\SMS\Setup\ key. If the installation has succeeded CULevel key value will be “2”.
Package distribution
Navigate to Software Library / Packages / Configuration Manager Updates
You’ll see that your update packages are there.
Go ahead and copy the packages to your distribution points.
Updating the Clients
We now need to update the clients. This update contains 2 update packages for client installations. One for 32-bit clients and one for 64-bit clients.
Create two collections for the client upgrade. (If not already done in previous CU)
All-x64-based Clients
select SMS_R_SYSTEM.ResourceID,SMS_R_SYSTEM.ResourceType,SMS_R_SYSTEM.Name,SMS_R_SYSTEM.SMSUniqueIdentifier,SMS_R_SYSTEM.ResourceDomainORWorkgroup,SMS_R_SYSTEM.Client from SMS_R_System inner join SMS_G_System_COMPUTER_SYSTEM on SMS_G_System_COMPUTER_SYSTEM.ResourceId = SMS_R_System.ResourceId where SMS_G_System_COMPUTER_SYSTEM.SystemType = “X64-based PC”
All-x86-based Clients
select SMS_R_SYSTEM.ResourceID,SMS_R_SYSTEM.ResourceType,SMS_R_SYSTEM.Name,SMS_R_SYSTEM.SMSUniqueIdentifier,SMS_R_SYSTEM.ResourceDomainORWorkgroup,SMS_R_SYSTEM.Client from SMS_R_System inner join SMS_G_System_COMPUTER_SYSTEM on SMS_G_System_COMPUTER_SYSTEM.ResourceId = SMS_R_System.ResourceId where SMS_G_System_COMPUTER_SYSTEM.SystemType = “X86-based PC”
Adjust the package options to fit your environments and deploy the update to your clients.
Once deployed I like to create a collection that targets clients without the latest CU. I use it to monitor which client haven’t been updated yet.
Here’s the query to achieve this (this query is also included in my Set of Operational Collection Powershell Script)
select SMS_R_SYSTEM.ResourceID,SMS_R_SYSTEM.ResourceType,SMS_R_SYSTEM.Name,SMS_R_SYSTEM.SMSUniqueIdentifier,SMS_R_SYSTEM.ResourceDomainORWorkgroup,SMS_R_SYSTEM.Client from SMS_R_System where SMS_R_System.ClientVersion != ‘5.00.7958.1303’”
Happy updating ! 🙂




Only authorized users can leave comments
Log In