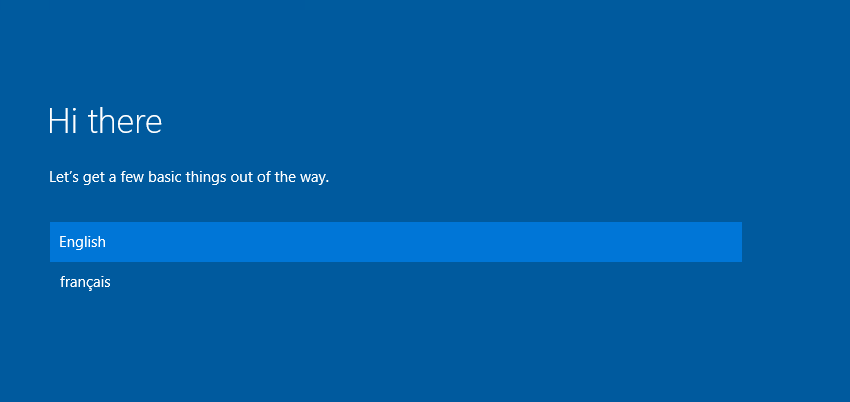

Injecting language pack into Windows 10 WIM images can be achieved in many different ways. MDT has a module to easily import image. SCCM can do it within a task sequence while the image is offline/online. You will also be able to do it by using DISM from the Windows ADK.
In this post, we will detail the process of injecting language packs into a Windows 10 WIM images using DISM.
Injecting a language pack with DISM provides a modified Install.wim that can later be used as a standalone solution to deploy Windows 10 from a media (DVD, USB) or as a Windows OS source for MDT or SCCM. This solution can also be used with our previous post as we explained how to create and capture a custom Windows 10 image.
Pre-Requisites for SCCM Inject Language Pack Windows 10
You must install few tools and plugins, before you get there.
- Windows ADK for Windows 10 (Download)
- Windows 10 1511 Enterprise ISO file
- Language Pack for Windows 10 same Current Branch version
Preparation
- Create a folders structure like this one below
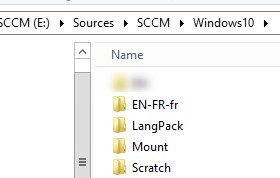
- Copy the extracted Windows 10 ISO files to EN-FR-fr folder
[su_box title=”Note” style=”glass” title_color=”#F0F0F0″]This will be the updated Windows 10 after we inject the language pack. (EN-US with language pack FR-FR).[/su_box]
- Mount your ISO language packs
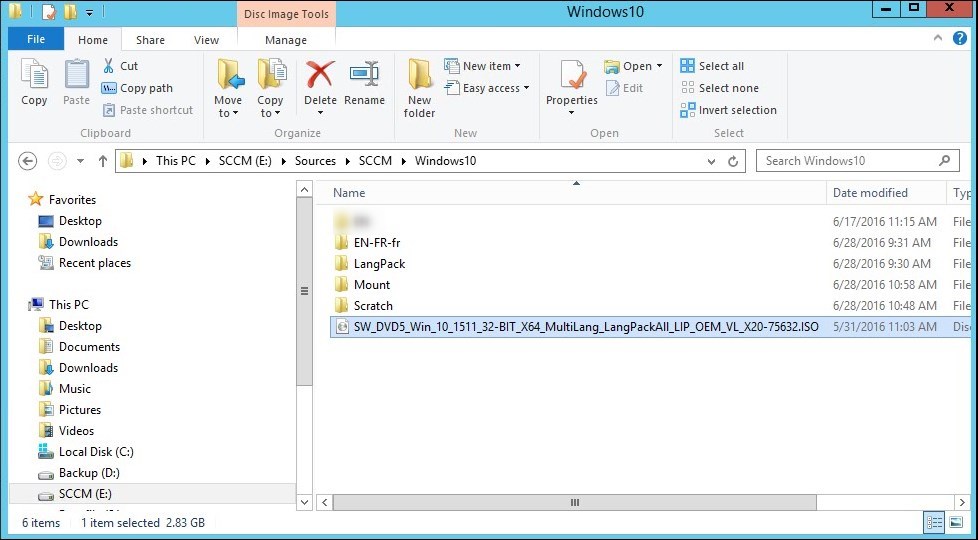
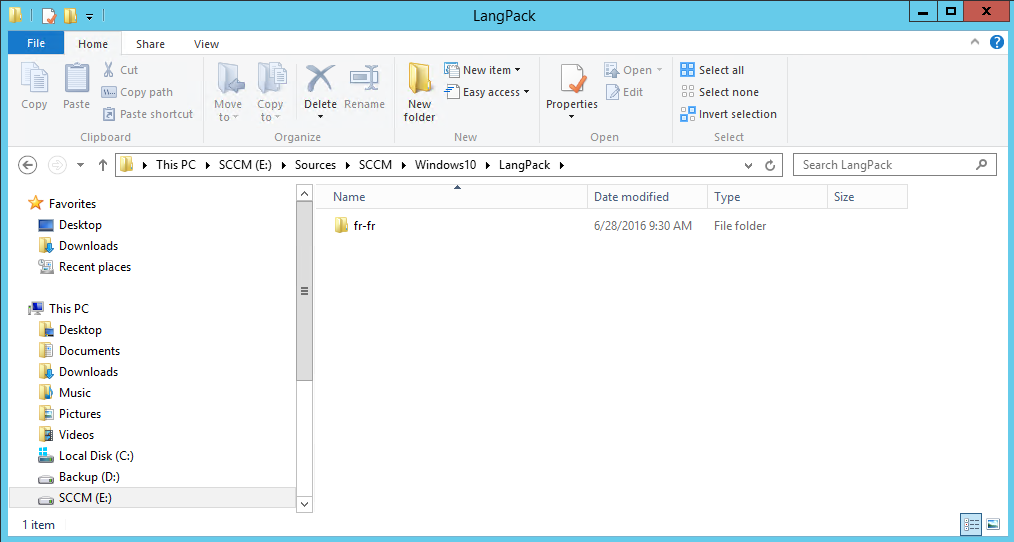
- Browse to the needed language pack folder
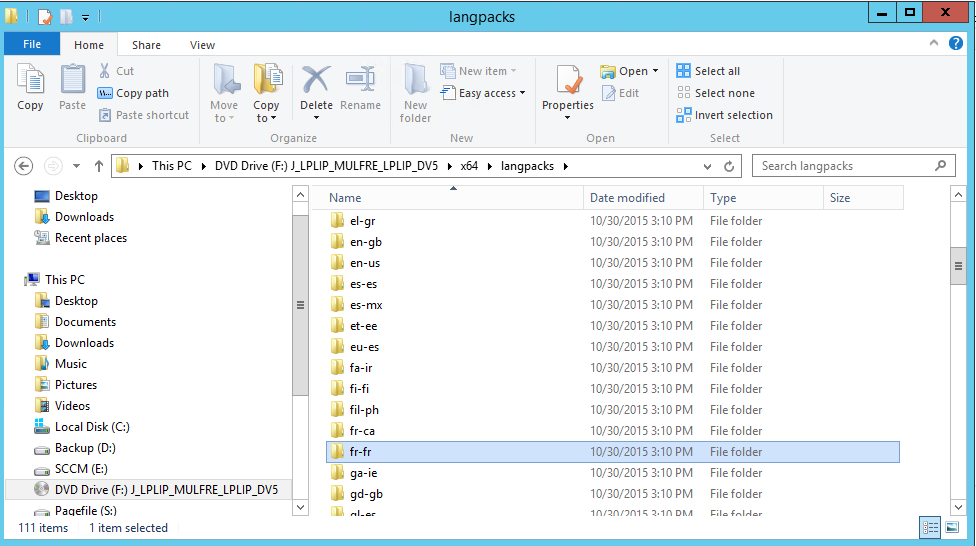
- Copy your language folder (FR-FR) into the LangPack folder This folder must contain only one file (LP.cab)
Inject Language Pack Windows 10
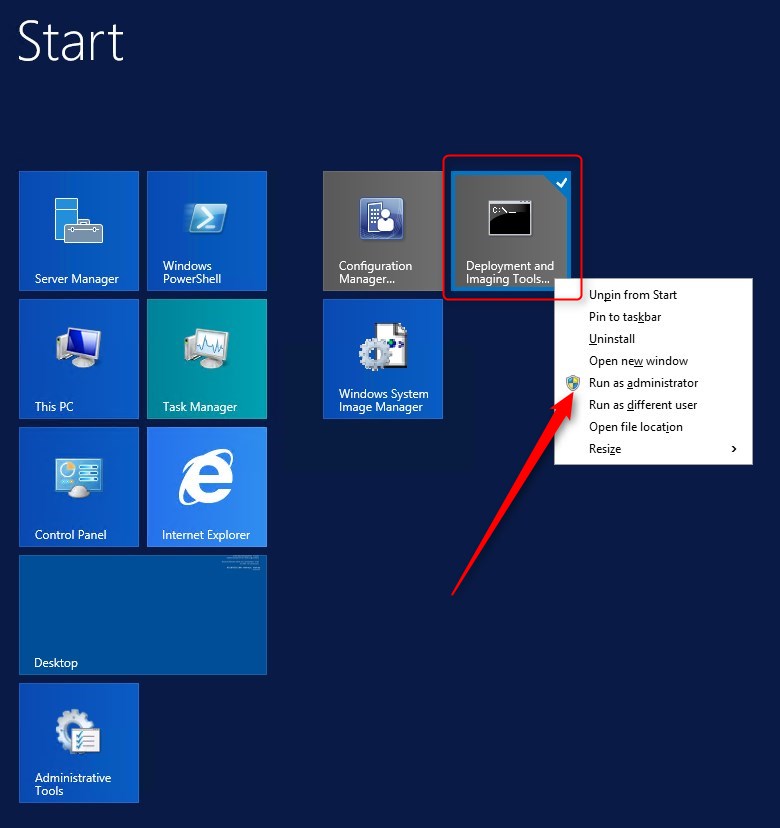
To use DISM command lines, we need the Deployment and Imaging Tools Environment from the Windows 10 ADK.
- Right click on Deployment and Imaging Tools Environment icon and select Run as administrator
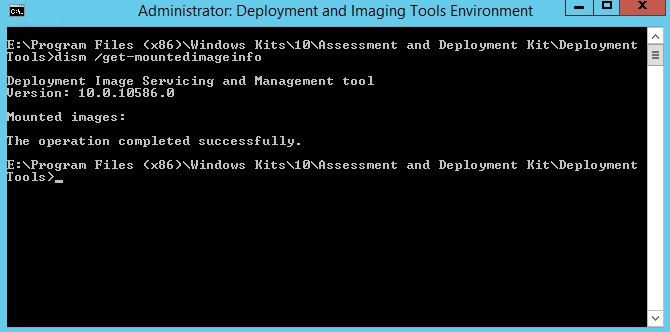
- Type dism /get-mountedimageinfo to validate if any other WIM are mounted
- You can see that we don’t have any mounted image. If you have any, unmount it first before proceeding to the next steps
- We now need the information from the Install.WIM from the Windows 10 1511 EN-US
- Run the following command : (change to the path where you copied your sources files in the first steps)
[su_box title=”Command” style=”glass” title_color=”#F0F0F0″]Dism /Get-ImageInfo /ImageFile:E:\Sources\SCCM\Windows10\EN-FR-fr\sources\install.wim[/su_box]
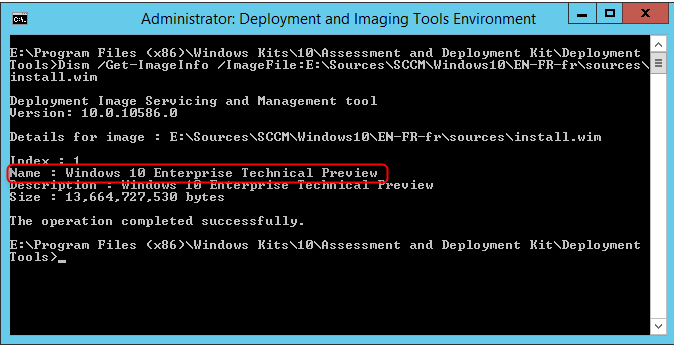
- You must have at least a Windows 10 Enterprise Technical Preview installed to advanced
- Run the following command to mount the image :
[su_box title=”Command” style=”glass” title_color=”#F0F0F0″]Dism /Mount-Image /ImageFile:E:\Sources\SCCM\Windows10\EN-FR-fr\sources\install.wim /name:”Windows 10 Enterprise Technical Preview” /Mountdir:E:\Sources\SCCM\Windows10\Mount[/su_box]
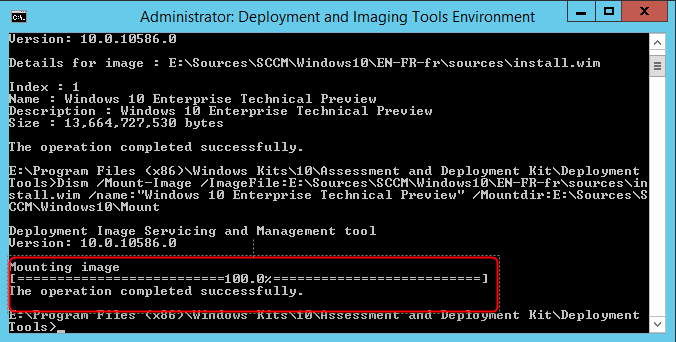
- This will mount the WIM file to the Mount folder.
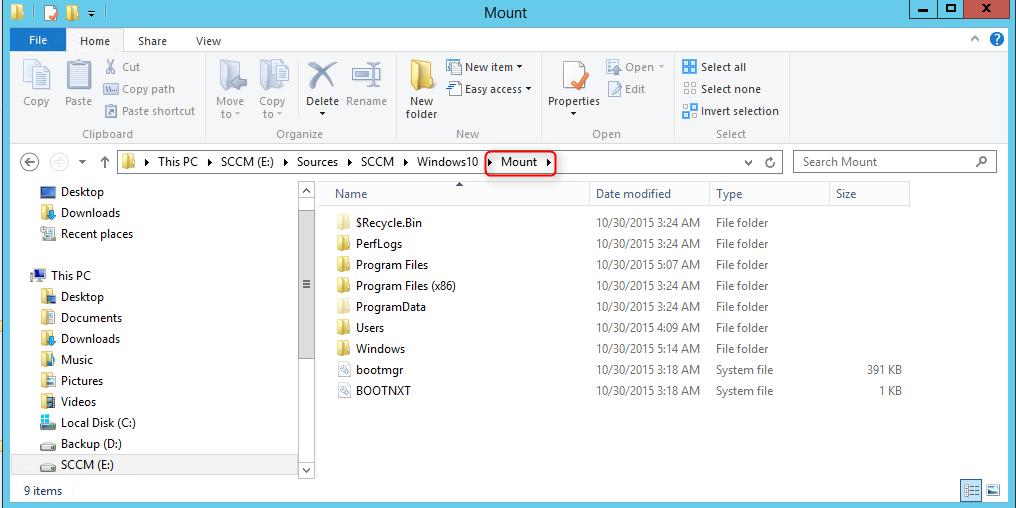
[su_box title=”Note” style=”glass” title_color=”#F0F0F0″]Close the folder after you take a look.[/su_box]
- Run the following command to inject the language pack into the mounted WIM
[su_box title=”Command” style=”glass” title_color=”#F0F0F0″]Dism /image:E:\Sources\SCCM\Windows10\Mount /Scratchdir:E:\Sources\SCCM\Windows10\Scratch /add-package /packagepath:E:\Sources\SCCM\Windows10\LangPack\fr-fr\lp.cab[/su_box]
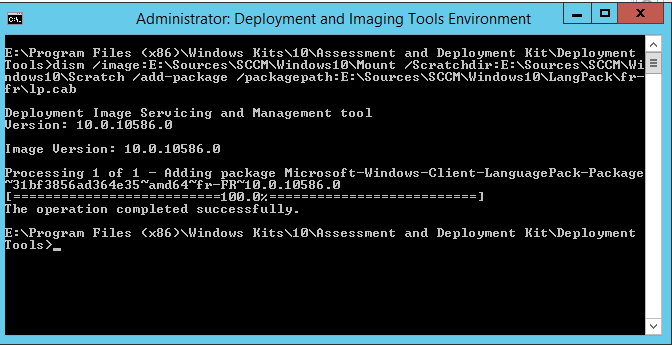
- At this point, the language pack is injected into the mounted WIM
- Now we need to commit changes, run the following command :
[su_box title=”Command” style=”glass” title_color=”#F0F0F0″]Dism /commit-wim /Mountdir:E:\Sources\SCCM\Windows10\mount[/su_box]
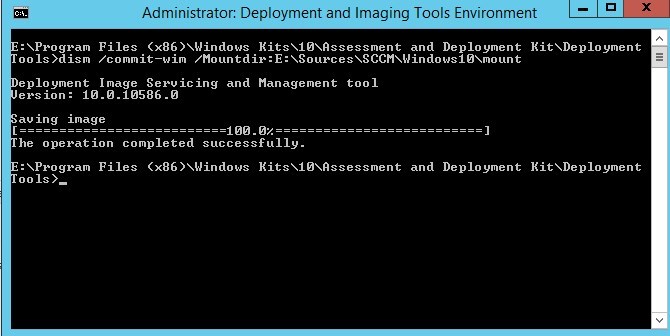
- Once changes are commited, WIM must be unmounted.
- Run the following command :
[su_box title=”Command” style=”glass” title_color=”#F0F0F0″]Dism /unmount-wim /mountdir:E:\Sources\SCCM\Windows10\Mount /Discard[/su_box]
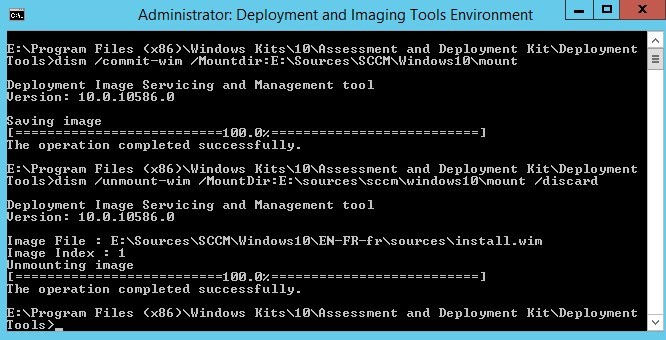
After the unmount is completed, take look at the Install.wim within EN-FR-fr folder. The modified Install.wim will be slightly bigger and modified date will be modified.
- Install.wim EN-FR-fr folder
![]()
Logs and More Info
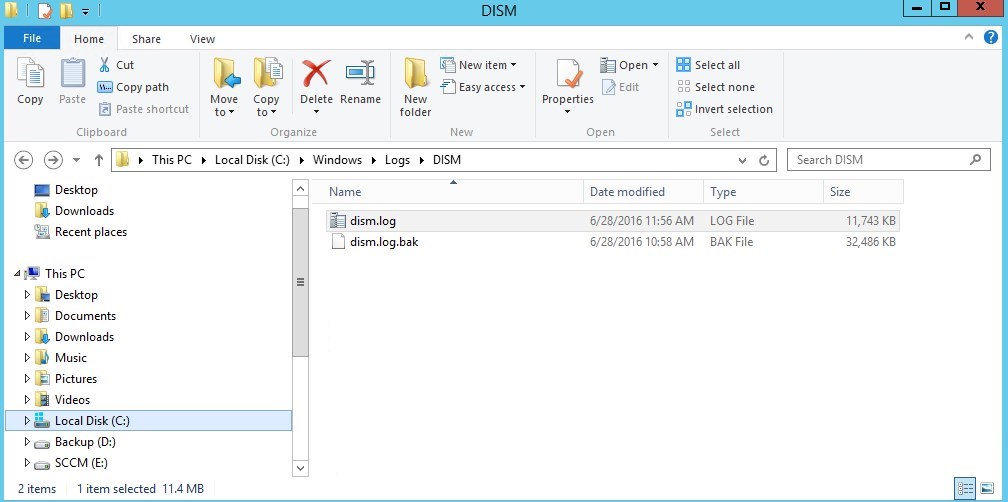
If you experiment this problem with any of the command line from DISM, you can use the log file located in C:\Windows\Logs\DISM
Even if not up-to-date, this Technet article can help with DISM Command lines options.
Inject Install.wim with Language Pack
We now have a source media with 2 languages in it. It can be used to install Windows 10 from a media source (manual install), for MDT and SCCM.

Bonus : Unattend.xml
In order to prevent the choice of language to prompt at first boot, an Unattend.xml file must be configured to answer the question from the Out-of-the-box experience (OOBE).
To create or modify an Unattend.xml file we need Windows System Image Manager, from the Windows ADK.
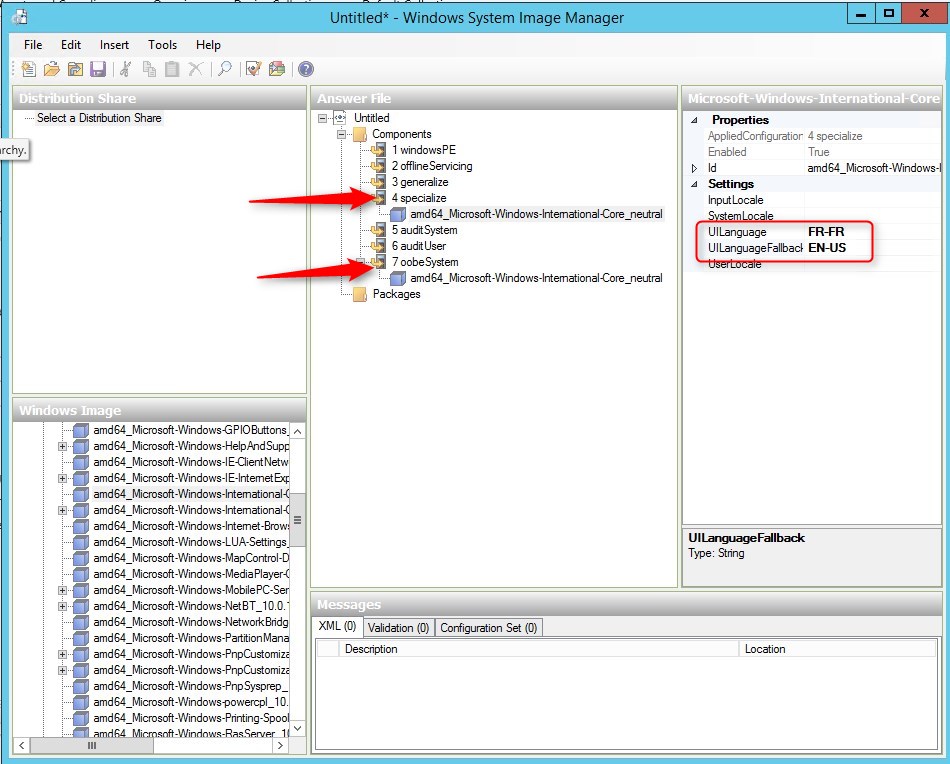
In the Unattend.xml file, the Microsoft-Windows-International-Core_neutral must be configured in the Specialize and OOBE System phase.
The 2 settings that needs to be configured for language packs are UILanguage and UILanguageFallback.
It must be configured the same way for both sections.
In the example bellow, FR-FR would be the default language, and EN-US would be the Fallback language.
More information on Windows System Image Manager here


AndrewNog
12.12.2023 AT 03:26 AMLewisCIPSE
11.26.2023 AT 02:54 PMLewisCIPSE
11.21.2023 AT 10:01 PMAndrewNog
10.13.2023 AT 12:34 PMmizuno
02.12.2019 AT 03:30 AMSebastian Reitter
09.04.2018 AT 08:16 AMEli Winderickx
01.10.2019 AT 08:23 AMEli
01.10.2019 AT 05:03 AMSergio
11.08.2017 AT 10:12 AMKhoi
09.10.2017 AT 01:44 PMJonathan Lefebvre
09.11.2017 AT 07:36 AMKhoi
09.13.2017 AT 07:42 PMAakash Saxena
06.28.2017 AT 05:12 AMJonathan Lefebvre
06.28.2017 AT 08:04 AMAakash Saxena
06.29.2017 AT 03:44 AMAakash Saxena
06.22.2017 AT 06:49 AMJonathan Lefebvre
06.22.2017 AT 08:51 AMAakash Saxena
06.28.2017 AT 04:31 AMJesper
07.12.2016 AT 02:25 AMJonathan Lefebvre
07.12.2016 AT 07:40 AM