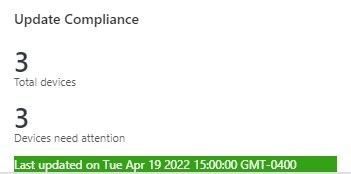

Azure Update Compliance has been around for a few years already. Originally part of Windows Analytics, it’s the only component that lived through the years. It has become more popular with the growing number of devices managed with Windows Update for Business. It is also useful for an environment that manages updates and feature updates with Configuration Manager. In this post, we’ll cover how to make the required change so devices report back to Azure Update Compliance.
I recently did a check for a few clients and noticed that the number of devices in Update Compliance was drastically low or even almost empty in some environments. This is because of a change from Microsoft, that was enforced back in January 2022.
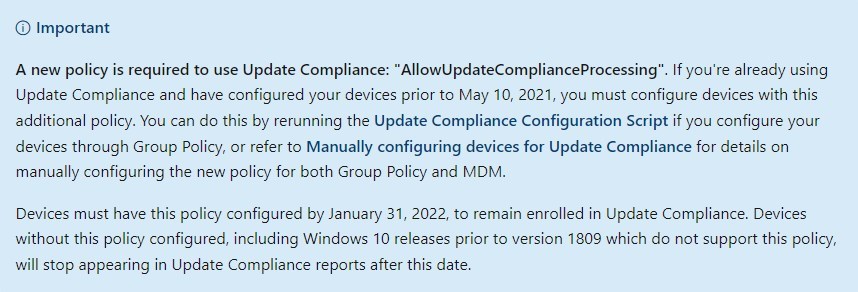
Since devices were managed prior to May 2021, we need to adjust the configurations to fix Azure Update Compliance missing devices.
If you are looking for how to use Windows Update for Business with Intune, see our previous blog post.
If you are looking for how to configure Update compliance, see our previous blog post.
How to fix Azure Update Compliance missing devices
There are 3 options to set the required configuration to allow devices to report to Update compliance :
- Rerun the Update compliance configuration script
- Download the configuration script here
- Use a configuration profile in Microsoft Endpoint Manager
- Manually configure devices for Update compliance, by using GPO
- See Microsoft Docs for details about the GPO settings.
- This isn’t the preferred method, but might still be useful in some environment
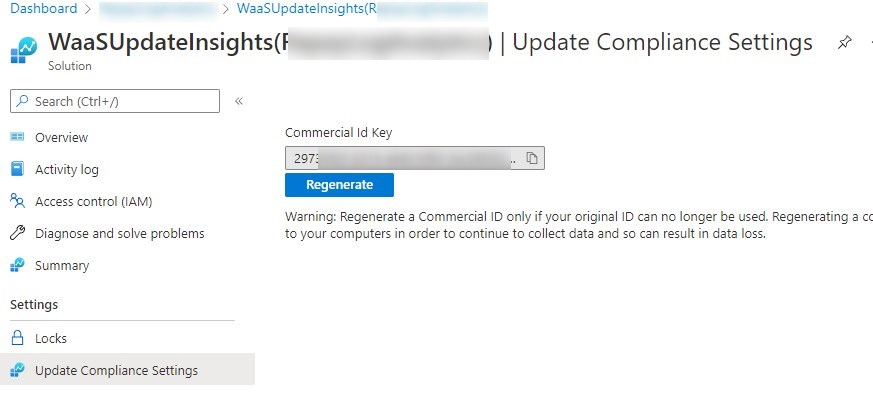
Find the Commercial ID
To find your CommercialID :
- Go to the Solutions tab under the Log Analytics Workspace used for Update Compliance
- Select the WaaSUpdateInsight
- Under UpdateComplianceSettings
Rerun the Update Compliance configuration script
Here are the key points to using the onboarding script.
- Once downloaded, edit the following component of the script.
- Set the CommercialIDValue to your custom ID.
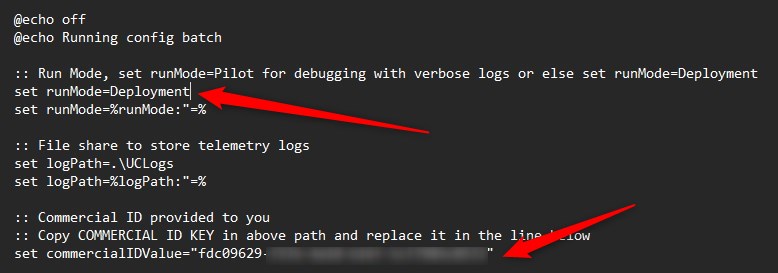
- Once edited, push the script to your devices using your preferred method.
Use Configuration Profile in Microsoft Endpoint Manager
This method can be used on top of the configuration script or standalone.
- Open the Endpoint Manager portal
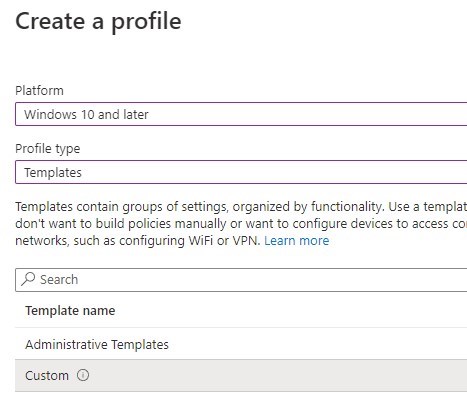
- Go to Devices/Configuration Profile and select Create profile
- Select the following
- Platform: Windows 10 or Later
- Profile Type: Template
- Template name: Custom
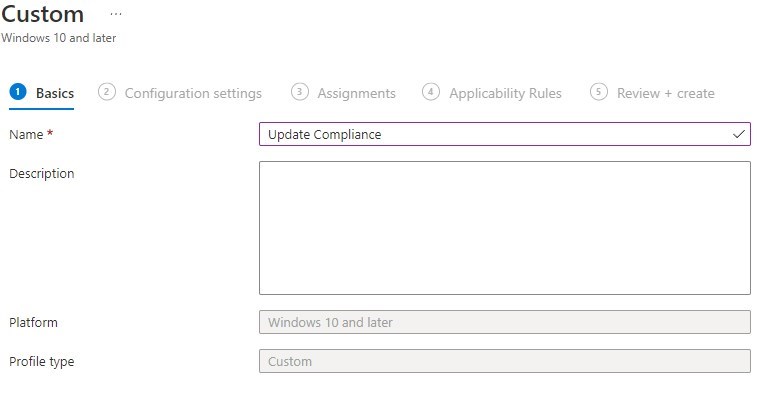
- Set the name of the Configuration Profile
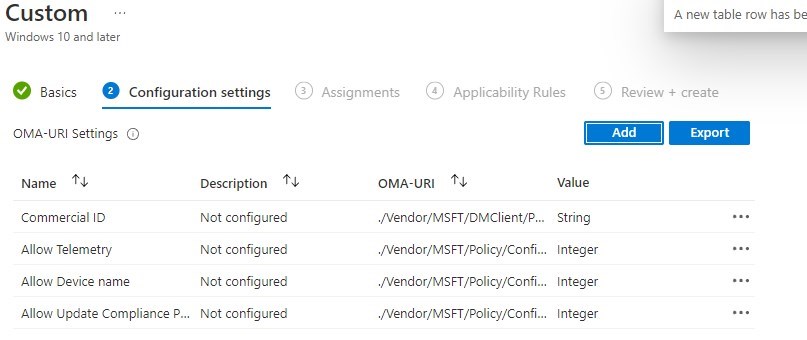
- Set the minimum required OMA-URI settings
- Name: Commercial ID
- OMA-URI: ./Vendor/MSFT/DMClient/Provider/ProviderID/CommercialID
- Data type: String
- Value: Your Commercial ID
- Name: Allow Telemetry
- OMA-URI: ./Vendor/MSFT/Policy/Config/System/AllowTelemetry
- Data type: Integer
- Value: 1 (all that is required is 1, but it can be safely set to a higher value).
- Name: Allow device name in Diagnostic Data
- OMA-URI: ./Vendor/MSFT/Policy/Config/System/AllowDeviceNameInDiagnosticData
- Data type: Integer
- Value: 1
- Name: Allow Update Compliance Processing
- OMA-URI: ./Vendor/MSFT/Policy/Config/System/AllowUpdateComplianceProcessing
- Data type: Integer
- Value: 16
- Note: This is the new settings highlighted earlier.
- Name: Commercial ID
- Assign the newly created configuration to the desired group
- For more details about the OMA-URI settings, see Microsoft docs
Conclusion
Once either the script, the GPO, or the Configuration profile is applied, Update compliance data will start populating again. Patience is key, it took a few days before resuming.

You know know how to Fix Azure Update Compliance missing devices
See Microsoft docs for more details about Update compliance




Only authorized users can leave comments
Log In