
This blog post will describe how to Deploy Office 2016 using SCCM 2012. This procedure is for the Office 2016 Click-to-Run version (Microsoft Office 365 ProPlus) not for the complete Office 2016 Professional Plus version. It will guide you in every steps required to deploy Office 2016 to your users.
The mains steps are :
- Preparing the installation
- Create the SCCM application
- Create the deployment type
- Deploy the application
Step 1 | Preparing Office 2016 installation
The first step is to create a Download.xml file that we’ll use to download the latest version of Office 365 Pro Plus (2016). Read the Reference for Click-to-Run xml file to know more about the available options.
- Download the Office Deployment Tools
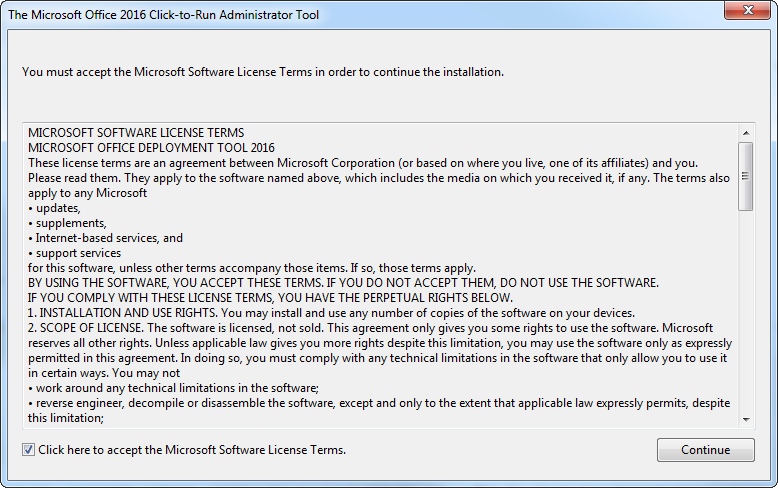
- After downloading the tool, run OfficeDeploymentTool.exe

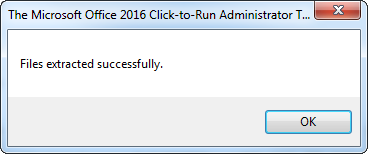
- Extract the files to a drive on your computer
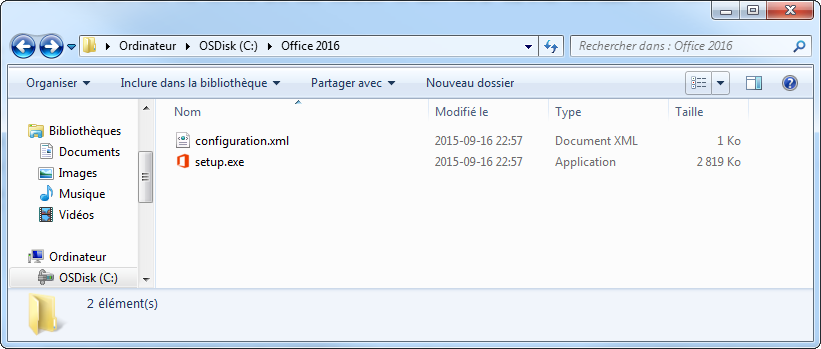
- You’ll end up with 2 files (Setup.exe and Configuration.xml)
Create a Download.xml file and copy this content :
<Configuration>
<Add SourcePath=”C:\Office 2016″ OfficeClientEdition=”32″ >
<Product ID=”O365ProPlusRetail”>
<Language ID=”en-us” />
<Language ID=”fr-fr” />
</Product>
</Add>
</Configuration>
- In our example, we are downloading the 32 bit version in the C:\Office 2016 directory and add the English and French language
- Change the SourcePath and OfficeClientEdition if desired
- You can also add a additional language if needed by modifying/adding more language in <Language ID=”xx-xx” />
- Save the Download.xml file in the same directory as Setup.exe
Modify the Configuration.xml file that are used when deploying Office 2016
- Open the Configuration.xml file and modify it to reflect this :
<Configuration>
<Add OfficeClientEdition=”32″ >
<Product ID=”O365ProPlusRetail”>
<Language ID=”en-us” />
<Language ID=”fr-fr” />
</Product>
</Add>
<Display Level=”None” AcceptEULA=”TRUE” />
</Configuration>
It’s important that you don’t include the SourcePath attribute in the Add section of your Configuration.xml file. That’s because SCCM copies the installation files for an application into a folder under the SCCM client cache folder, and the name of that subfolder is different for each computer. The DisplayLevel and AcceptEULA parameters ensure that our installation is silent.
Once the 2 files are created, we can launch the download using our Download.xml file :
- Open a command prompt and naviguate to your folder
- Execute : Setup.exe /download Download.xml
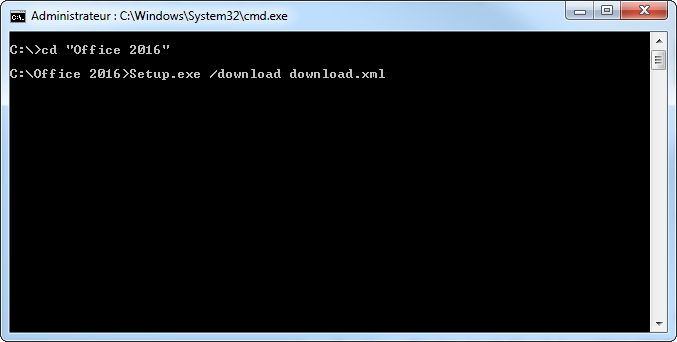
The download starts silently, you’ll see an Office folder appear in your Office 2016 directory. The folder is 1.25GB so it will take some time to complete depending of your download speed. You won’t have a notification when it completes.
If the directory was created outside your SCCM source directory, move it to it’s definitive location before creating the application
Step 2 | Create the Office 2016 Application
- Open the SCCM console
- Go to Software Library / Application Management / Applications
- Right-click Applications and choose Create Application
- On the General tab of the Create Application Wizard, select Manually specify the application information, choose Next
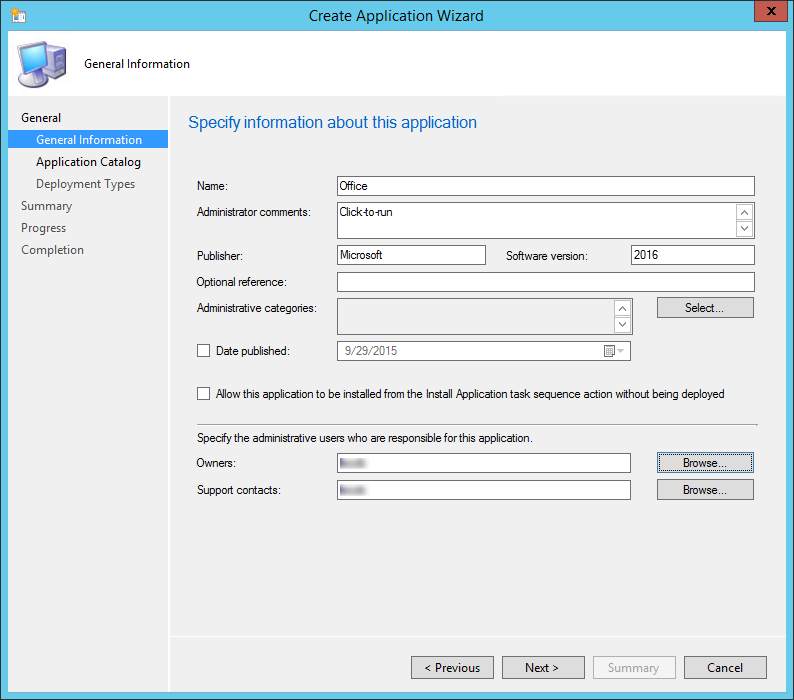
- On the General information tab, enter a name for the application, enter any optional information, choose Next
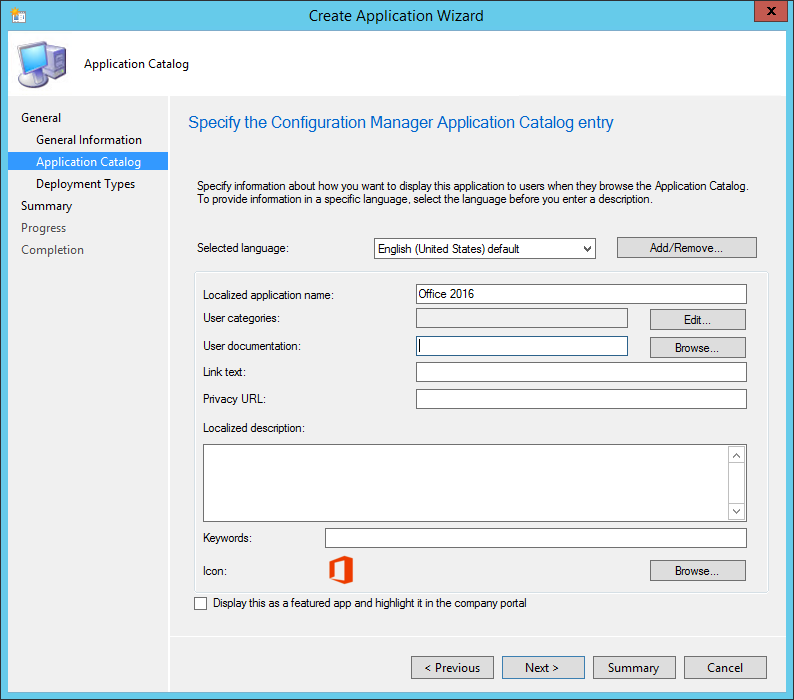
- On the Application Catalog tab, provide the information that’s appropriate for your environment, choose Next
- On the Deployment Types tab, choose Next. We’ll add a deployment type later
- On the Summary tab, review the settings you’ve chosen, choose Next
- Complete the wizard by selecting Close
Step 3 | Create Office 2016 deployment type
- Open the SCCM console
- Go to Software Library / Application Management / Applications
- Right-click the Office 2016 application and choose Create Deployment Type
- On the General tab of the Create Deployment Type Wizard, in the Type list, select Script Installer, choose Next
- On the General Information tab , enter a name for the deployment type, enter any optional information, and then choose Next
- On the Content tab , do the following :
- In the Content location box, enter the network share where you put the Office Deployment Tool, your Configuration.xml file, and the Office 365 ProPlus installation files that you downloaded from the Internet
- In the Installation program box, enter the following text: Setup.exe /configure Configuration.xml
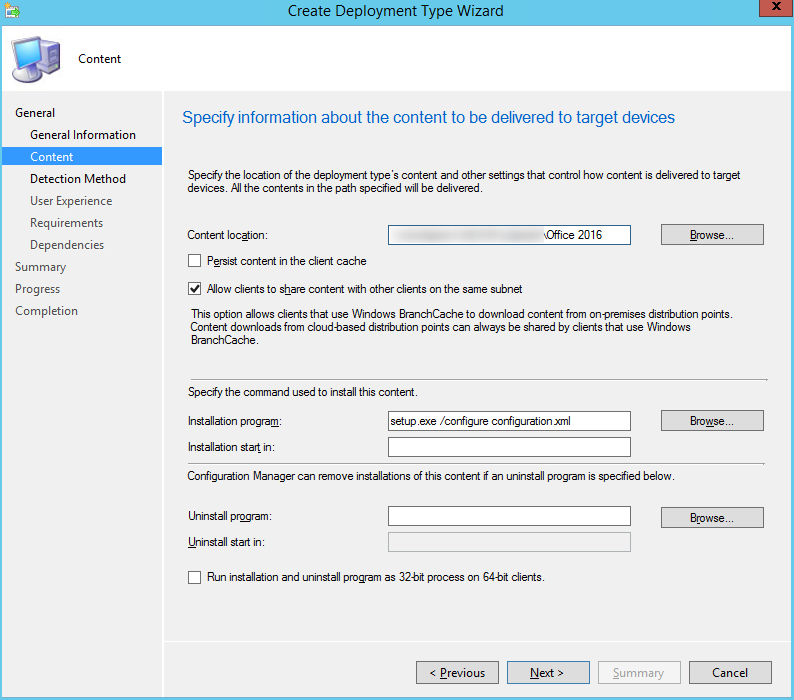
- After you enter this information, choose Next
- On the Detection Method tab , choose Add Clause
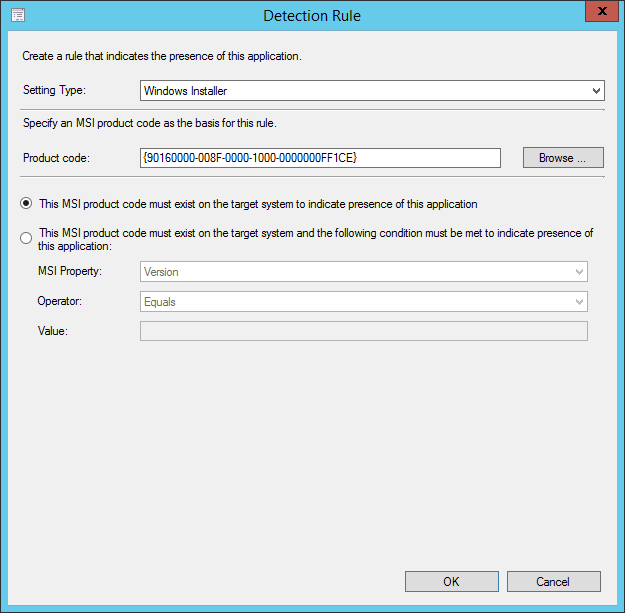
- In the Detection Rule dialog box, do the following :
- In the Setting Type list, select Windows Installer
- In the Product Code box, enter {90160000-008F-0000-1000-0000000FF1CE}
- In the Detection Rule dialog box, do the following :
- After you enter this information, choose OK, and then choose Next
- On the User Experience page, in the Installation behavior list, select Install for system, and then choose Next
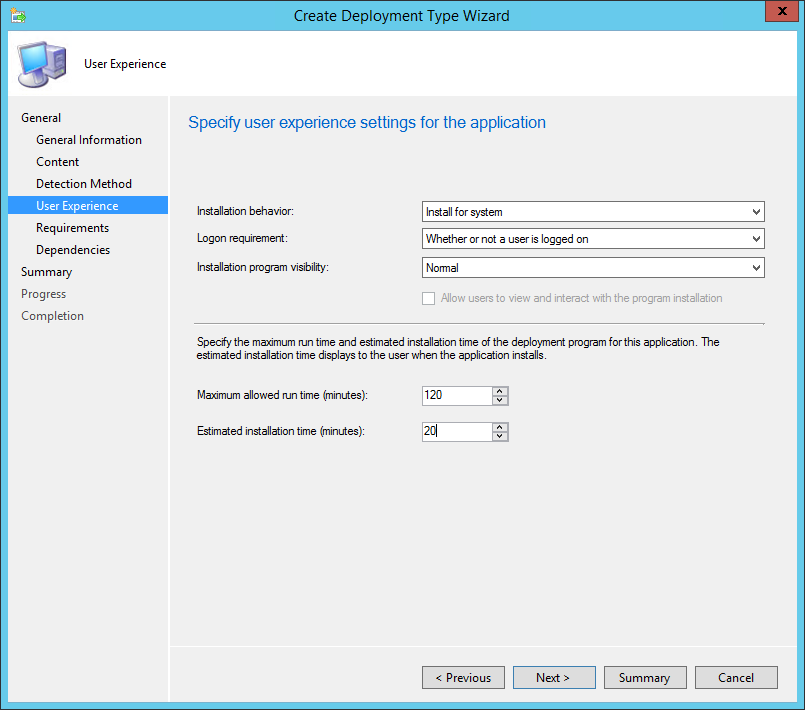
- If you want to specify any requirements or dependencies for the deployment type, choose Next to go through those pages in the wizard. Otherwise, choose Summary
- Complete the wizard by selecting Close
The only step left is to distribute the content to your distribution points and create the deployment.
Bonus information
There is a new set of Administrative Template files (ADMX/ADML) for Group Policy settings. You can download the Administrative Template files using this Microsoft Download Center link.
All Group Policy settings for Office 2016 are located in HKEY_LOCAL_MACHINE\SOFTWARE\Policies\Microsoft\Office\16.0 and HKEY_CURRENT_USER\SOFTWARE\Policies\Microsoft\Office\16.0




mandiri qq
02.05.2020 AT 11:53 AMagen judi online terpercaya
01.31.2020 AT 07:45 PMBrad
01.31.2020 AT 06:00 PMlogin saranapelangi
01.30.2020 AT 10:33 AMtampung qq
09.03.2019 AT 08:47 AMdownload s128 android
07.21.2019 AT 07:58 PMhttps://renataschussheim-obras.Blogspot.com
06.15.2019 AT 01:32 PMservices
05.05.2019 AT 01:20 PMSEXTOYUYTIN
05.04.2019 AT 02:27 PMAmos
04.23.2019 AT 01:00 PMGalen
03.25.2019 AT 02:35 PMCraig
03.11.2019 AT 01:01 PMpeopleman
02.16.2018 AT 06:49 PMAndrew
01.16.2018 AT 05:33 PMRene
01.09.2018 AT 07:20 PMKesh
08.29.2017 AT 08:13 AMJonathan Lefebvre
08.30.2017 AT 10:31 AMKesh
09.12.2017 AT 04:01 AMKesh
09.12.2017 AT 03:55 AMKesh
08.29.2017 AT 08:09 AMBen
07.12.2017 AT 11:34 AMJonathan Lefebvre
07.12.2017 AT 08:51 PMJim
04.27.2017 AT 03:48 PMT-4
07.05.2017 AT 10:58 AMT-4
07.05.2017 AT 10:59 AM