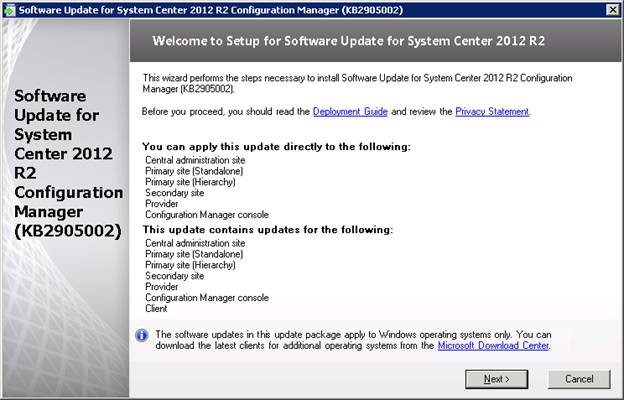

The first hotfix for SCCM 2012 R2 is out and it’s time to install it.I’ll document a step-by-step SCCM KB2905002 installation guide and gives some useful information.
For those of you that are used to update SCCM, you won’t be disorientated.
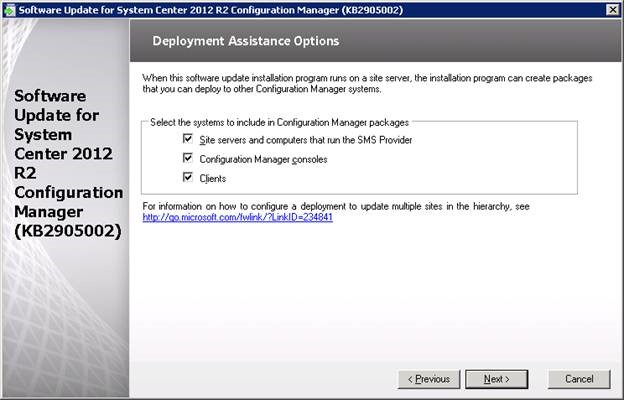
The first thing you need to know is that this hotfix will update the site’s servers, the consoles and the clients. This means that you’ll need to update those after the hotfix installation. Rest assured, the hotfix will create 3 updates packages for you during the installation.
Start with the higher site in your hierarchy. You can use the update package that will be created for the other site systems or manually rerun this setup on all site systems.
I see the update process in 3 distinct phases : Installation, review, component update
Step 1 – Installation
- Download : http://support.microsoft.com/kb/2905002/en-us
- Technet Deployment guide : http://technet.microsoft.com/en-us/library/jj553405.aspx
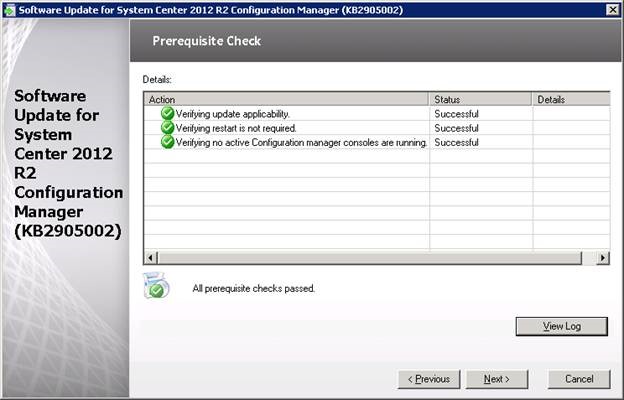
Once downloaded, extract the installation package to a local directory, close your console and run “CM12-R2RTM-QFE-KB2905002-X64-ENU”.
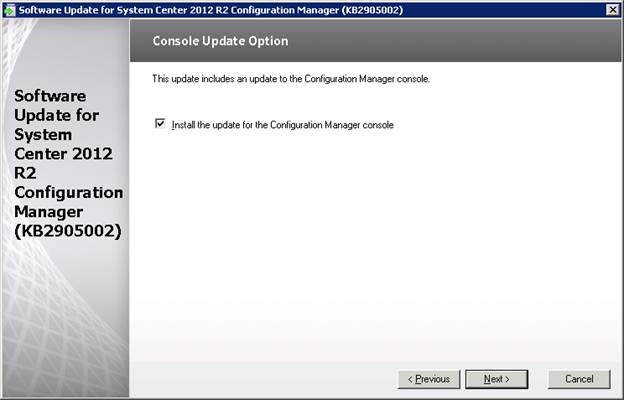
The rest of the setup is fairly simple :
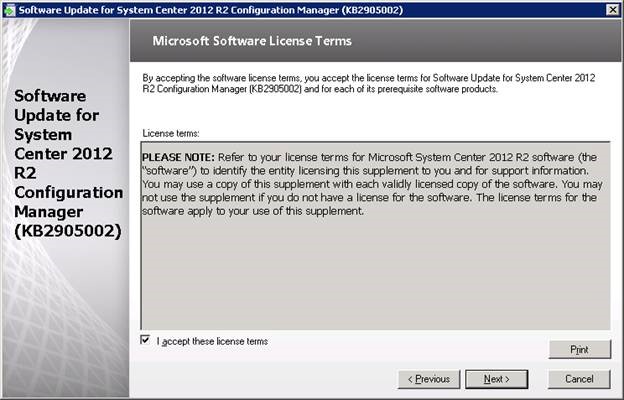
Decide if you want the setup to create the update package for you.
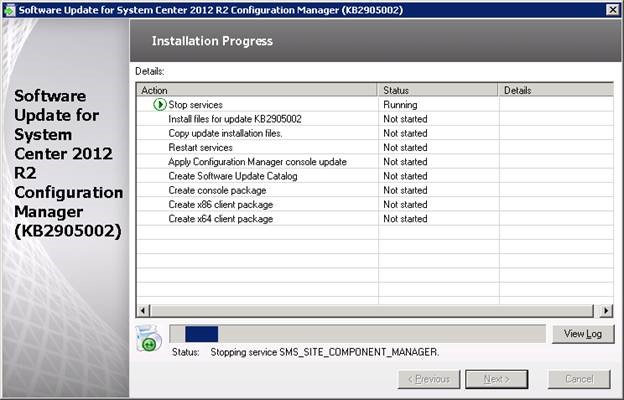
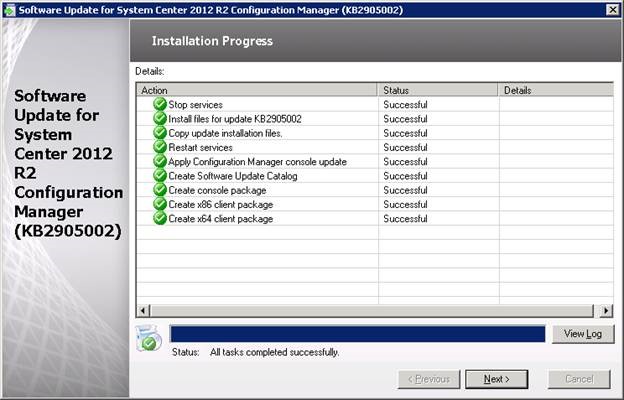
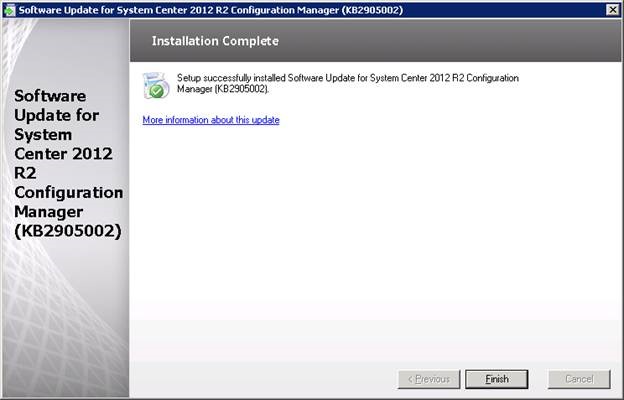
Follow the installation :
Step 2 – Review
After the hotfix installation you’ll notice the following changes :
You’ll have 3 new packages in the SCCM console :
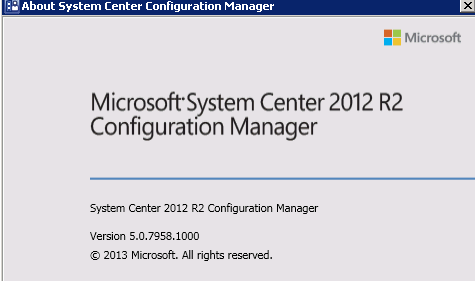
The console version has not changed.
Console version : 5.0.7958.1000
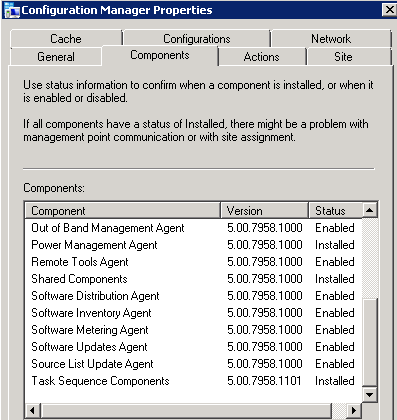
The client version after update will be 5.0.7958.1101
On the component list of the SCCM client, you’ll notice that only the “Task Sequence Components” are updated to 5.0.7958.1101. (Which is normal since the hotfix target to fix OSD issues)
Step 3 – Component update
Now the “hard” part is to plan your site server, console and client upgrade.
My recommendation is to create a set of collection to target the systems you want to update :
#1- Site Server
Create a direct membership rules and add your SCCM server.
Tip : You can query SQL to list all your “SMS Site Server” :
Select SiteCode, RoleName, ServerName from SysResList where RoleName = ‘SMS Site Server’
#2 – Console
Create a query rule using this WQL Query and deploy the console update to the targeted systems
select SMS_R_SYSTEM.ResourceID,SMS_R_SYSTEM.ResourceType,SMS_R_SYSTEM.Name,SMS_R_SYSTEM.SMSUniqueIdentifier,SMS_R_SYSTEM.ResourceDomainORWorkgroup,SMS_R_SYSTEM.Client from SMS_R_System inner join SMS_G_System_ADD_REMOVE_PROGRAMS on SMS_G_System_ADD_REMOVE_PROGRAMS.ResourceId = SMS_R_System.ResourceId where SMS_G_System_ADD_REMOVE_PROGRAMS.DisplayName = “System Center 2012 R2 Configuration Manager Console”
#3- Clients
There’s a separate .msp for x86 and for x64 clients so you’ll need to create different collections One for x86 and one for x64 systems
Select * from SMS_R_System inner join SMS_G_System_SYSTEM on SMS_G_System_SYSTEM.ResourceID = SMS_R_System.ResourceId where SMS_G_System_SYSTEM.SystemType = “X64-based PC”
Select * from SMS_R_System inner join SMS_G_System_SYSTEM on SMS_G_System_SYSTEM.ResourceID = SMS_R_System.ResourceId where SMS_G_System_SYSTEM.SystemType = “X86-based PC”
I like to limit my collection to systems that are not updated to the latest version:
select SMS_R_SYSTEM.ResourceID,SMS_R_SYSTEM.ResourceType,SMS_R_SYSTEM.Name,SMS_R_SYSTEM.SMSUniqueIdentifier,SMS_R_SYSTEM.ResourceDomainORWorkgroup,SMS_R_SYSTEM.Client from SMS_R_System where SMS_R_System.ClientVersion != “5.00.7958.1101″
The count on this collection will decrease during your deployment process. It’s a good way to keep track of your progress.
Once your actual clients are migrated, you’ll need a strategy to update your future clients. (You have to understand that the previous efforts was for existing clients)… and don’t forget OSD !
There’s a great post on the methods you can use for that. http://blogs.technet.com/b/configmonkey/archive/2013/11/13/deploying-configmgr-hotfixes.aspx
Last step is to update your operating system boot images.
- In the Configuration Manager console, click Software Library.
- In the Software Library workspace, expand Operating Systems, and then click Boot Images.
- Select the boot image that you want to update.
- Right-click and then select the Update Distribution Points action.
- Repeat steps 3 and 4 for all boot images that have previously been distributed.
- All existing media (such as stand-alone, boot, or prestaged) that use existing boot images (default or custom) will have to be re-created.
Happy upgrading !




Douglas Costa
01.29.2016 AT 12:09 PMBenoit Lecours
01.29.2016 AT 12:43 PMhttp://www./
01.07.2017 AT 04:53 PMDouglas Costa
01.29.2016 AT 12:47 PMDouglas Costa
01.29.2016 AT 12:53 PMBenoit Lecours
01.29.2016 AT 12:56 PMDouglas Costa
02.04.2016 AT 06:25 AMDouglas Costa
01.29.2016 AT 01:16 PMDouglas Costa
01.29.2016 AT 01:02 PMDouglas Costa
01.29.2016 AT 12:35 PMBenoit Lecours
01.29.2016 AT 12:38 PMJez
01.10.2014 AT 08:57 AMBenoit Lecours
01.10.2014 AT 09:08 AMJez
01.10.2014 AT 09:32 AMBenoit Lecours
01.10.2014 AT 09:34 AM