
Beginning with SCCM 1802, there’s a new pre-release feature that allows Phased Deployments. This feature allows automating a coordinated, sequenced rollout of a task sequence across multiple collections. For now, you can create phased deployments with two phases but will be extended for multiple phases in the future. This can be helpful to test certain deployment where you want to deploy to a test collection first and then a broader collection. All this happen automatically when using phased deployments.
Phased deployment of task sequences does not support PXE or media installation.
Enabling SCCM Phased deployments
Since Phased deployments is a pre-release feature, we need to first enable it before we can use it.
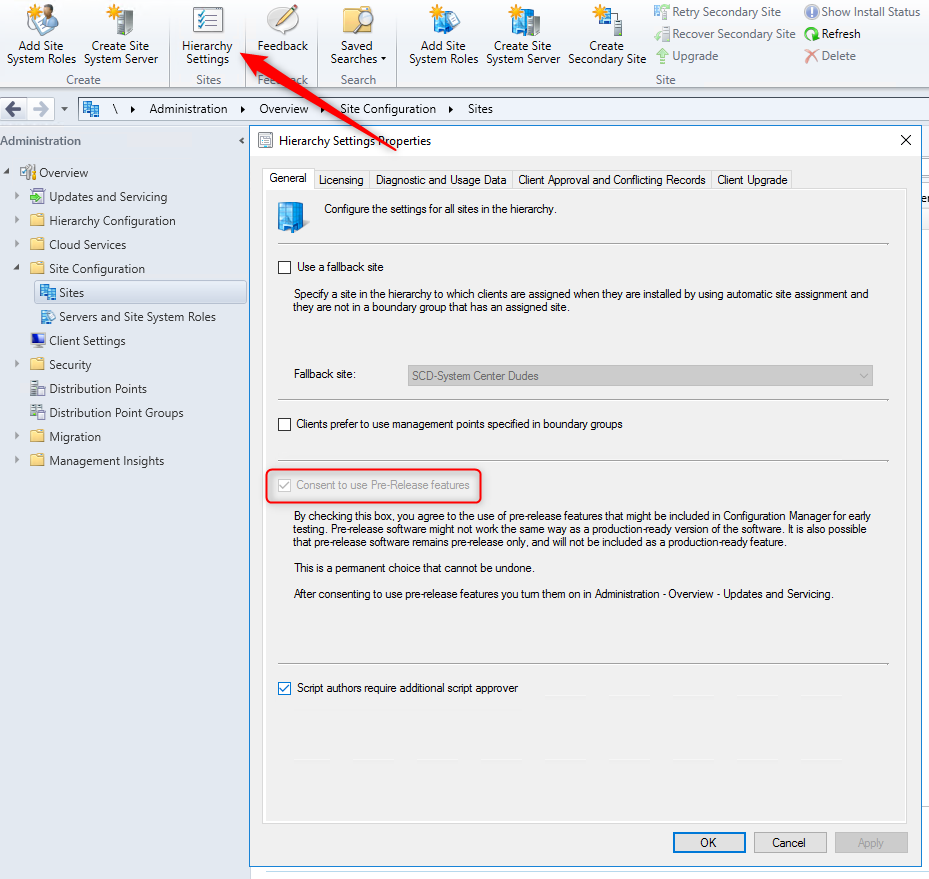
- Go to Administration / Site Configuration / Sites / Hierarchy Settings
- In General, make sure you have check Consent to use Pre-release features
- Once enabled, go to Administration / Update and servicing /Features
- Click Phased deployment and right-click on it and choose Turn on

- Close and re-open the SCCM Console
Creating a Phased Deployments
For now, phased deployment is only possible on Task Sequence. We assume that it will be possible in application and package deployments in further versions.
- Go to Software Library / Operating Systems / Task Sequences
- For this test, we will use an existing Task Sequence that basically installs an application. If you don’t have any task sequences, you can create a new one.
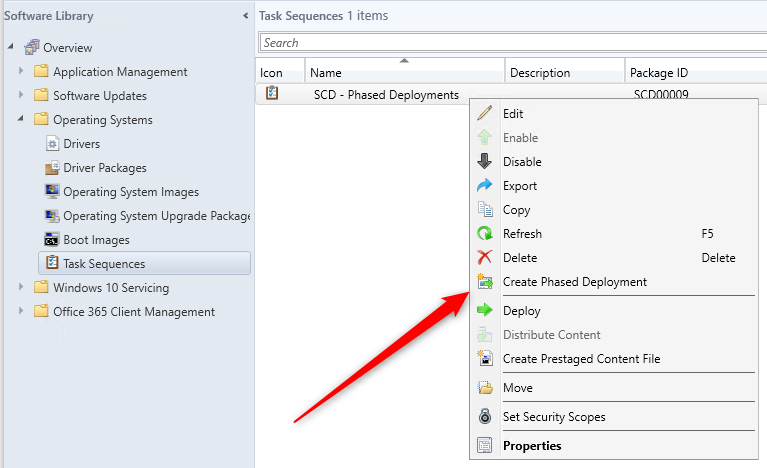
- Right-click your Task Sequence and select Create Phased Deployment

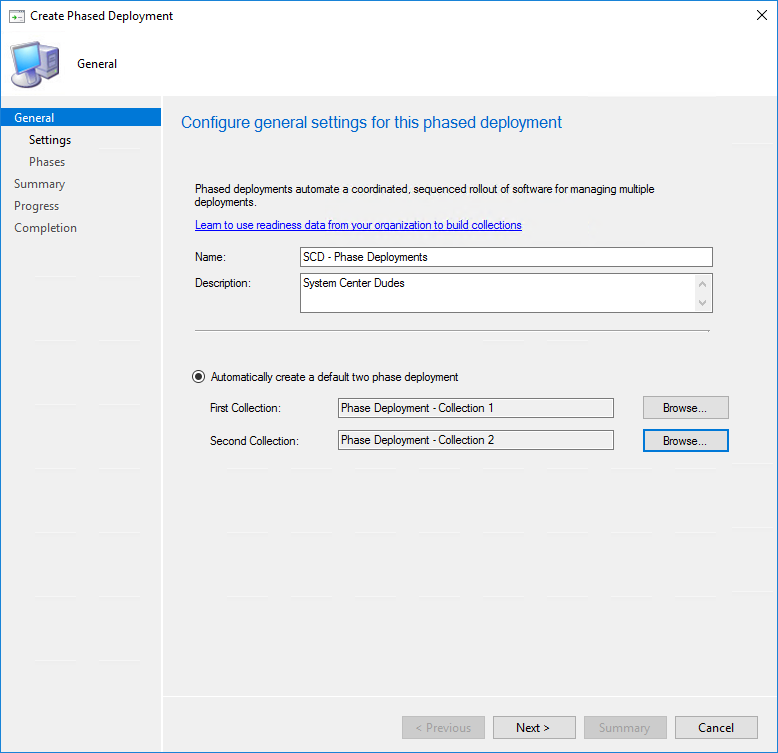
- In the General pane, enter a Name and Description for your phased deployment
- On the bottom, select your 2 collections to deploy
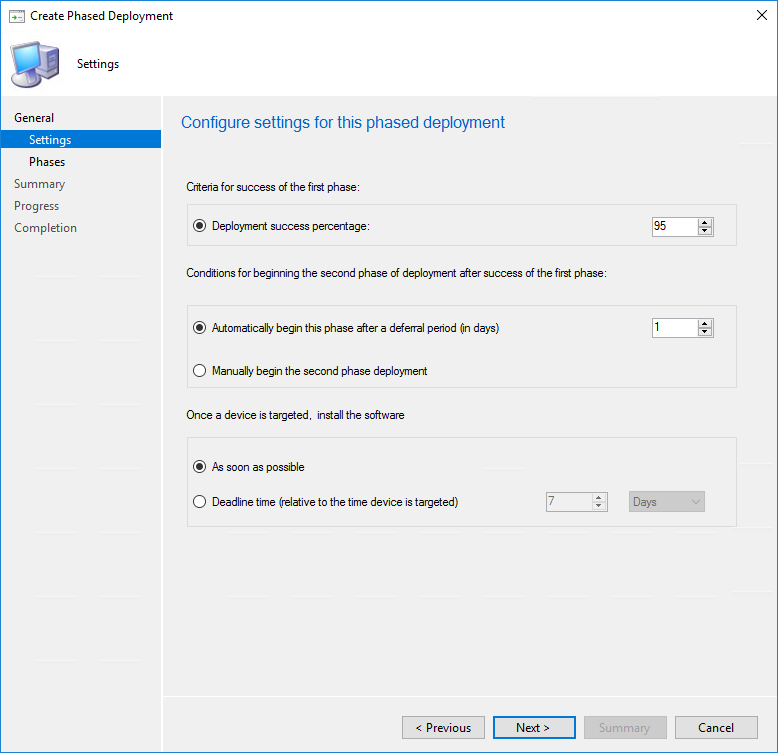
- Set the success percentage of the first phase before going to phase #2. This basically tells SCCM to create the second deployments when deployment success reaches 95%
- In the second box, select to wait for a number of days or not before creating the second deployment
- In the third box, select when to begin the deployment. For now, it’s not possible to start a deployment at a specific time
- In the Phases pane, you can re-order, Add or Edit your deployments. For now, the Add button is disabled, you can’t add more than 2 phases
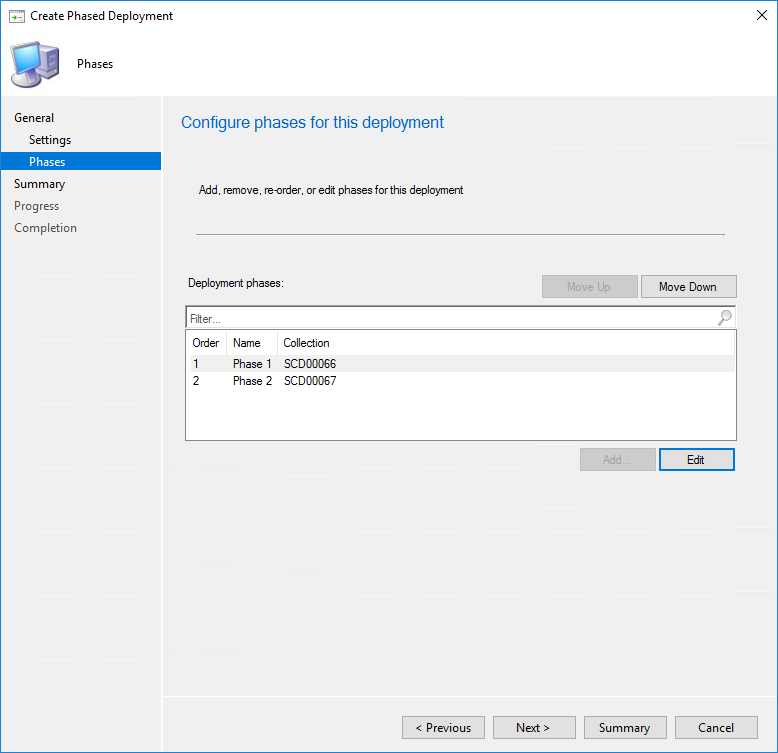
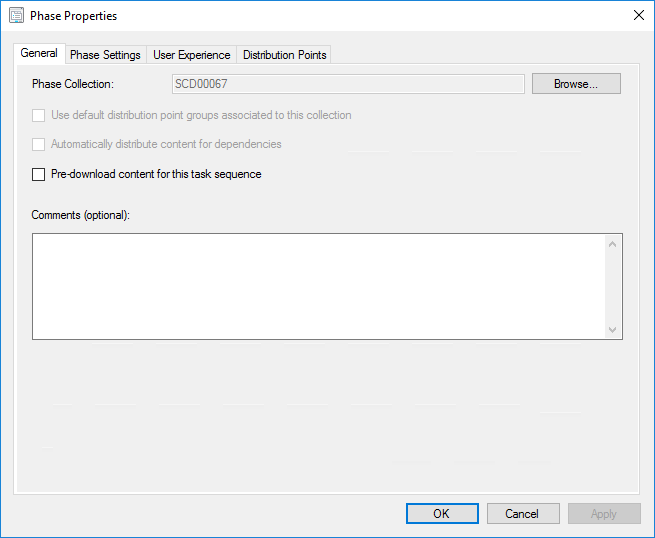
- If you click Edit, you can change the options of the selected Phase
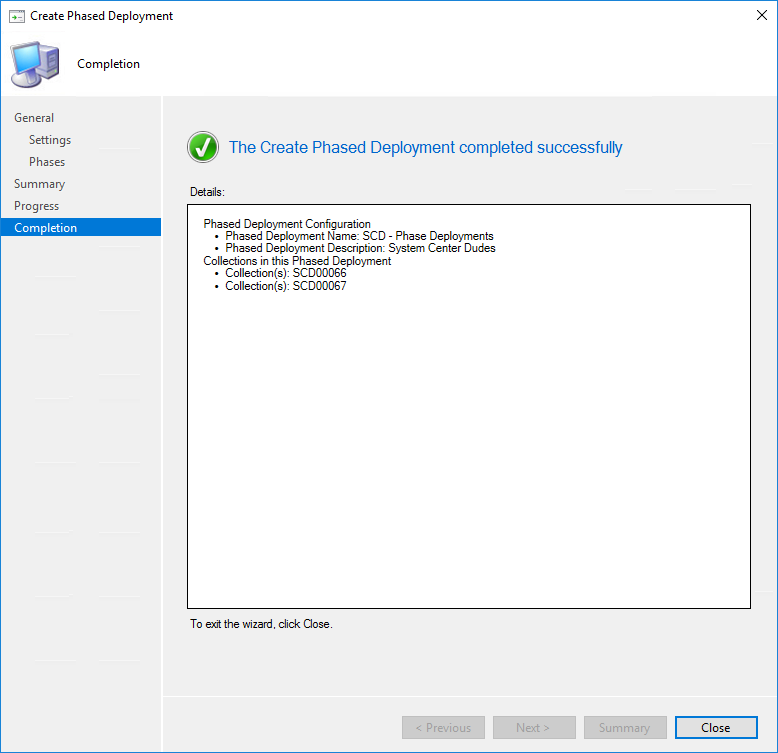
- Complete the wizard and click Close
Monitor SCCM Phase Deployments
Now that our phase deployment is created, SCCM will basically create for you the deployments based on your settings. In the bottom, you have a new Phased Deployments tab which shows your newly created task. If you look in the Deployments tab, you’ll see that your first deployment has been created. The second one will be created automatically based on the success condition of the first one.

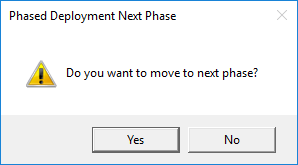
- If you want to speed up the process or skip the first phase, you can right-click the Phase Deployment and select Move to next phase. It’s also possible to Suspend your deployment from there
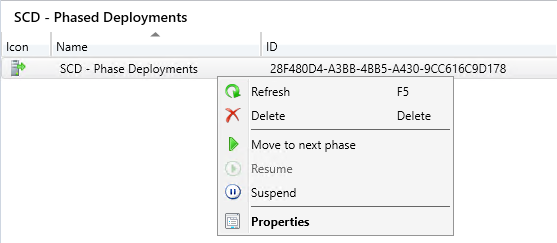
- If you select Move to next phase, a confirmation pop-up will show
To monitor Phased Deployments, you do as standard deployments. Simply go in Monitor / Deployments and you’ll see your 2 deployments with their statistics

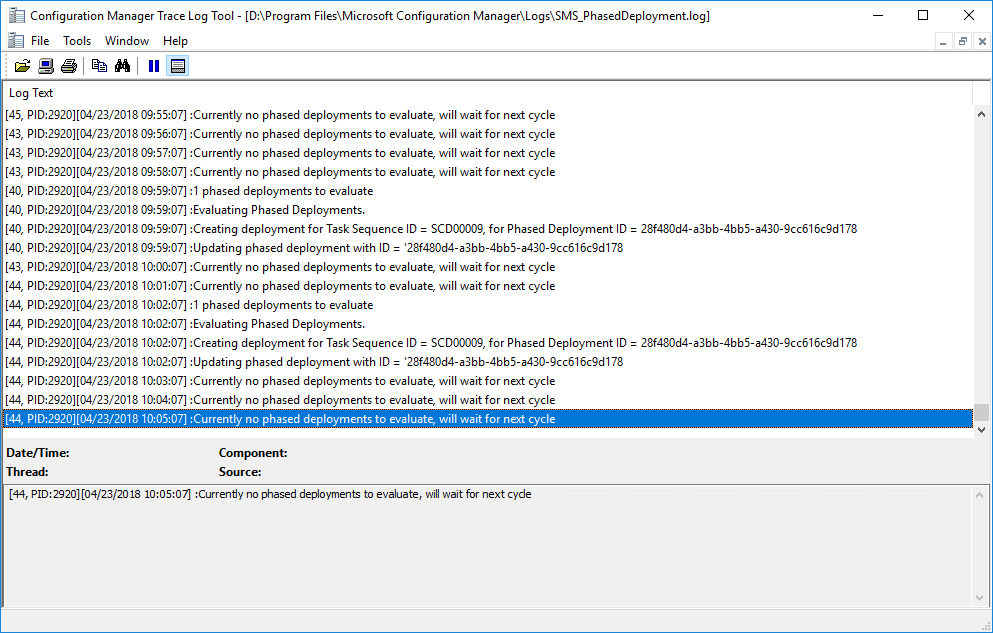
There’s also a new SMS_PhasedDeployment.log file to monitor task done by the Phase deployment engine. By looking at the log file, we can see that the engine monitors for changes each minute.
This is a great feature with lots of potential… but for now, it lack certain key functionality in order to use them on a day to day basis (which is why it’s still in pre-release feature). We can’t wait to see where the dev team will bring this one.


Shruti P
04.17.2019 AT 12:45 AMRichard Randall
01.19.2019 AT 06:46 AMMonsterwayne
08.08.2018 AT 02:48 PMmilly
07.16.2018 AT 10:34 PM