
The PDF file is a 162 pages document that contains all informations to install and configure SCCM Current Branch. Use our products page or use the button below to download it . |
This blog post has been updated. Please refer to the new SCCM Current Branch Installation Guide. |
In this part of SCCM 2012 and SCCM 1511 blog series, we will describe how to install SCCM 2012 R2 or SCCM 1511 Software Update Point (SUP).
Role Description
The SUP integrates with Windows Server Update Services (WSUS) to provide software updates to Configuration Manager clients.
This is not a mandatory Site System but your need to install a SUP if you’re planning to use SCCM as your patch management platform.
SCCM 2012 SP1 (and thus R2) integrates new features to the Software Update Point that are well documented in this Technet Article.
Site System Role Placement in Hierarchy
This Site System is a site-wide option. It’s supported to install this role on a Central Administration Site, child Primary Site, stand-alone Primary Site and Secondary Site.
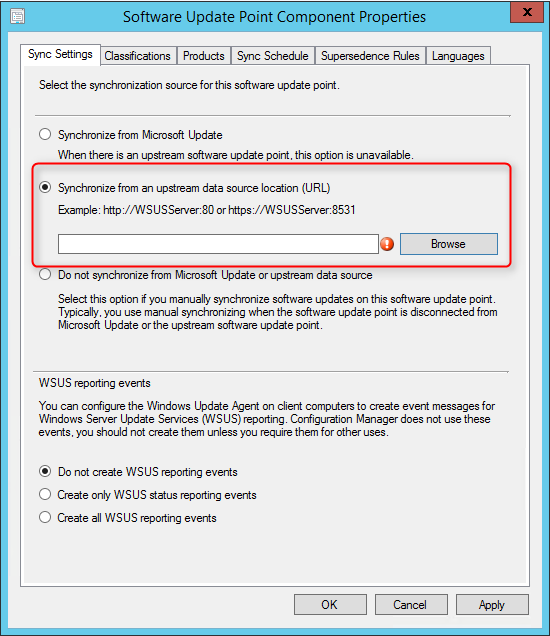
When your hierarchy contains a Central Administration Site, install a SUP and synchronizes with Windows Server Update Services (WSUS) before you install a SUP at any child Primary Site.
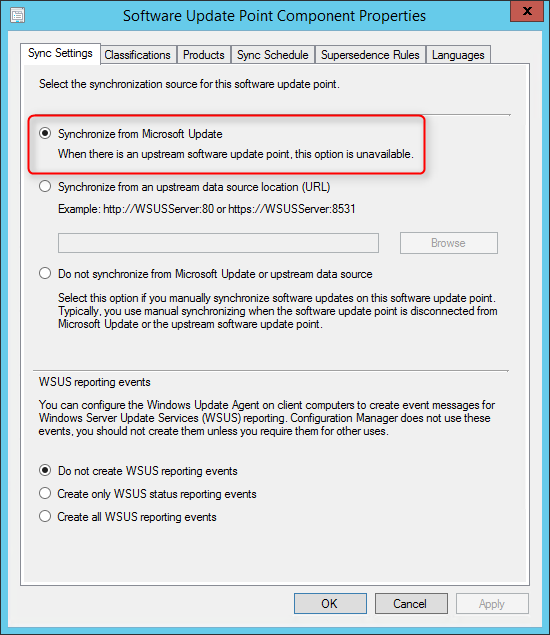
When you install a SUP at a child Primary Site, configure it to synchronize with the SUP at the Central Administration Site.

Consider installing a SUP in Secondary Site when data transfer across the network is slow.
The WSUS Administration Console is required on the Configuration Manager site server when the software update point is on a remote site system server and WSUS is not already installed on the site server. The WSUS version on the site server must be the same as the WSUS version running on the software update points.
When using WSUS 3.0 (on server 2008, it was possible to install the console only). This has changed with 2012 and 2016. One way to do it is to add the Windows Software Update Services role and deselecting Database and WID Database. The problem is that will still cause some trouble with the post-install task.
The recommended way to do it :
- Start PowerShell Console (as Administrator)
- Run : Install-WindowsFeature -Name UpdateServices-Ui
This will install the console only and not run a post-install task.
WSUS Installation
Perform the following on the server that will host the SUP role.
- Open Server Manager / Add Roles and Features
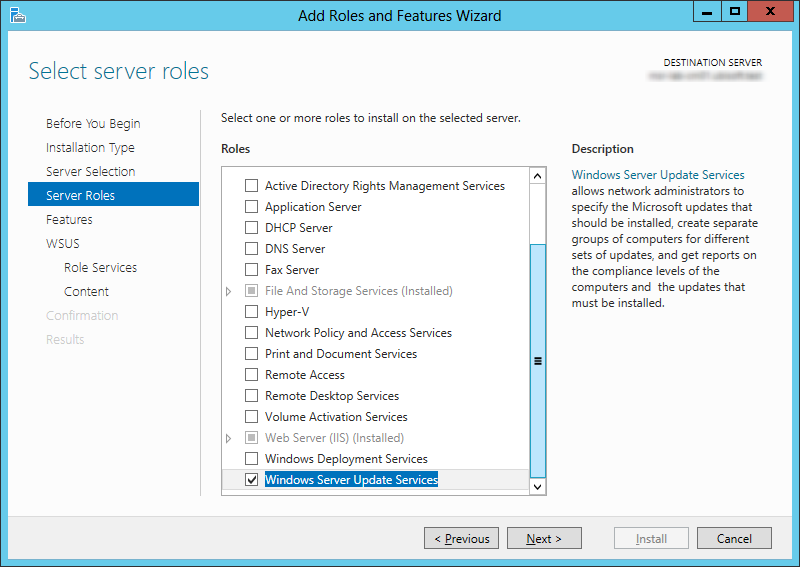
- Select the Windows Server Update Services Role, click Next
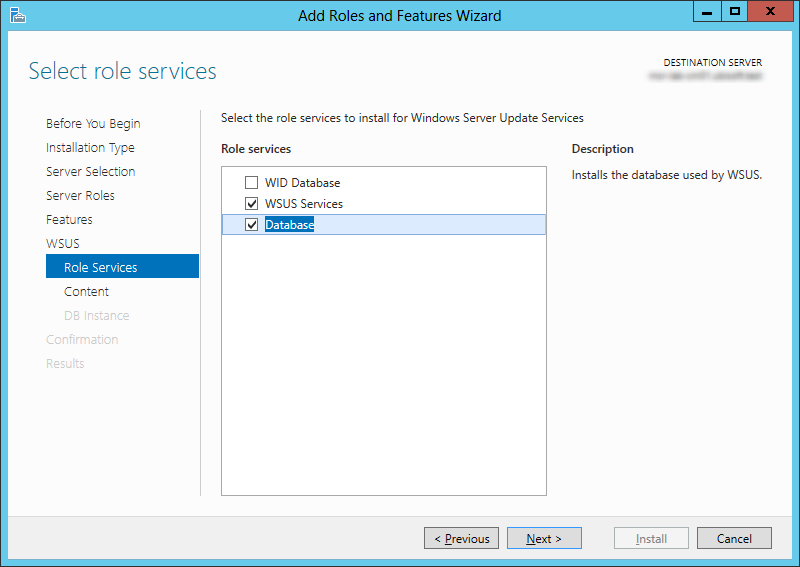
- Select WSUS Services and Database, click Next
- Launch Windows Server Update Services from the Start Menu. You will be prompt with the following window :
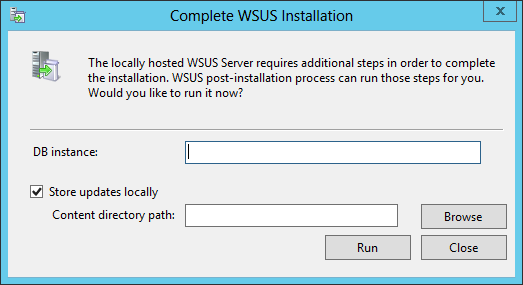
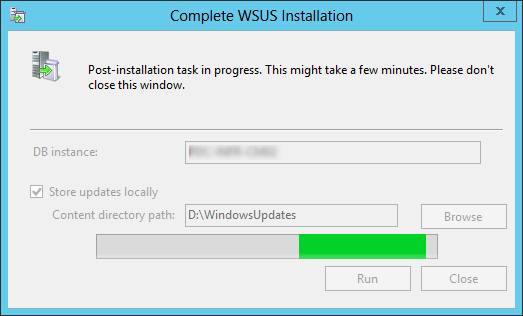
- On the DB instance, enter your server name
- On Content directory path, use a drive with enough drive space. This is where your WSUS will store updates
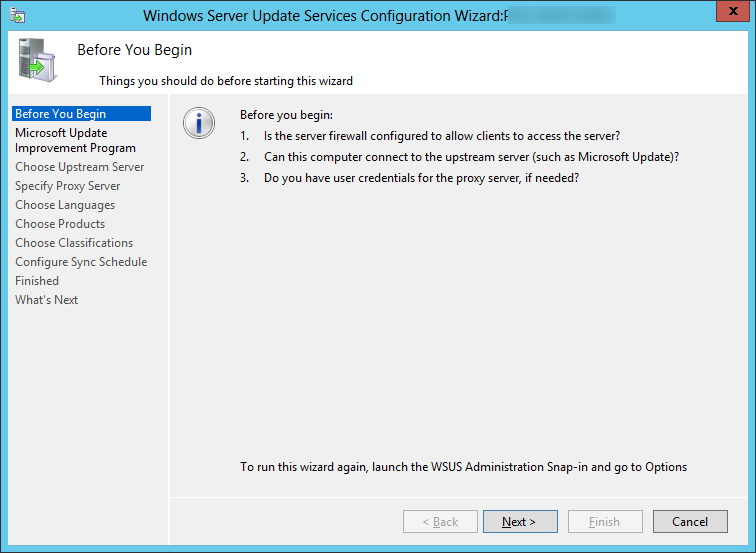
- When the WSUS Configuration Wizard starts, click Cancel
- Open SQL Management Studio
- Under Databases, Right-click SUSDB, select Properties, and click Files
- Change Owner to SA
- Change the Autogrowth value to 512MB, click Ok and close SQL MS
SUP Installation
- Open the SCCM console
- Navigate to Administration / Site Configuration / Servers and Site System Roles
- Right click your Site System and click Add Site System Roles
- On the General tab, click Next

- On the Proxy tab, click Next

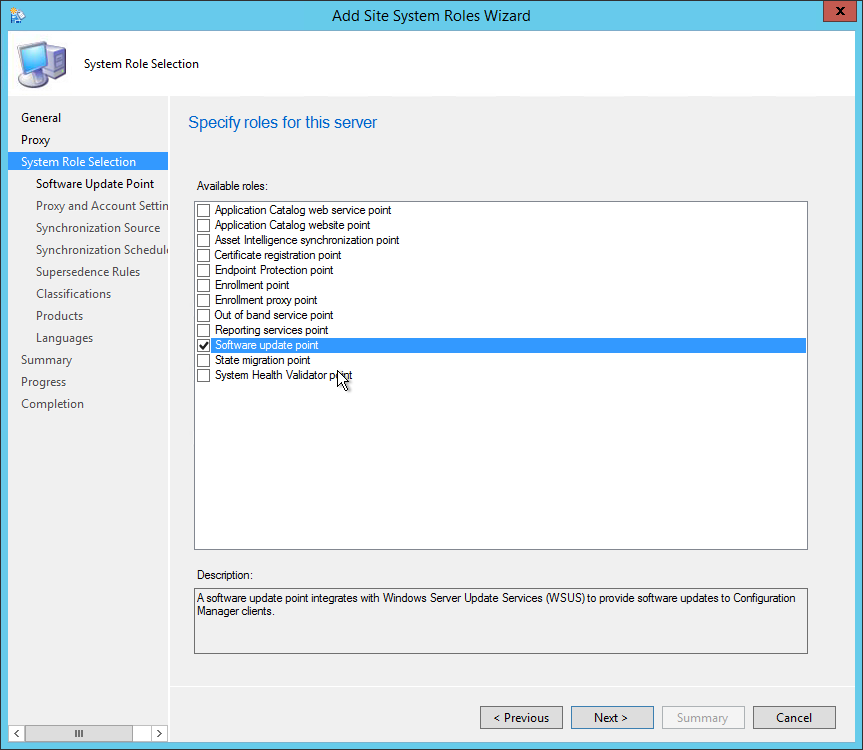
- On the Site System Role tab, select Software Update Point, click Next
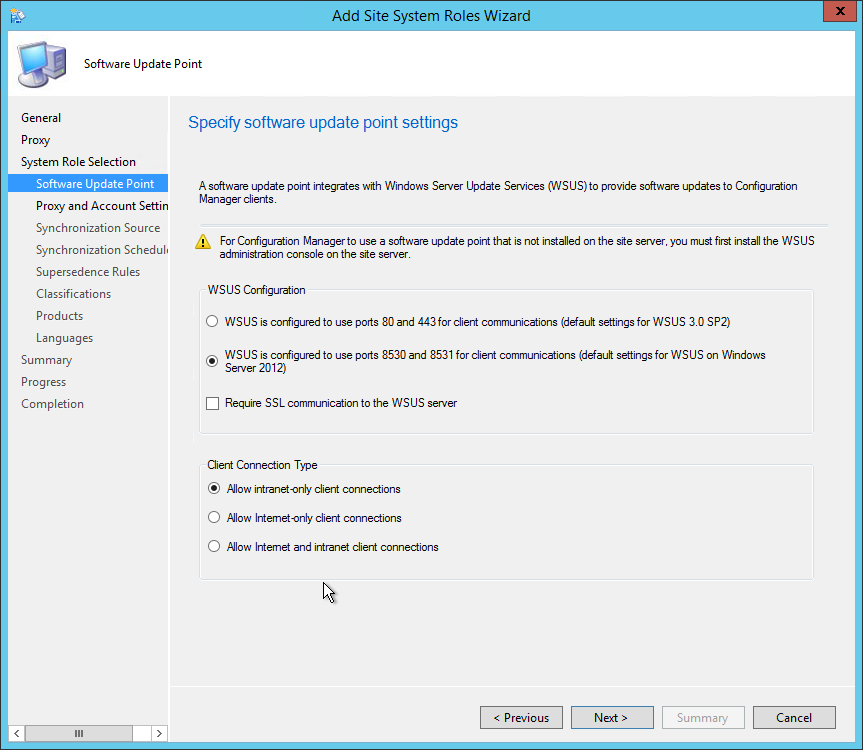
- On the Software Update Point tab, select WSUS is configured to use ports 8530 and 8531, click Next
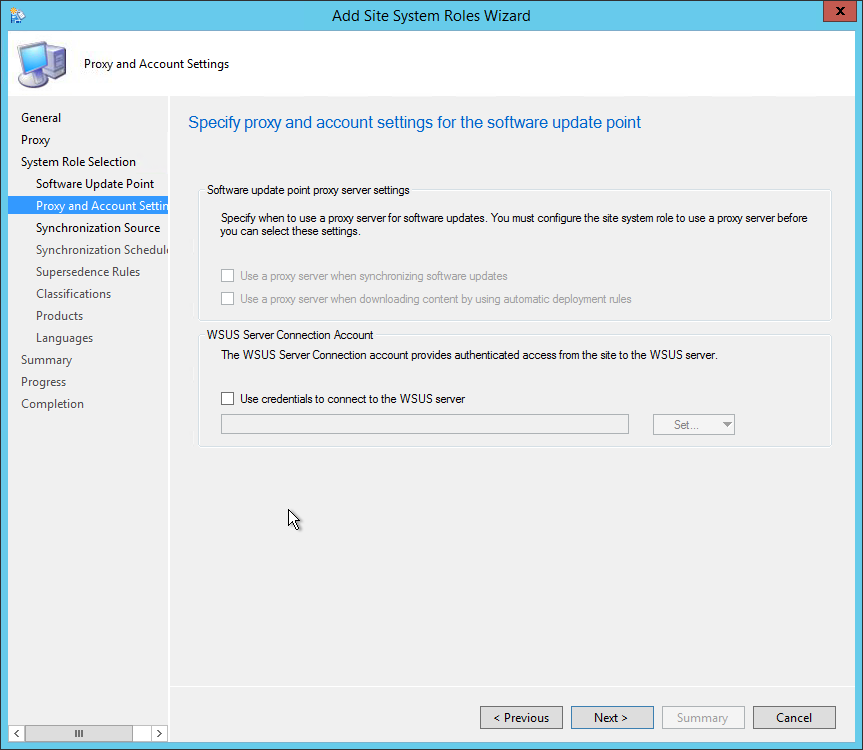
- On the Proxy and Account Settings tab, specify your credentials if necessary, click Next
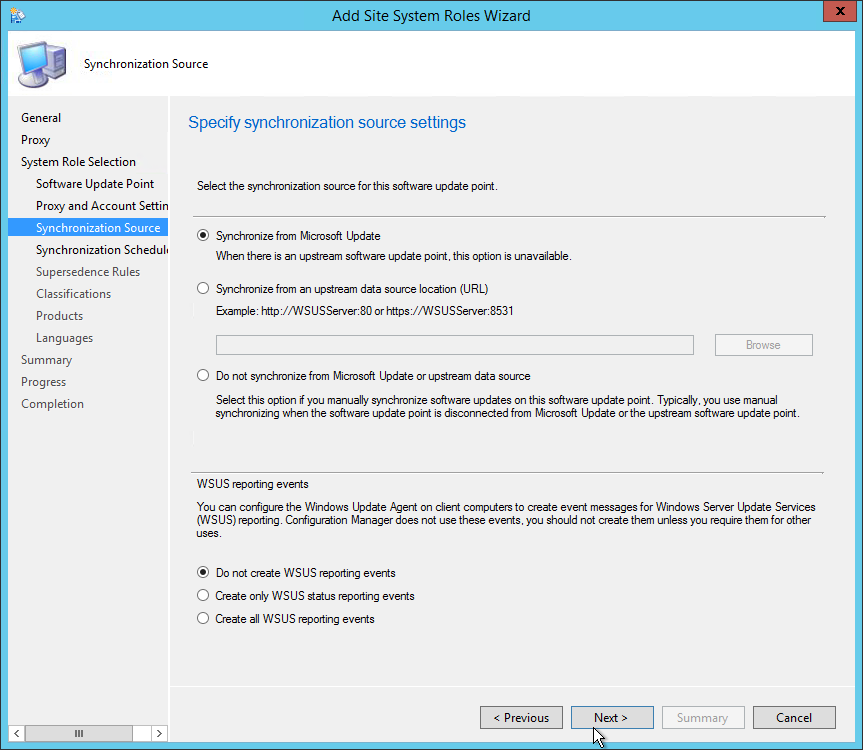
- On the Synchronization Source tab, specify if you want to synchronize from Microsoft Update or an upstream source. Refer to the Site System Placement section if you’re unsure. For a stand-alone Primary Site, select Synchronize from Microsoft Update, click Next
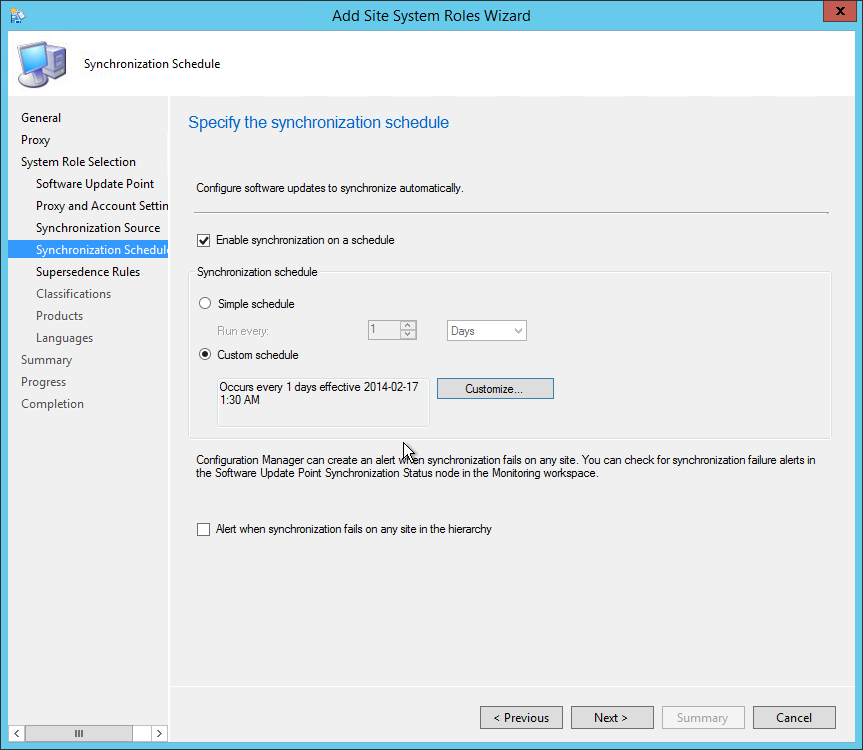
- On the Synchronization Schedule tab, check the Enable synchronization on a schedule check box and select your desired schedule. 1 day is usually enough but it can be lowered if you’re synchronizing Endpoint Protection definition files, click Next
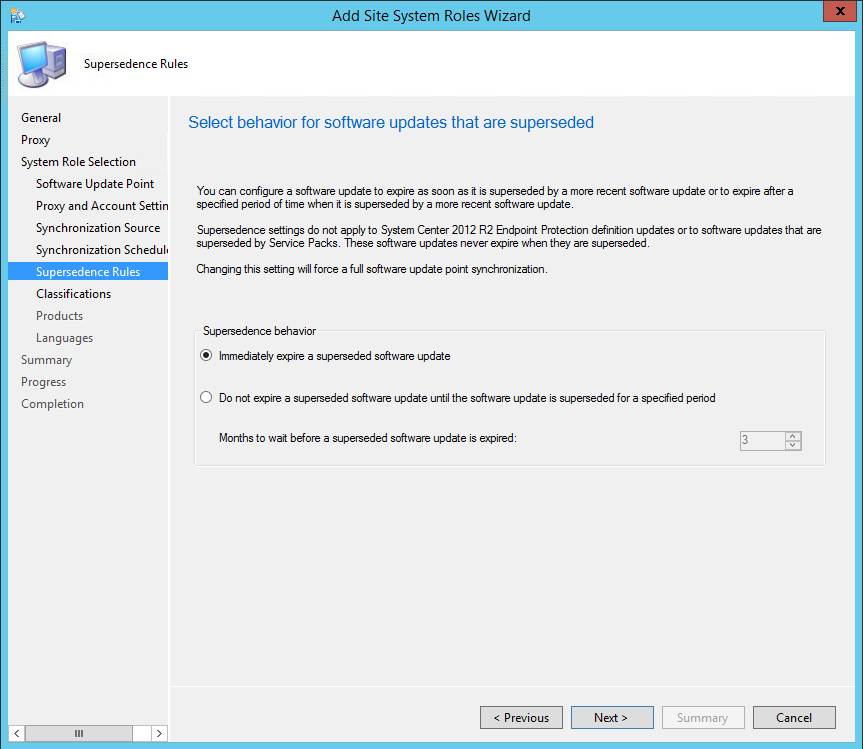
- On the Supersedence Rules tab, select Immediately expire a superseded software update, click Next
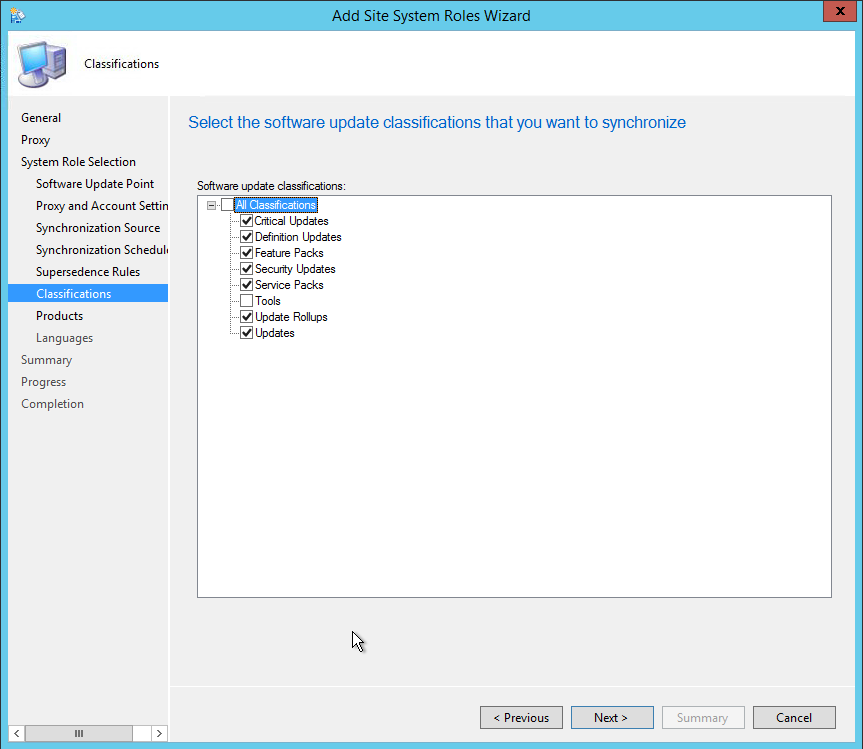
- On the Classifications tab, select your organisation needs, click Next
- Full description on this Microsoft Support Article
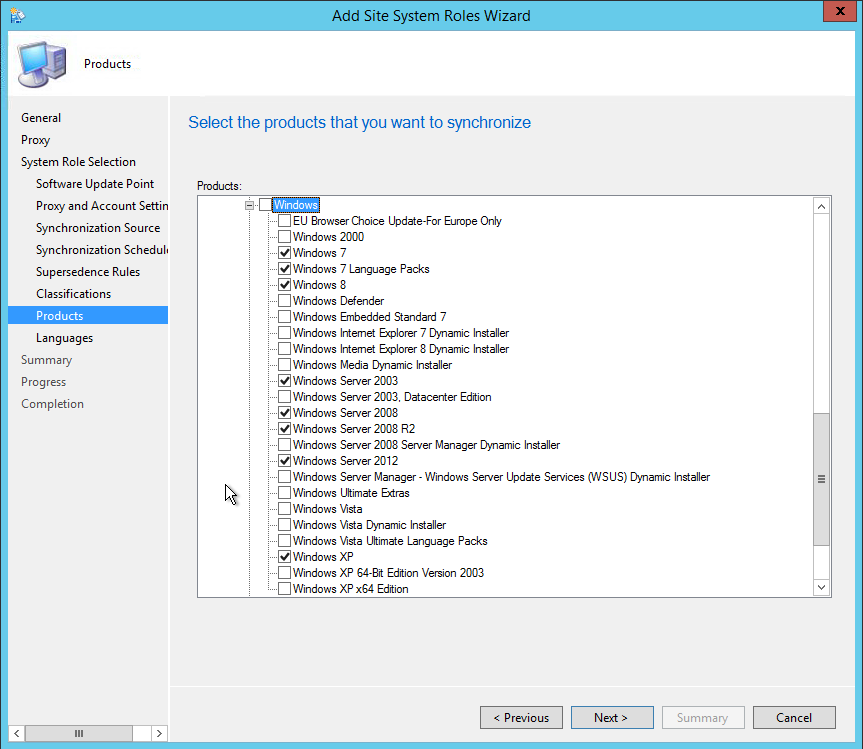
- On the Products tabs, select the products that you want to manage using SCCM, click Next
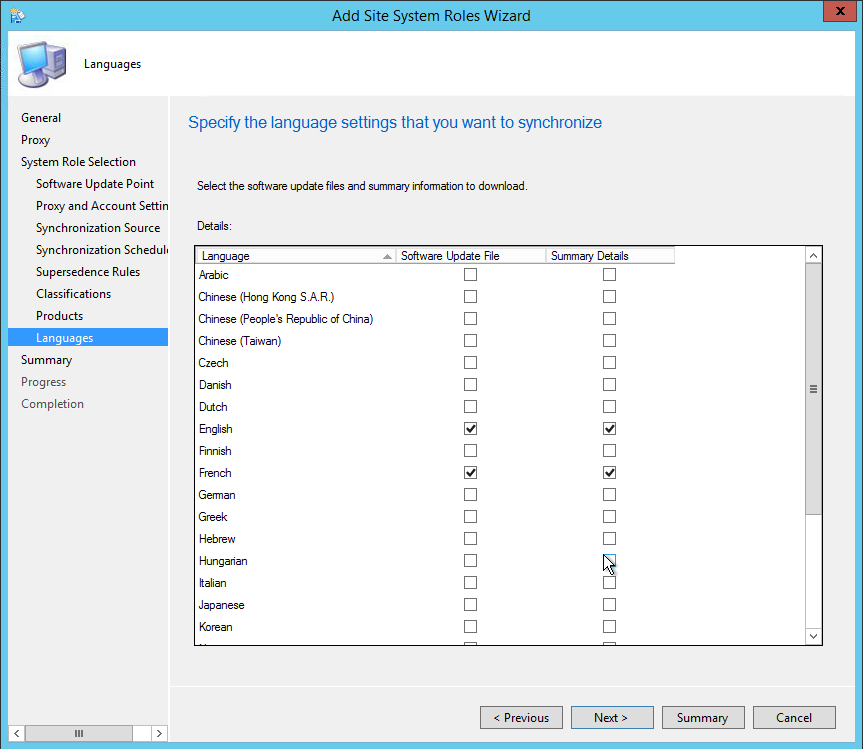
- On the Languages tab, select the desired Language, click Next
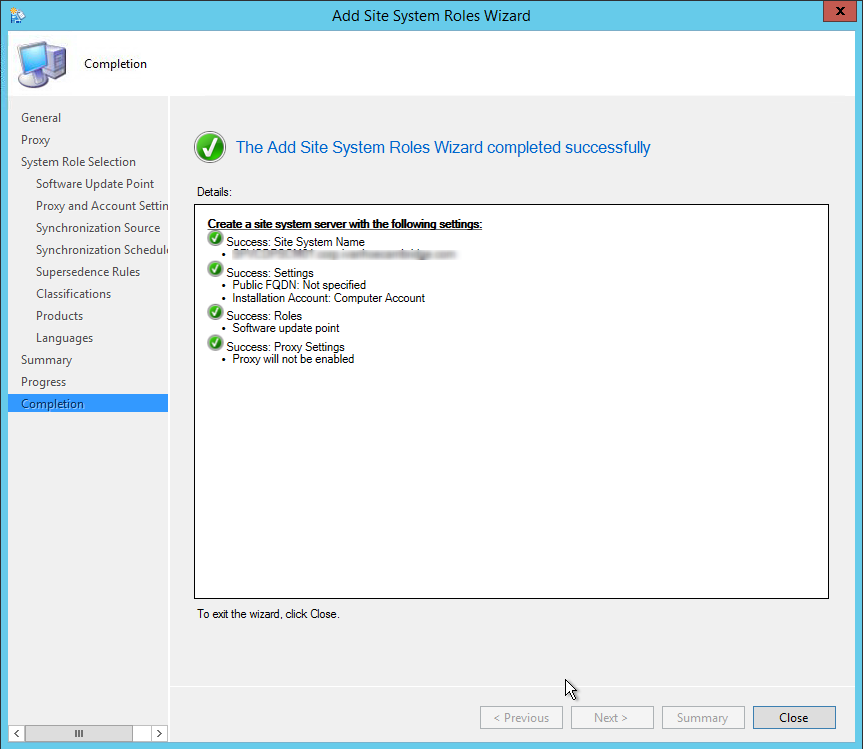
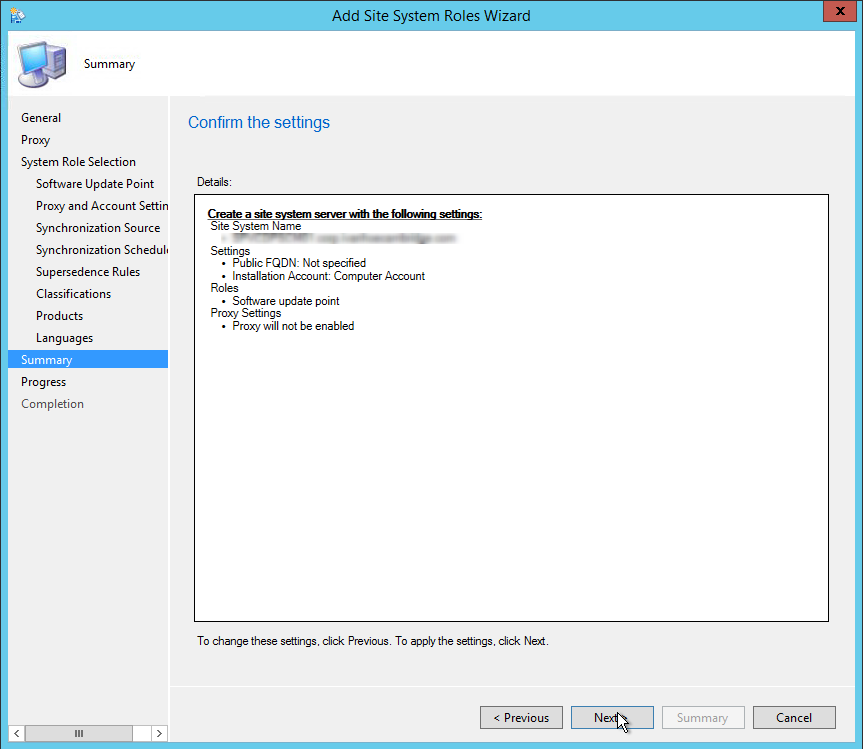
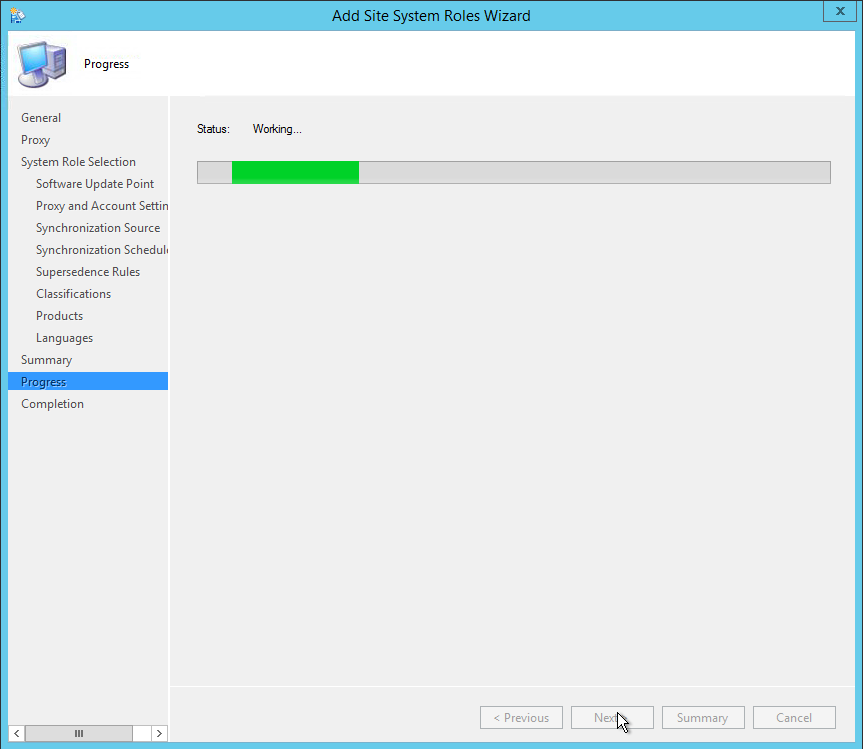
- On the Summary tab, review your settings, click Next, wait for the setup to complete and click Close
Verification
- ConfigMgrSetup\Logs\SUPSetup.log -Provides information about the software update point installation. When the software update point installation completes, Installation was successful is written to this log file
- ConfigMgrSetup\Logs\WCM.log – Provides information about the software update point configuration and connecting to the WSUS server for subscribed update categories, classifications, and languages
- ConfigMgrSetup\Logs\WSUSCtrl.log – Provides information about the configuration, database connectivity, and health of the WSUS server for the site
- ConfigMgrSetup\Logs\Wsyncmgr.log – Provides information about the software updates synchronization process
Bonus link : I suggest that you read the excellent article written by Kent Agerlund on how to avoid what he calls the House of Cards





Emiliano
07.17.2019 AT 02:31 AMAustin
09.15.2017 AT 10:18 AMPREM
07.19.2017 AT 06:06 AMKross
04.04.2017 AT 01:55 PMJonathan Lefebvre
04.04.2017 AT 02:05 PMkross
04.05.2017 AT 07:19 AMGael
10.06.2016 AT 08:43 AMJonathan Lefebvre
10.06.2016 AT 10:25 AMGael
10.06.2016 AT 11:31 AMChris
09.14.2016 AT 01:12 PMJonathan Lefebvre
09.15.2016 AT 11:05 AMSam
08.22.2016 AT 05:22 AMJonathan Lefebvre
09.15.2016 AT 11:23 AMShahid Nawaz
01.03.2018 AT 09:18 AMDave
04.05.2016 AT 06:05 PMBenoit Lecours
04.06.2016 AT 11:24 AMLu
03.09.2016 AT 04:21 AM