
With the end of support for Office 365 2013 on Febuary 28 2017, administrators must take action to upgrade Office 365 2013 to Office 365 2016. In previous posts, we covered how to manage updates for Office 365 2016 with SCCM and describe the Office 365 dashboard. Those posts applies to the 2016 version of Office 365.
This post will cover everything you need to know to upgrade Office 365 2013 to Office 365 2016 with SCCM.
Upgrade Office 365 2013 Prerequisites
- Latest Office 365 2016 version :
- Version 16.0.6965.2117 from January 2017 was used for this post
- We selected the Deferred Channel
- Latest Office deployment tool
- SCCM 2012 and later
Create Download.xml and Configuration.xml File
Office 365 Click-to-run installations, are controlled by XML files. We will create and use one XML file to download the Office 365 bits for an offline installation/upgrade and another XML for the configuration.
The download.xml specify the Channel to be used, the product and language :
[su_box title=”Download.xml” style=”glass” title_color=”#F0F0F0″]
<Configuration>
<Add Channel=”Deferred” OfficeClientEdition=”32″>
<Product ID=”O365ProPlusRetail”>
<Language ID=”fr-fr” />
</Product>
</Add>
</Configuration>
[/su_box]
The configuration.xml has more details in it :
[su_box title=”configuration.xml” style=”glass” title_color=”#F0F0F0″]
<Add OfficeClientEdition=”32″ Version=”16.0.6965.2117″ Channel=”Deferred” OfficeMgmtCOM=”True”>
<Product ID=”O365ProPlusRetail”>
<Language ID=”fr-fr” />
</Product>
</Add>
[/su_box]
Important part in the XML :
- <Display Level=”Full” AcceptEULA=”TRUE” />
- This will allow user to interact with the install, in order to see the prompt to close open application if needed.
- <Property Name=”FORCEAPPSHUTDOWN” Value=”False” />
- This will allow user to see a prompt when the upgrade starts if any Office application is open and allow time to save files.
- Modify the language that you need using <Language ID=”fr-fr” />
Otherwise, the XML as no specific configuration related to upgrade. It will know it’s upgrading from 2013 automatically.
You can find more details about XML files for Office 365 here
Create Office 365 2016 Package
We will now create a standard package for the upgrade.
[su_box title=”Note” style=”glass” title_color=”#F0F0F0″]For a more detailed version of How-to deploy Office 365 2016, please see our previous post here[/su_box]
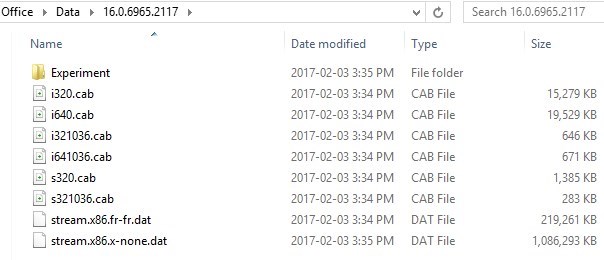
- First, we need to download the latest Office 365 2016 version
- Open a command prompt, browse to your office directory and launch : setup.exe /download download.xml
- This will create an Office folder under the running path. It will contain the Office 365 2016 bits for offline installation

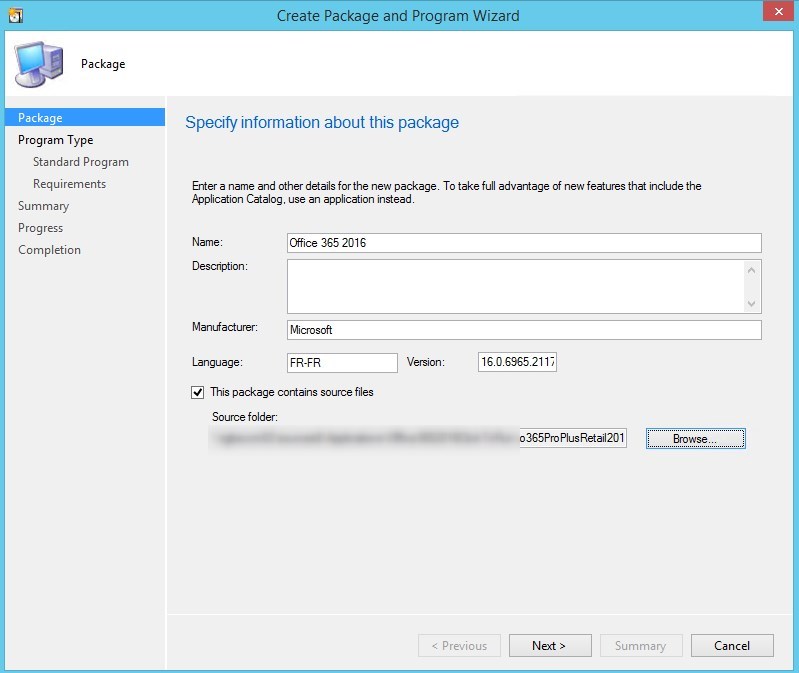
- Create a standard package for Office 365 2016
- The source folder must be the folder with the Setup.exe, Configuration.xml and Office folder downloaded in previous step
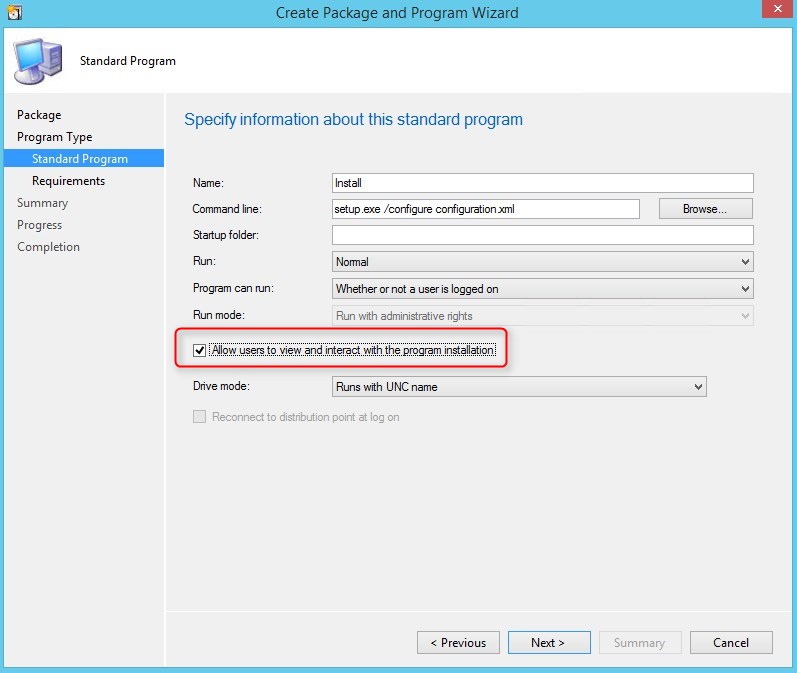
- Add a program to the package
- Command Line : setup.exe /configure configuration.xml
- Check Allow user to view and interact with the program installation. This is to help interaction with opened Office applications
Upgrade Office 365 2013 to Office 365 2016
- Deploy the package/program just as any other packages
- Can be mandatory or available
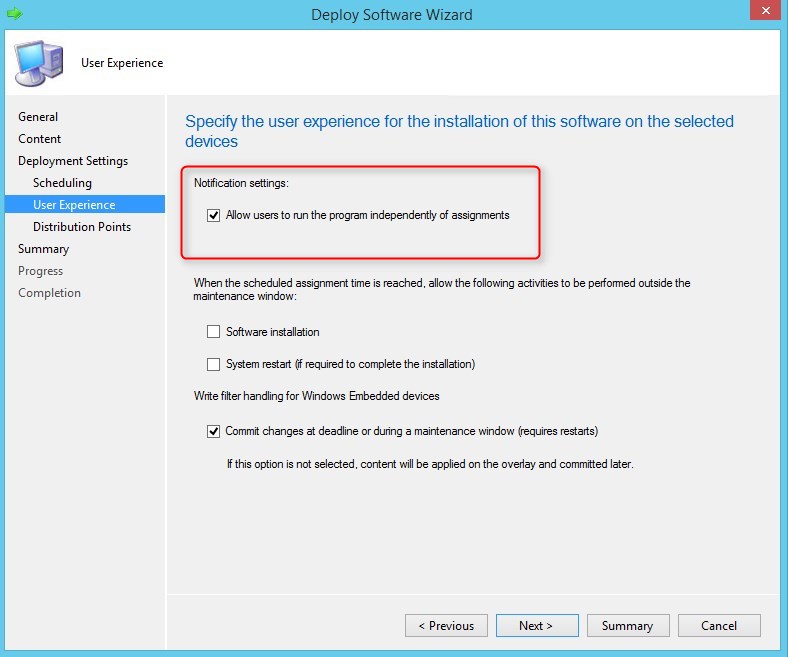
- Suggestion : Allow users to run the program independently of assignments will allow more flexibility for your users to upgrade
- The deployment start…
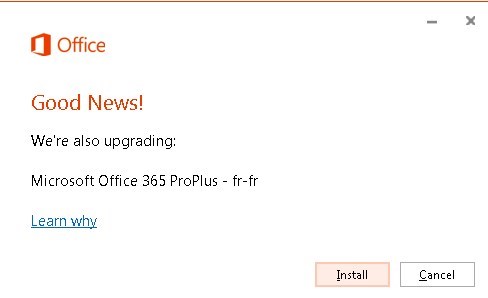
- One prompt for the user to know upgrade is coming
- If the user hit Cancel, the deployment will return an error in SCCM reports.

- If an Office application is open, Office will ask to close applications
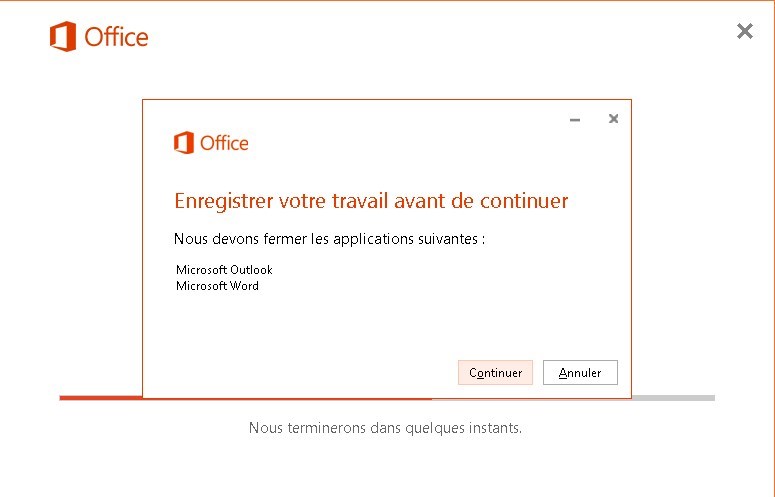
- Final screen for completed upgrade
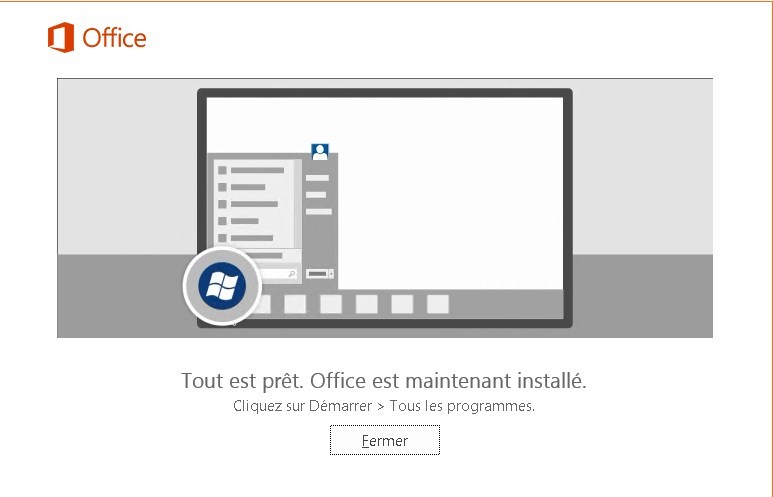
- Office 365 2016 is now installed and Office 365 2013 is no longer available!
![]()
More information is available here
Happy upgrading!




HP Support
10.18.2018 AT 02:37 AM