
Beginning with SCCM/MEMCM 2002, it’s possible to Integrate Power BI Report Server to an existing Reporting Point or to a site that doesn’t have a reporting point installed. Doing so will give you the ability to manage your Power BI Dashboard the same way you manage your SSRS report. All done directly from the console makes it easier to deploy and edit your existing dashboard and to create a new one. This post will describe the complete SCCM Power BI Report Server Integration process. More specifically, how to Integrate SCCM/MEMCM Reporting point with Power BI Report Server on an SCCM 2002 site.
In our example, we’ll do it on a site that a reporting point is already installed but we’ll also explain the process for a site that doesn’t have a reporting point installed.
SCCM Power BI Report Server Integration Prerequisites
Before you begin, you need to know that using a Power BI Report Server is not free. You’ll need to have a Power BI Report Server license.
Power BI Report Server is available with 2 different licenses: Power BI Premium and SQL Server Enterprise Edition with Software Assurance
If you don’t have a license, your dream to manage your Power BI Dashboard in the SCCM console has vanished like a snowman on a sunny day.
So if you have licenses, you’ll also need to download on your reporting point machine :
- Microsoft Power BI Report Server-September 2019 – Download but do not install
- Microsoft Power BI Desktop (Optimized for Power BI Report Server – September 2019)
Configure your Reporting Point
From here you have 2 possible paths: If you have a reporting point, follow the first steps, if you don’t have a reporting point, skip the first part and jump to the next section.
Reporting Point Already installed and running
The first step is to back up the reporting service encryption key. This is really important as if you skip this, you’ll lose access to your existing reports.
- On the SCCM Reporting Server
- Open Reporting Server Configuration Manager

- Connect to your Reporting Instance

- Click Encryption Keys and then select Back Up

- Specify where to save the key, a file name(.snk) and type a strong password

- Select OK
- Ensure that there’s no error at the bottom and that the file has been created in the specified location

We will now remove the reporting services point role from the SCCM site
- Open the SCCM Console
- Go to Administration / Site Configuration / Servers and Site System Roles
- Select the server on which you have a reporting service point, select it and at the bottom, right-click Reporting Services Point and select Remove Role

- At the warning, select Yes

- We will now uninstall SQL Server Reporting Services using the Program and Feature on the server
- Select your SQL Server version (ex:SQL Server 2016 (64-bit)) and select Uninstall at the top

- At the SQL 2016 window, select Remove

- Select your instance and click Next

- Only select Reporting Service – Native. Be careful here not to select Database Engine as you could destroy your SCCM installation

- At the bottom, click Remove

Power Bi Server Installation
We will now install Power BI Report Server
- Click on the installation file downloaded in the Prerequisite Section
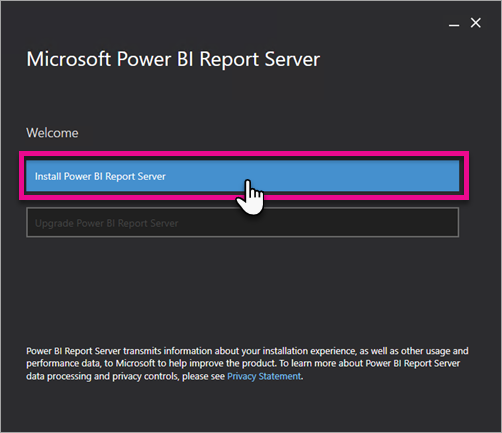
- Select Install Power BI Report Server
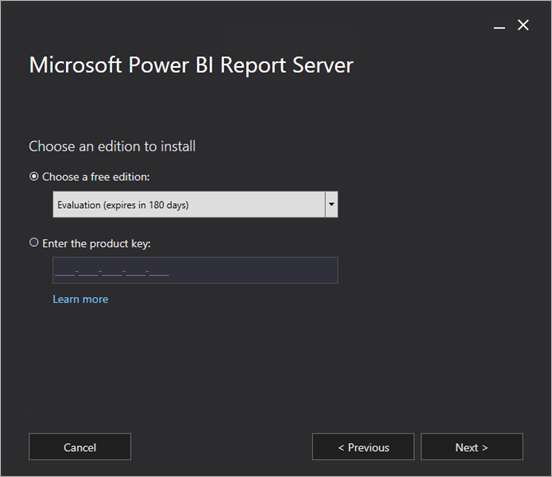
- Choose an edition to install and then select Next
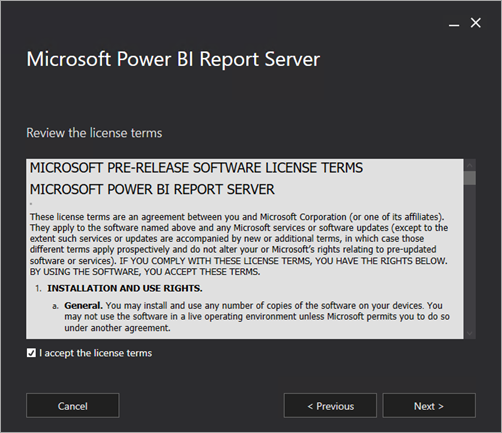
- Read and agree to the license terms and conditions then select Next
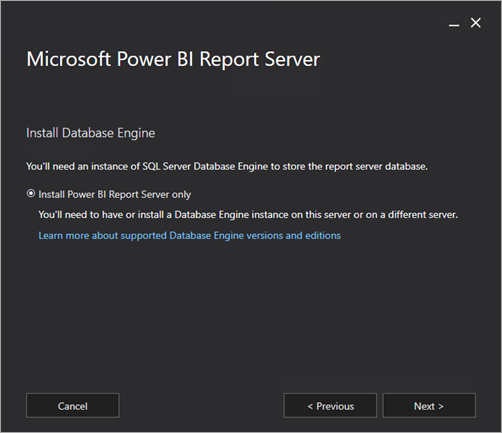
- You need a Database Engine available to store the report server database. Select Next to install the report server only.
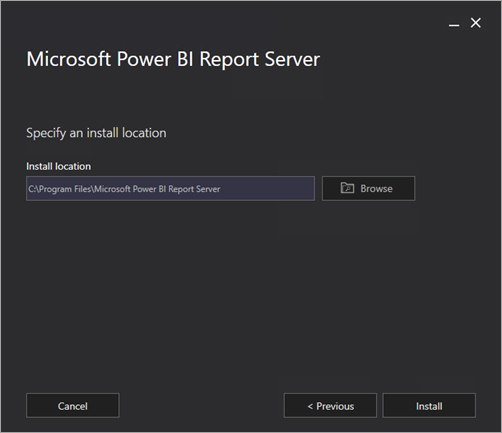
- Specify the install location for the report server. Select Install
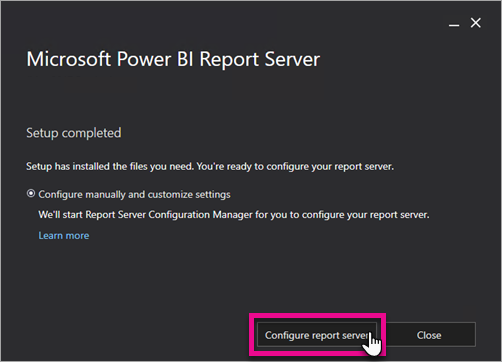
- After a successful setup, select Configure Report Server to launch the Reporting Services Configuration Manager
When we uninstalled the SQL Reporting service in the steps before, the database was left intact. Now we just need to restore the backup keys.
- Go to Database and select Change Database

- Select Choose an existing report server database and select your Server database that you were already using

- Select your server and credential

- Ensure to select your ReportServer database


- In Reporting Server Configuration Manager, select Encryption Key and then select Restore. Specify the file path that you saved in the prior steps and enter the backup password

- Ensure at the bottom that everything is setup correctly

- Return to the SCCM Console and add back the Reporting Services point role in Configuration Manager
- We already documented the process of adding a Reporting Point in our SCCM Installation guide
No reporting points installed
Only use this process if you don’t already have a reporting services point on your SCCM site. Do all steps of this process on the same server:
- Install Power BI Report Server. You can follow the latest section of this post and come back here.
- Add the reporting services point role in SCCM
- We already documented the process of adding a Reporting Point in our SCCM Installation guide
SCCM Console
- On a computer that has the SCCM console, make sure that you have at least console version 2002 and close the console
- Install Power BI Desktop. Make sure to use the version in the prerequisites section
- Launch Power BI Desktop before you open the SCCM Console.
Verification
- In the SCCM console
- Go to Monitoring / Reporting node
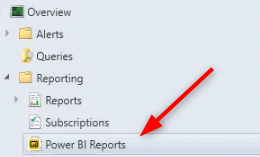
- Verify that the Power BI Reports node is present
- Select Create Report at the top. This action will open Power BI Desktop

- Once you saved the new report, it will be displayed in the SCCM Console


Christopher
04.24.2020 AT 01:06 PMMax
04.13.2020 AT 10:53 AM